How To Make Whole Wheat Shokupan (Fluffy Japanese Milk Bread)-Japanese Taste

How To Make Whole Wheat Shokupan (Fluffy Japanese Milk Bread)

by Mana Sobral

Bread Breakfast Snack Whole Wheat Make Ahead Sandwich

Shokupan, often affectionately called "Japanese milk bread," is a special bread known not only in Japan but around the world. What sets it apart is its incredible softness and a touch of gentle sweetness, taking it to a whole new level.

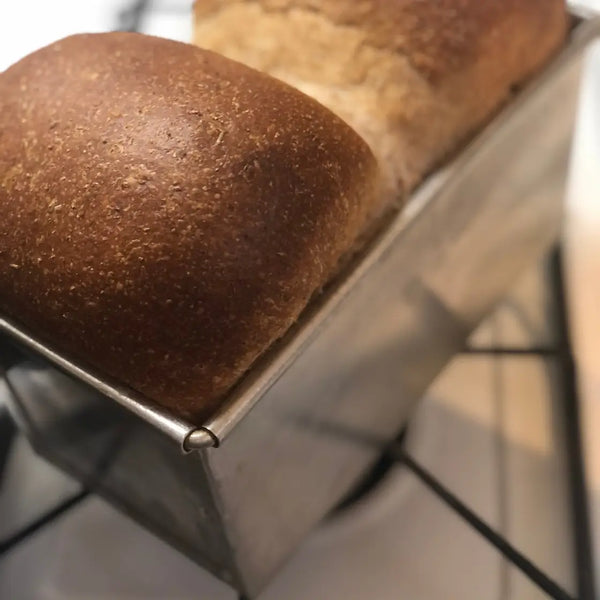
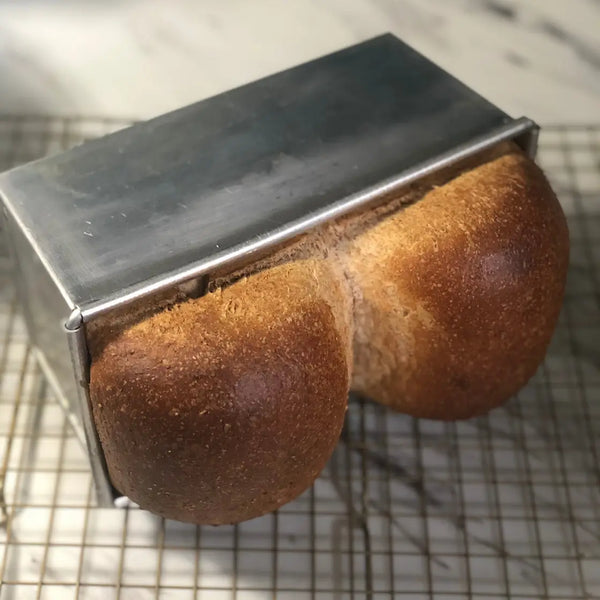
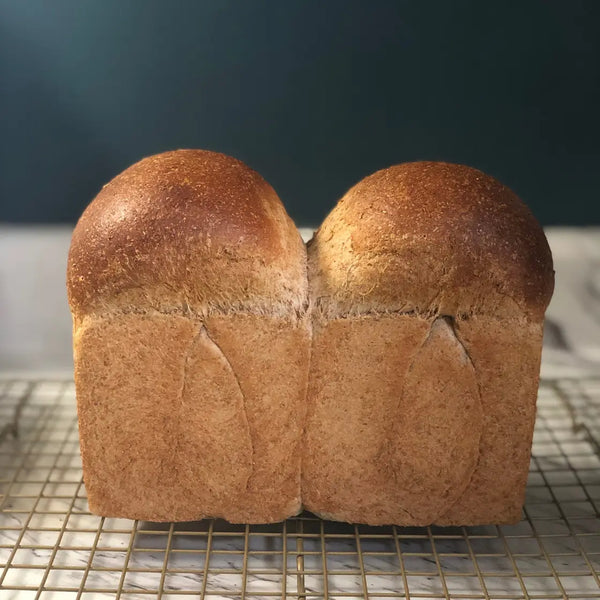
Shokupan is all about that super-soft texture that distinguishes it from regular bread. It achieves this amazing softness through a careful process involving something called tangzhong, which is like a flour-water mixture, and slow fermentation. The result? A bread that practically melts in your mouth and feels indulgent with every bite.

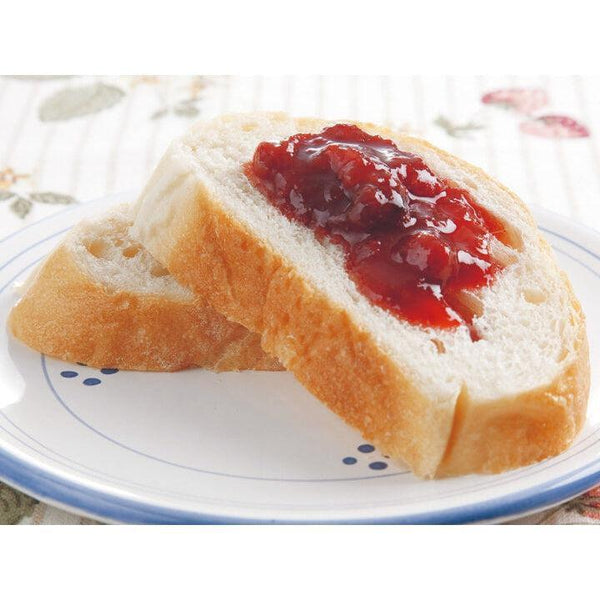
And don't forget its subtle sweetness! Unlike plain white bread, which can be pretty bland, shokupan has a nice, mild sweetness from butter and milk that adds extra flavor. This hint of sweetness makes it versatile, perfect for both sweet and savory dishes.

In Japanese culture, shokupan is a big deal. It's used for all sorts of culinary creations, from simple breakfast toast with butter or jam and peanut butter to fancy sandwiches with fresh ingredients. Its amazing texture and gentle sweetness make it perfect for making gourmet sandwiches that elevate your everyday meals. We've previously shared a recipe for the traditional shokupan recipe, but today we're going to make it with a twist.

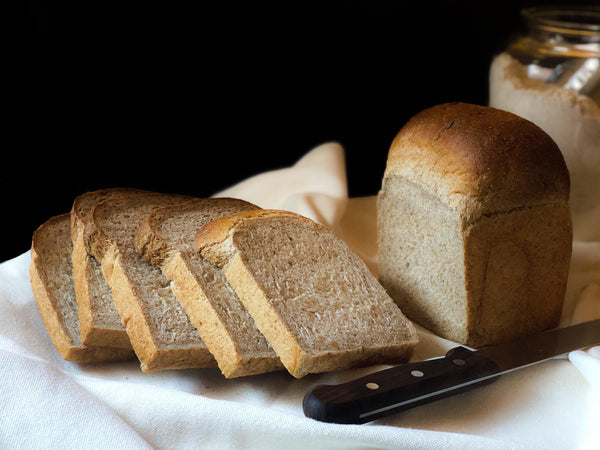
Now, let's talk about whole wheat shokupan, a modern twist on this classic favorite. Whole wheat shokupan retains all the good stuff from traditional shokupan while adding the goodness of whole wheat flour. Unlike white shokupan, it keeps the bran and germ of the wheat kernel, making it higher in fiber and packed with essential vitamins and minerals.

Whole wheat shokupan has a delightful nutty flavor that complements its softness, making it a hit with both traditional bread lovers and those looking for a healthier option. It's like shokupan decided to take a wellness journey without losing its charm.

So, by trying out the healthier whole wheat version, you're savoring a slice of Japanese food culture and embracing the world of delicious bread.

Overview

Prep time: 3hrs 50mins

Cook time: 50 mins

Total time: 4hrs 40mins

Total servings: 10

Difficulty: Difficult

Ingredients
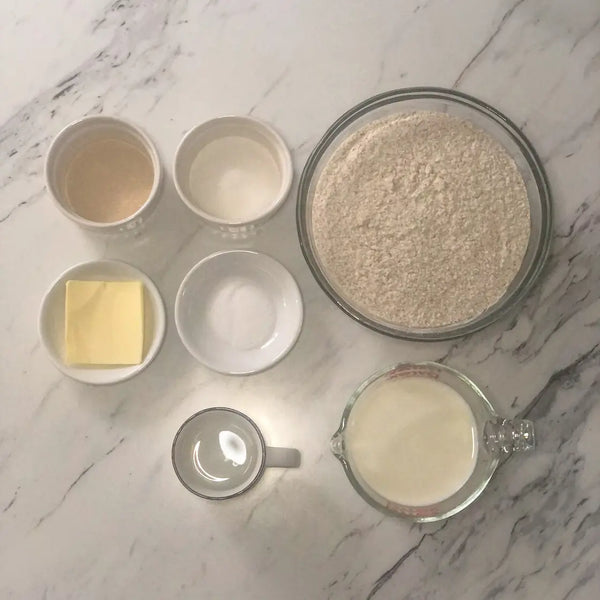
  • 600 g Whole Wheat Flour
  • 26 g White Sugar
  • 10 g Salt
  • 300 ml Whole milk
  • 80 ml Water (may need slightly more depending on the humidity of your environment)
  • 20 g Unsalted Butter
  • 6 g Dry Yeast (or instant yeast)
  • 1 Tbsp Warm Water (Body temparature)

Expert's Tip

How To Make Whole Wheat Shokupan (Fluffy Japanese Milk Bread)

Elevate your Japanese bread baking experience with the Matsunaga Premium Shokupan Loaf Pan! Crafted for perfection, this premium mold ensures your bread emerges not just beautiful, but irresistibly tasty. Transform your baking routine and indulge in the art of creating bread that's a feast for the eyes and a delight for the taste buds!

Instructions

1) Gathering the Ingredients & Advanced Preparations

Gather the ingredients together.

Preheat the oven to 400°F. Generously grease your bread pan with butter or oil.

If you're using dry yeast, begin by placing 1 tbsp of warm water (96.8-102°F) and a pinch of sugar in a small bowl for pre-fermentation. Allow it to rest for 10 minutes. Once you start observing bubbles on the surface, it's a sign that the yeast is active. Stir it and incorporate it into your recipe. *This step is unnecessary if you're using instant yeast.

Note: We are using a stand mixer with a dough hook attachment for this recipe.

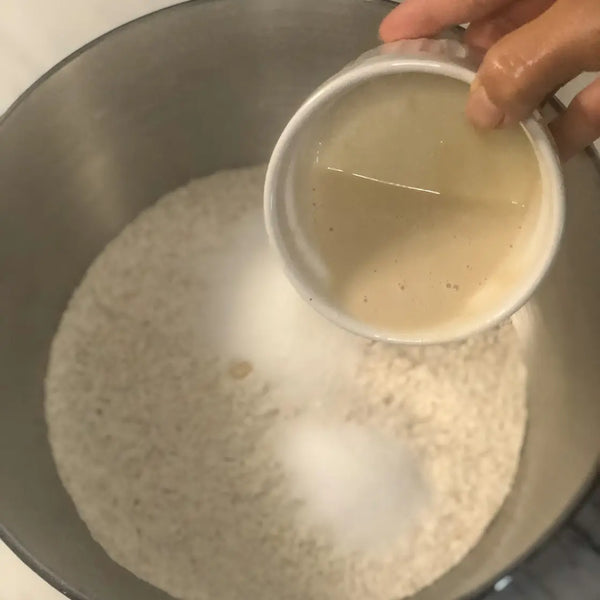
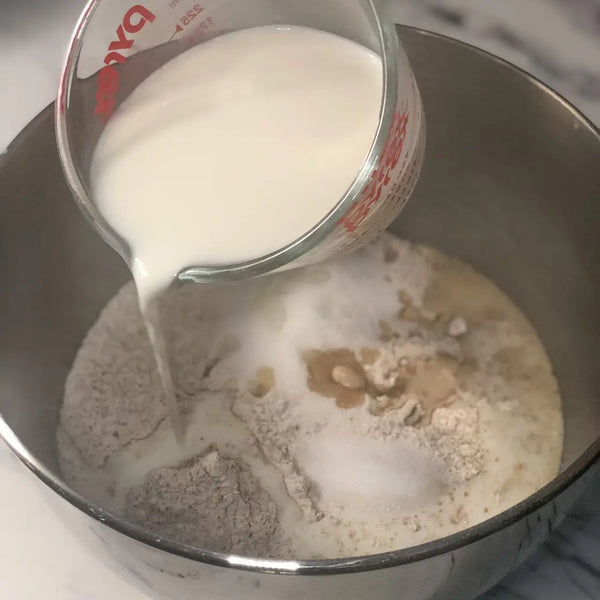
2) Mixing the Dough Ingredients

In a medium bowl, combine whole wheat flour, sugar, salt, and yeast.

Pour in the milk and mix thoroughly using a stand mixer or your hands.

Add half a cup of water and blend it into the mixture. Exercise caution to prevent the dough from becoming excessively sticky as you gradually introduce the remaining water, adjusting the amount based on the dough's consistency. 

Note: You may not require all the water specified, or you might find the need for more. Moisture levels can be influenced by weather and humidity, so add water gradually to avoid the mixture becoming overly sticky.

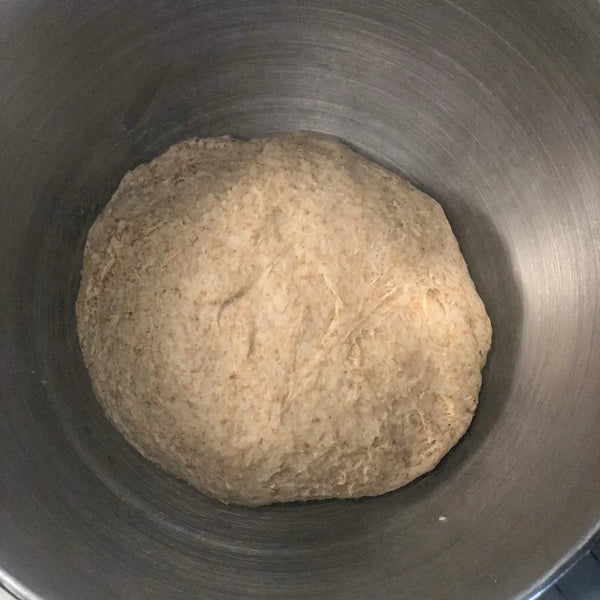
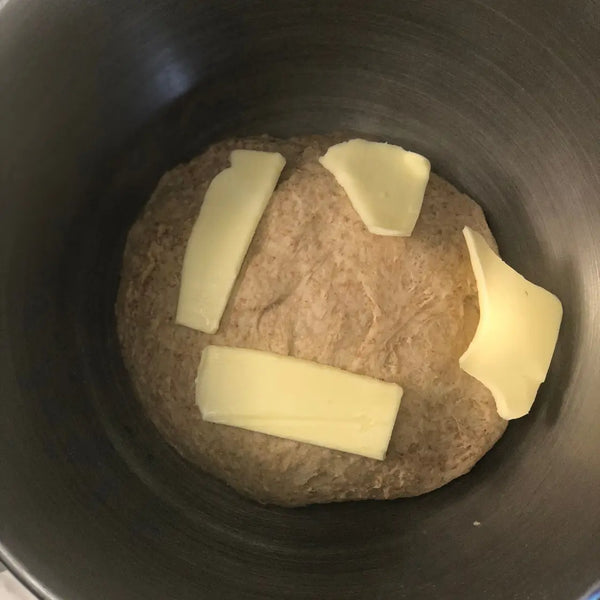
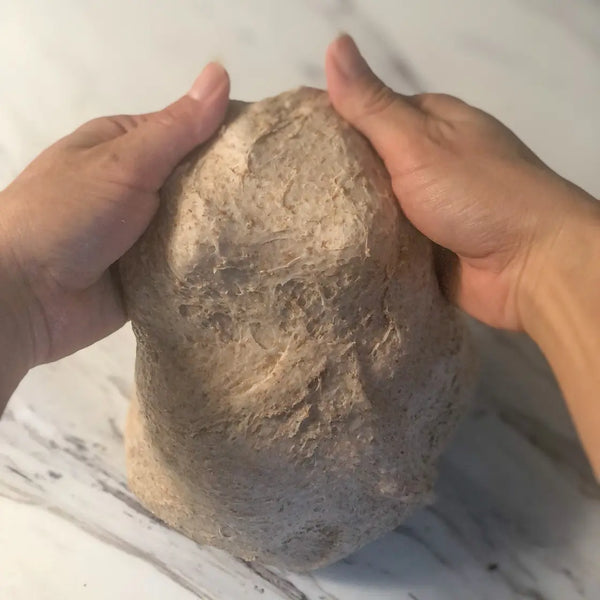
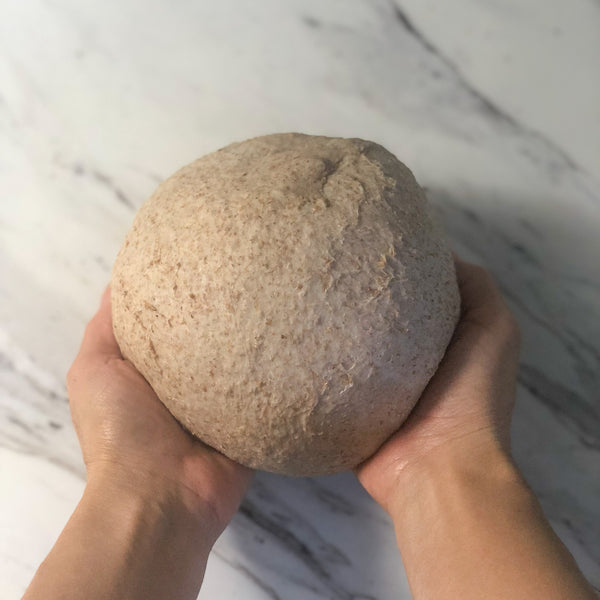
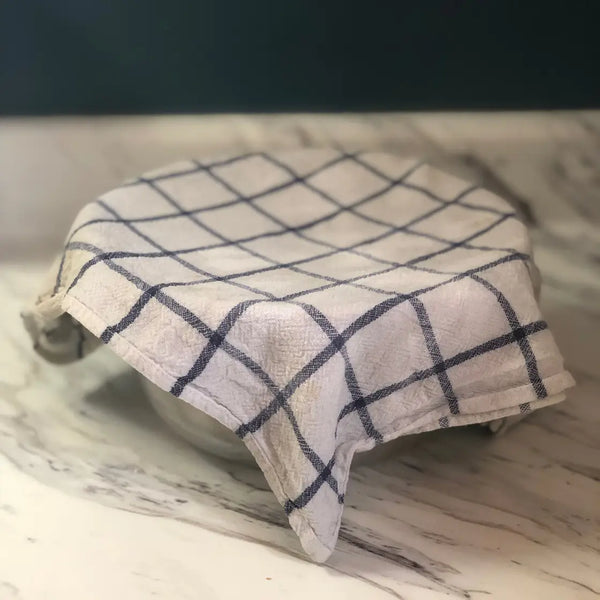
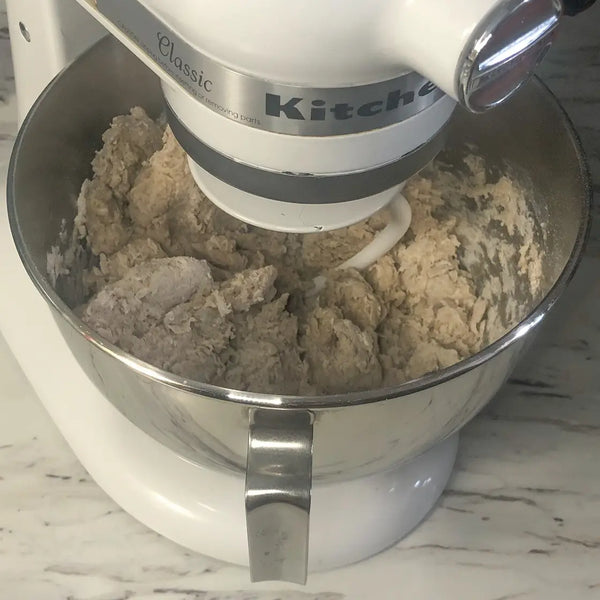
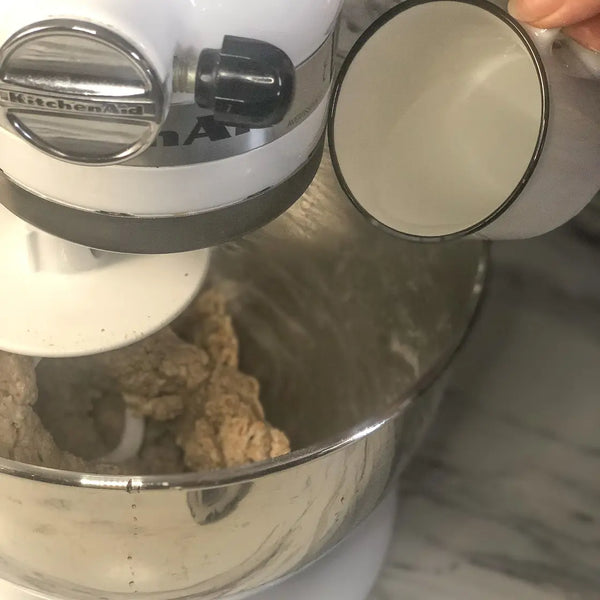
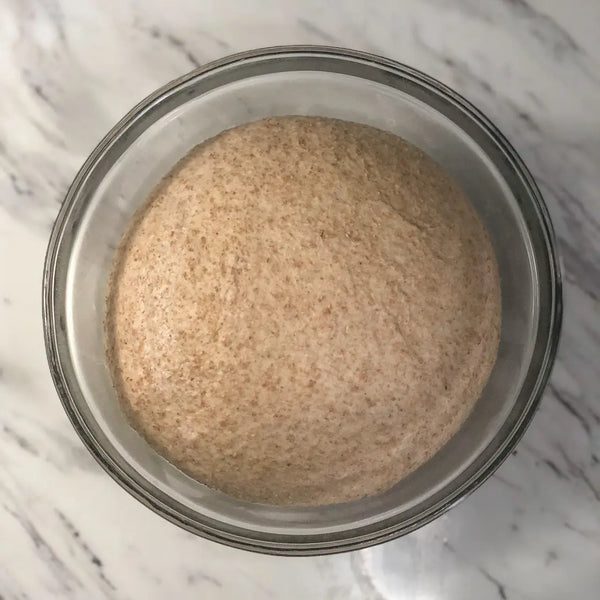
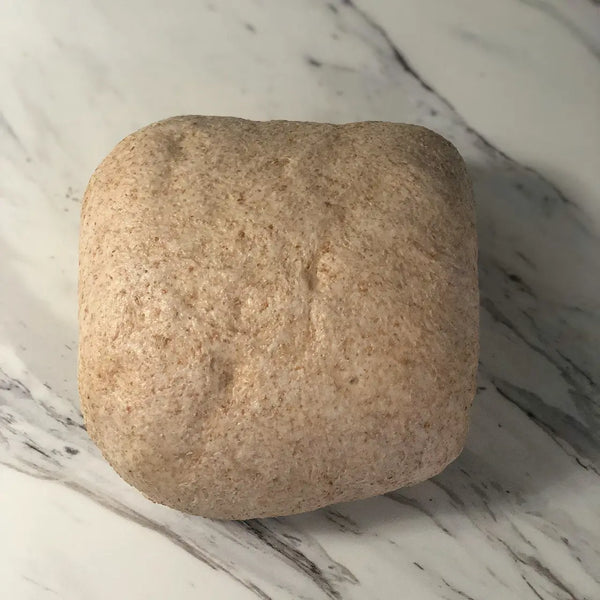
3) Kneading the Dough & First Fermentation

Once the dough reaches a soft and non-sticky consistency (meaning it won't excessively adhere to your hands and is easy to handle), incorporate the butter and mix thoroughly. Stop mixing when the surface of the dough becomes smooth. Remove it from the bowl, stretch the dough with your fingers; if it stretches thinly without tearing, it's ready.

Shape the dough into a ball, place it in a bowl, cover it with a damp cloth, and let it rest in a warm environment, such as inside your oven set to around 82°F, until it doubles in size (approximately 1.5 hours).

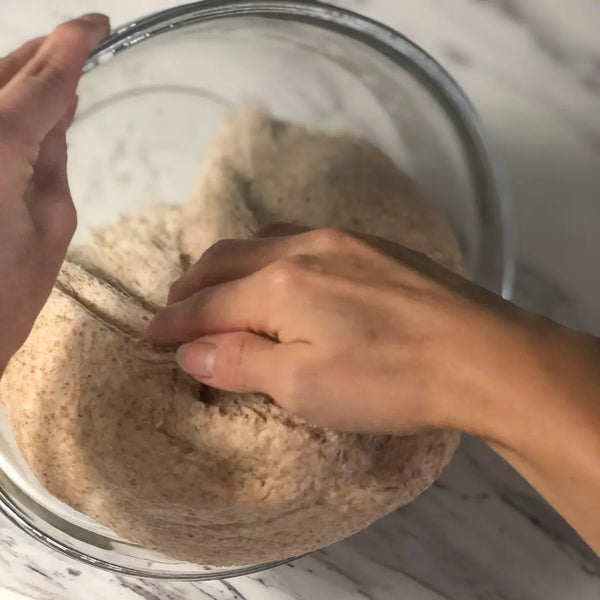
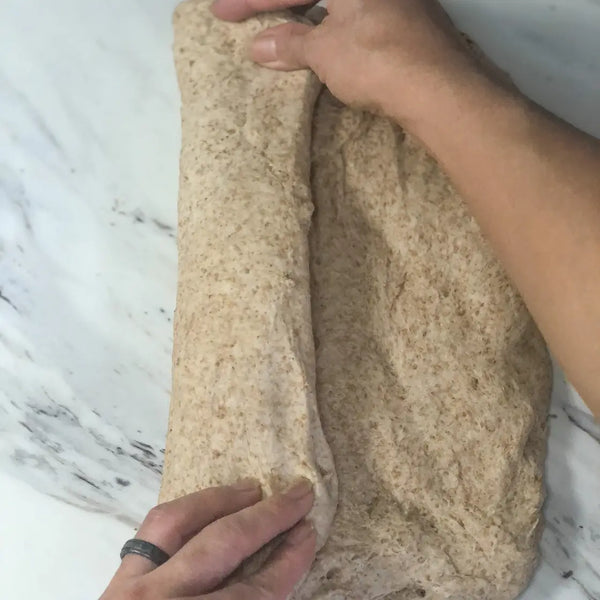
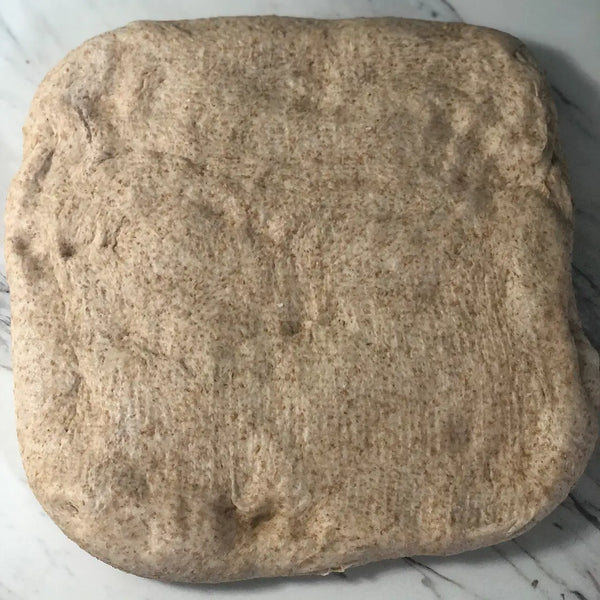
4) Re-Rolling the Dough & Second Fermentation

Once the dough has doubled in size, transfer it to a clean counter and gently press it to release air from the entire dough using your fist. 

Use a rolling pin to shape it into a rectangle, fold both ends, and then roll it up. Cover it with a damp cloth and let it rest in a warm place for 30 minutes.

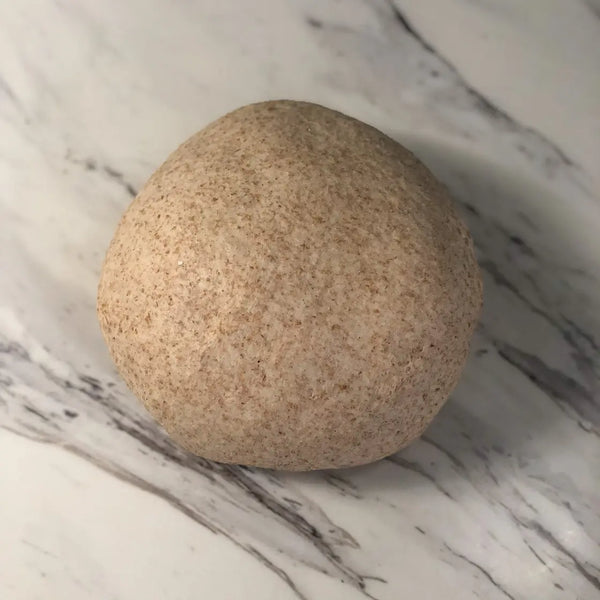
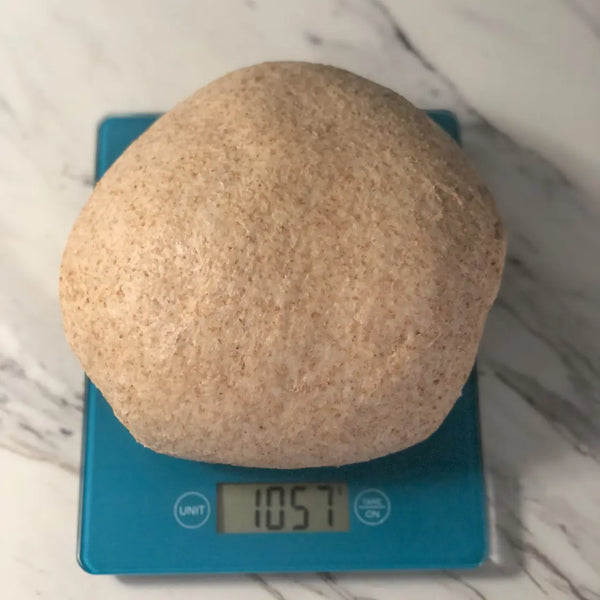
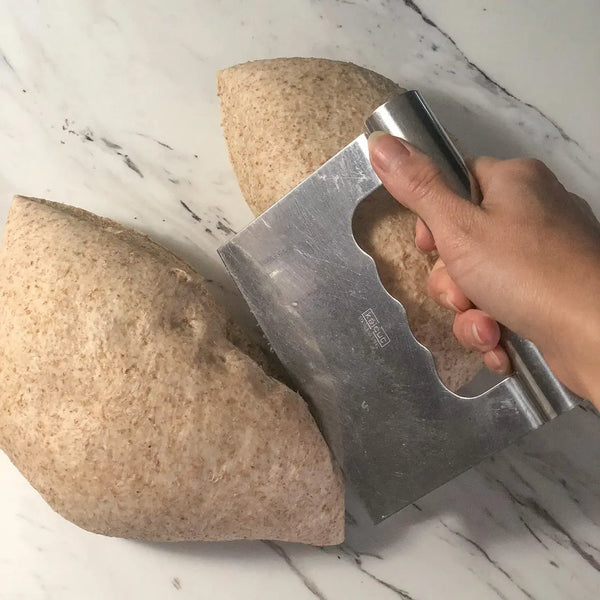
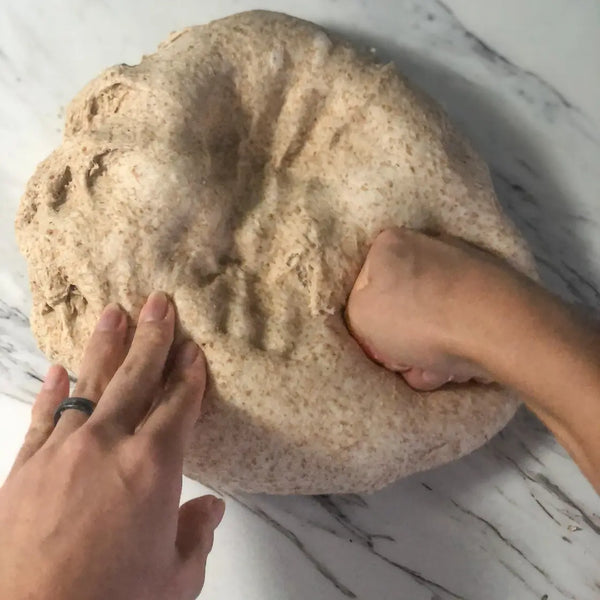
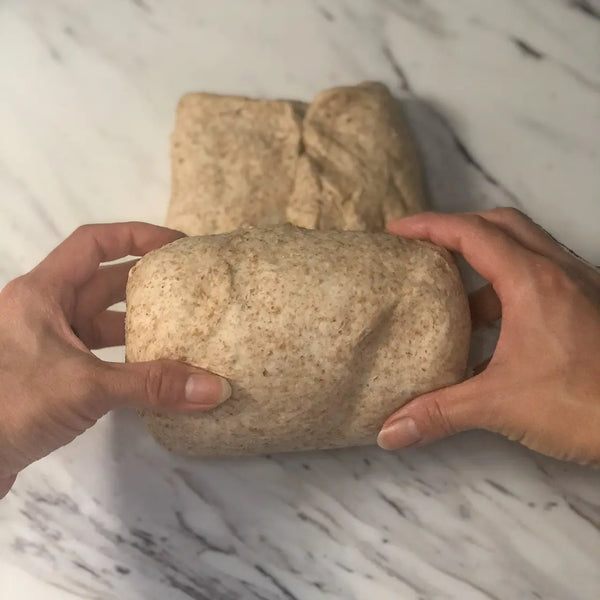
5) Dividing Up the Dough

After 30 minutes, use your fist to gently press and release air from the dough. Roll the dough into a ball. Weigh the dough and divide it into two equal parts, shaping each into a ball. 

Cover them with a damp cloth and let them rest for 15 minutes.

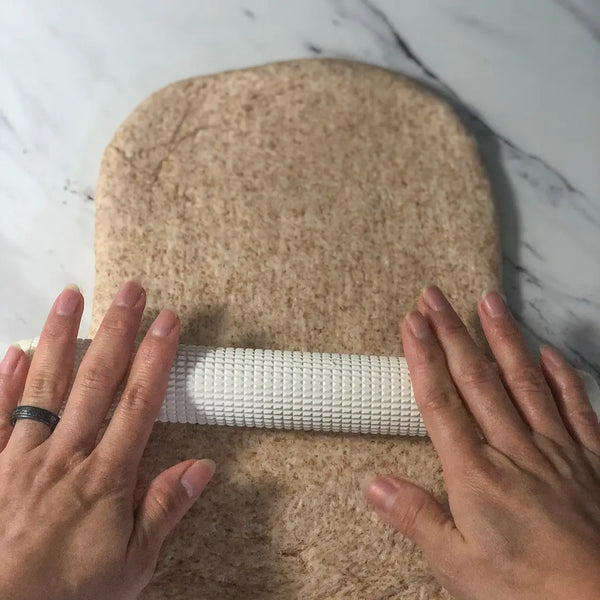
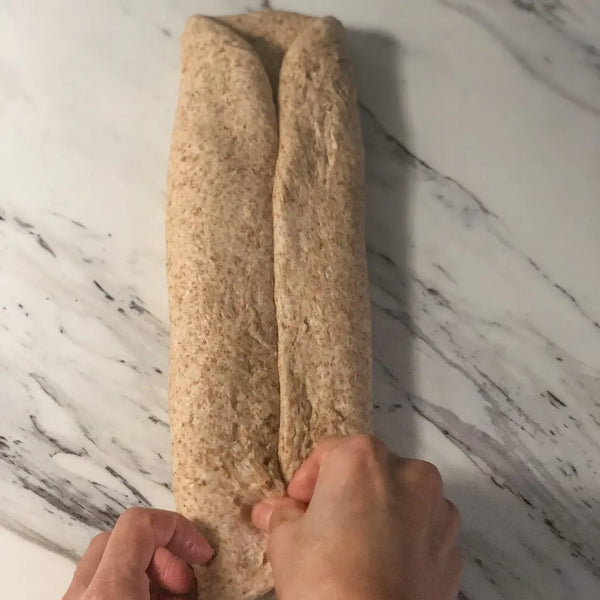
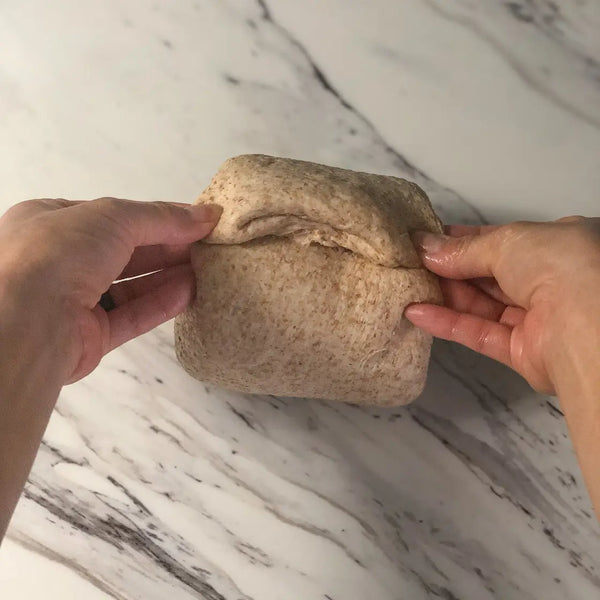
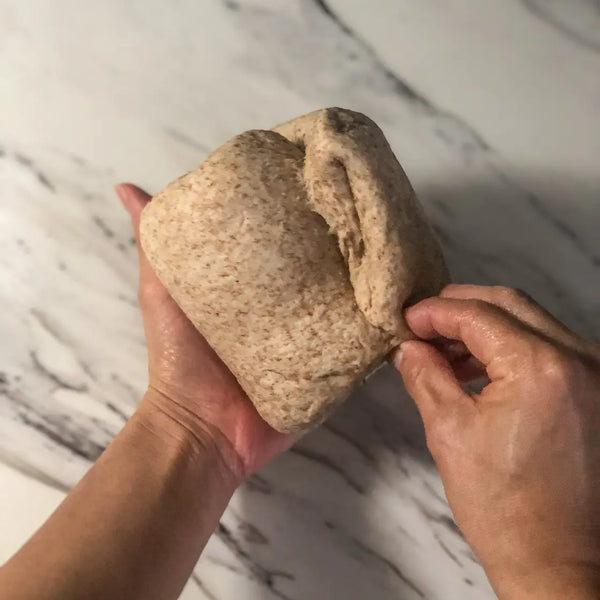
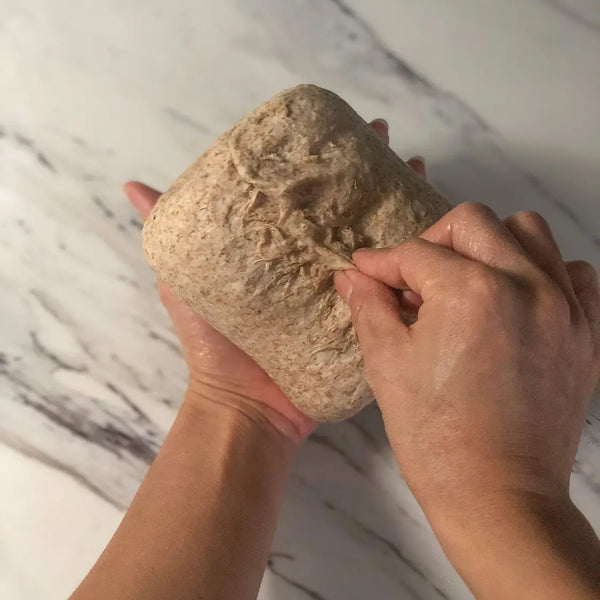
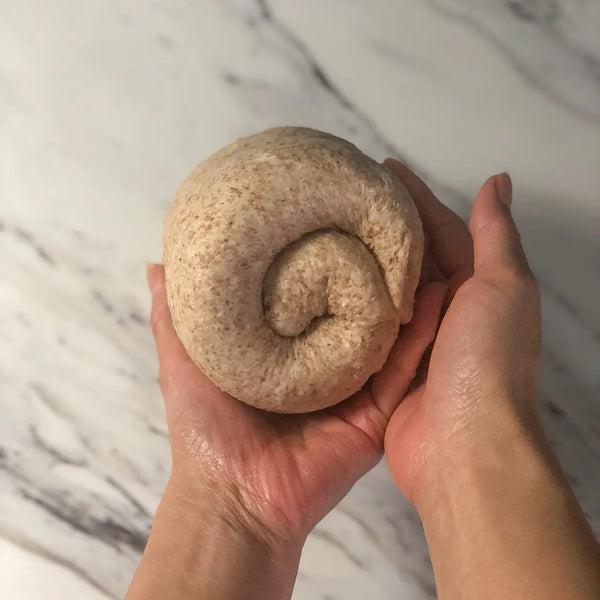
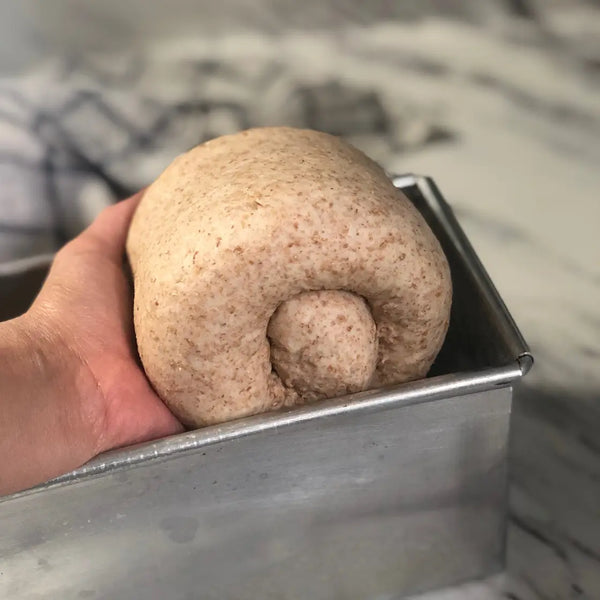
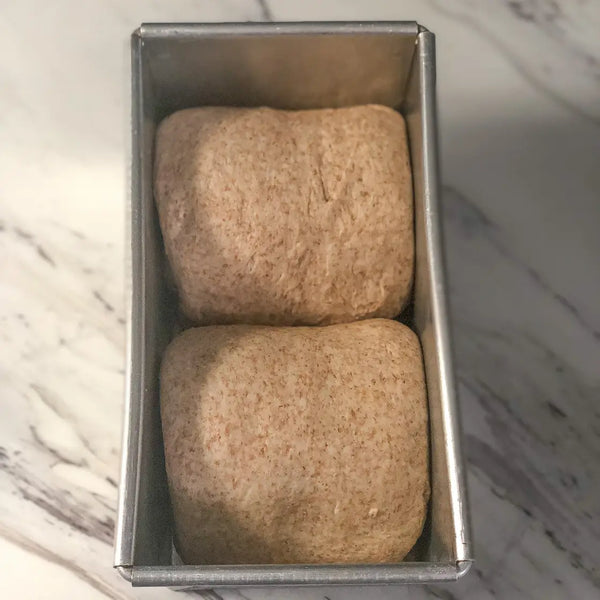
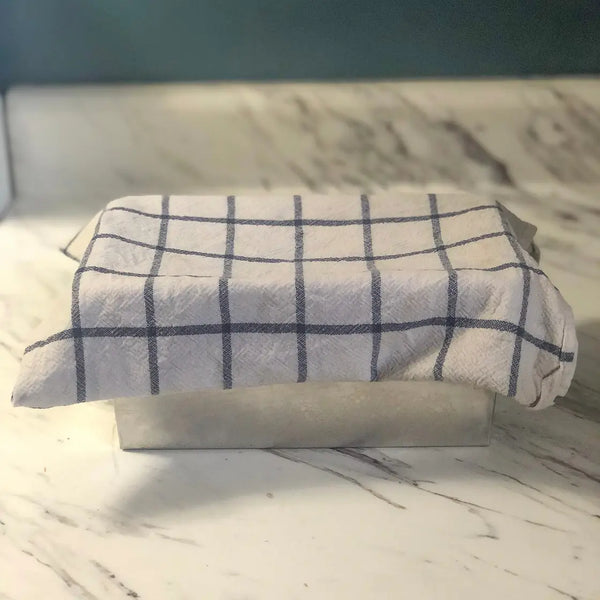
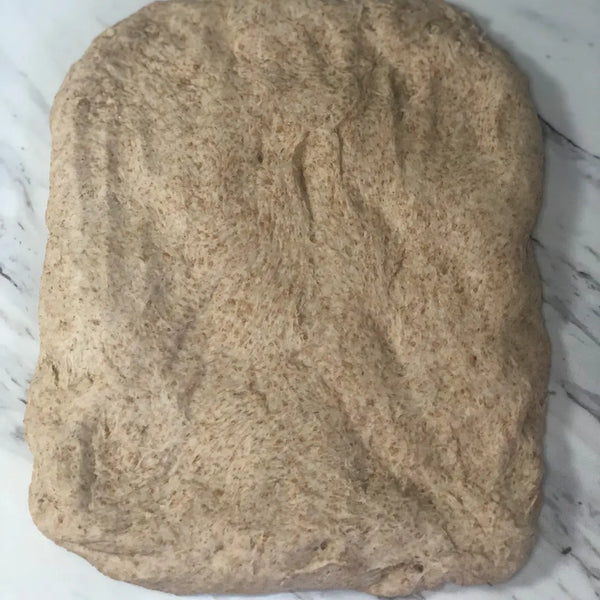
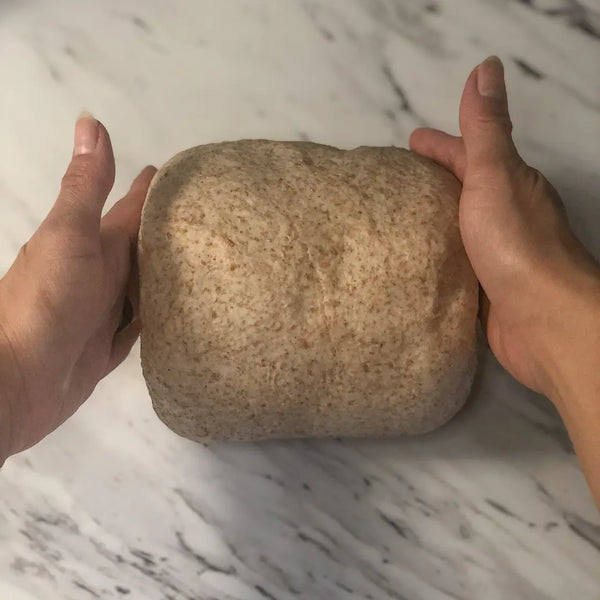
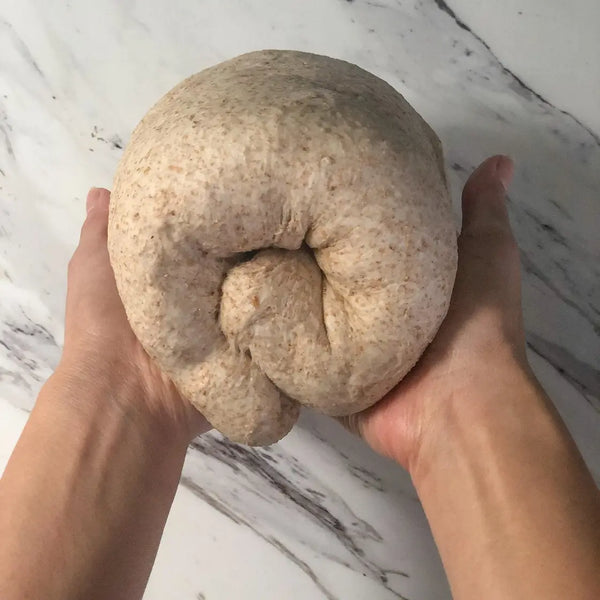
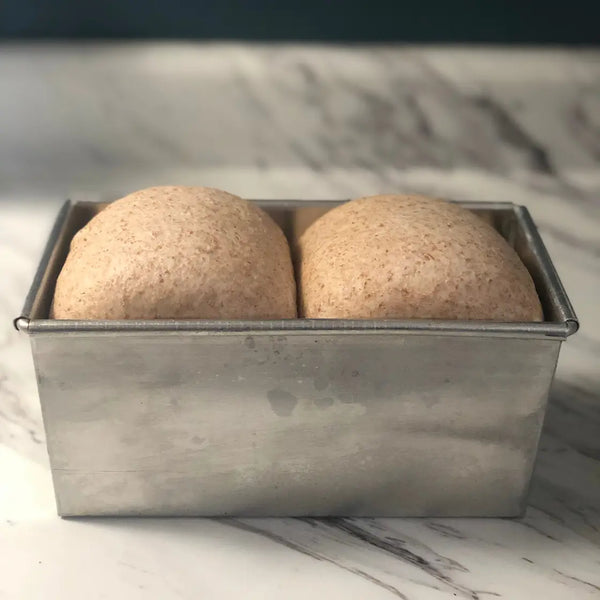
6) Shaping the Dough & Final Fermentation
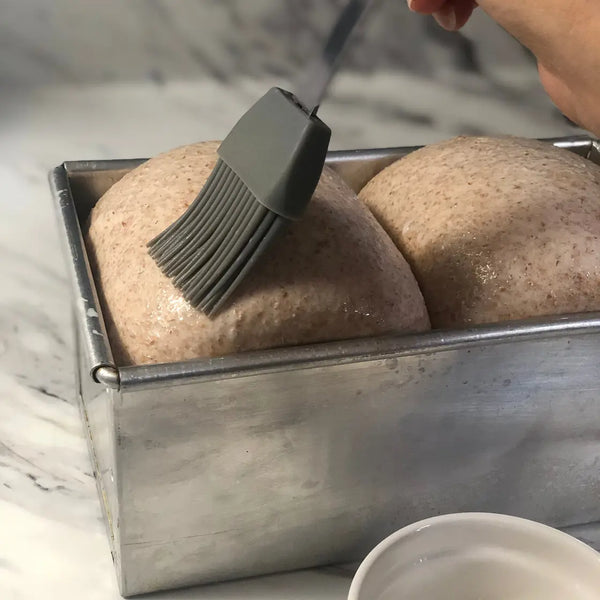
Use a rolling pin to shape the dough into a rectangle, fold both ends, and then roll it up. Pinch the edges of the dough closed with your fingers. Place the dough in the bread pan with the seam side down. 

Cover it with a damp cloth and let it rest for an hour in a warm place.

7) Baking the Bread

Brush milk onto the top of the bread and position it on the middle rack of the oven for 30 minutes at 400°F, followed by an additional 20 minutes at 375°F. 

Tip: After 20 minutes, inspect the bread; if the surface has achieved a delightful brown color, promptly cover it with foil to prevent excessive browning. (Perform this step swiftly to prevent a significant drop in oven temperature.)

When it's done baking, give the bread pan a gentle tap and, being careful not to burn yourself, remove the bread from the bread pan while it's still hot.

8) Serving the Bread

Wait for at least an hour before slicing the bread, as it won't cut nicely when it's hot. Enjoy this bread toasted for breakfast with butter or jam, or use it for making Japanese sandwiches.

Recommended products for this recipe

0 comments


Leave a comment

Please note, comments must be approved before they are published