How to Make Japanese Strawberry Shortcake-Japanese Taste

How to Make Japanese Strawberry Shortcake

by Ayako Kidokoro

Dessert Cake Birthday Christmas Fruit Popular

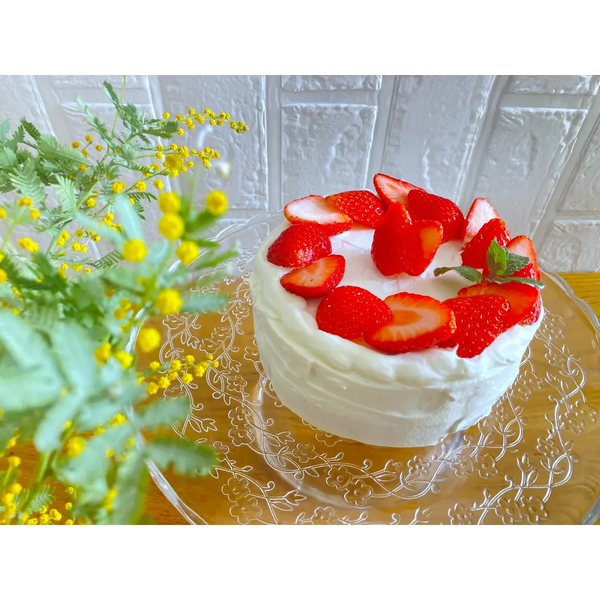
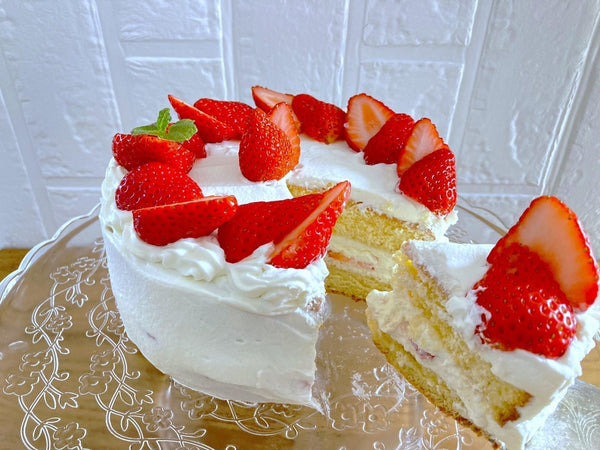
When Japanese people think about cakes, strawberry shortcake is probably the first cake that comes to mind. In fact, strawberry shortcake is one of the most popular cakes in Japan. The texture is so fluffy and light, and the combination of the cake, whipped cream, and strawberries is a match made in heaven. Strawberry shortcake is a perfect cake to eat on birthdays, Christmas, or any other special occasion.

The sweetness of the fluffy sponge cake, the richness of the whipped cream, and the freshness of the strawberries will create a perfect harmony in your mouth once you take a bite. Additionally, the layers of whipped cream and strawberries contribute moisture to the sponge cake.

The way strawberry shortcake came to be in Japan was due to a Japanese cake shop called 'Fujiya.' It is said that the founder of the Japanese cake shop 'Fujiya' traveled to the USA to study western confectionery in 1912. This experience inspired him to invent a Japanese version of shortcake. Unlike American shortcake, which consists of biscuits instead of cake, the owner of Fujiya believed that Japanese people would prefer a cake that had a moister and softer texture.

Achieving a perfect shortcake can be challenging. The decorating part may be especially difficult if you’re not used to frosting cakes at home. In this recipe, we provide the standard amount of fresh cream used for a 15cm cake, but you can also change up the amount of cream used if you’d like. You can also decorate the cake differently, by adding more layers of cream or omitting the cream altogether.

Strawberry shortcake is sold in cake shops all year round in Japan. You can also find shortcakes made with seasonal fruits, such as melon in summer or muscat and grapes in fall. If strawberries are not in season where you live, try making this cake with other fruits! We hope you’ll enjoy our strawberry shortcake recipe and have fun being creative with the decoration of this cake if you wish.
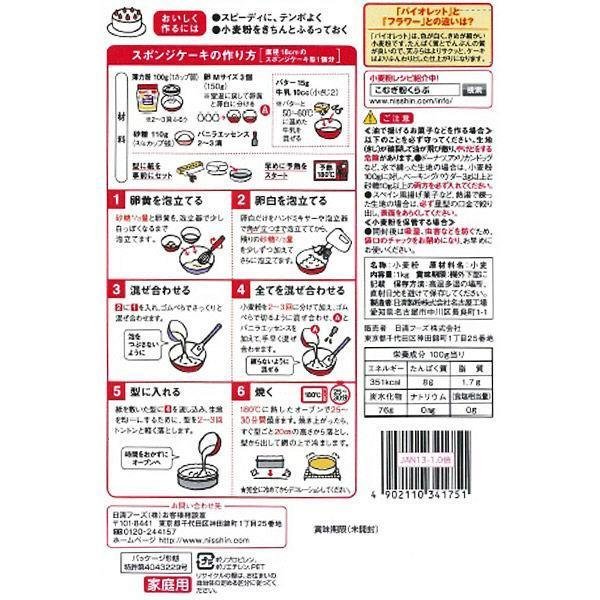
Overview

Prep time: 30 mins

Cook time: 60 mins

Total time: 1hr 30mins

Total servings: 4

Difficulty: Medium

Ingredients
  • 2 Eggs
  • 60g Sugar
  • 1 Tbsp Whole Milk
  • 10g Butter (melted)
  • 1 tsp Vanilla Extract
  • 60g All Purpose Flour
  • 250cc Fresh Cream (for the whipped cream)
  • 2 Tbsp Sugar (for the whipped cream)
  • 2 Tbsp Water (for the syrup)
  • 20g Sugar (for the syrup)

Expert's Tip

How to Make Japanese Strawberry Shortcake

It is best to use a whisk for whipping the cream in the end. It is difficult to know the best time to stop whipping with a hand mixer. This whisk is also made of high-quality stainless steel, so it will last in your kitchen for years. 

Instructions

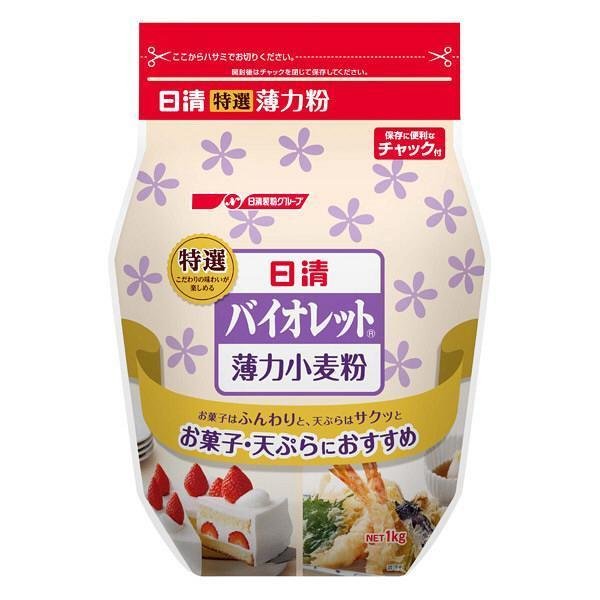
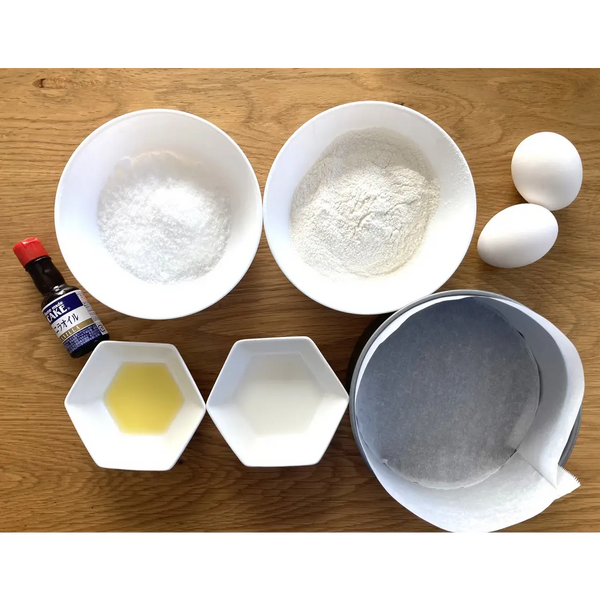
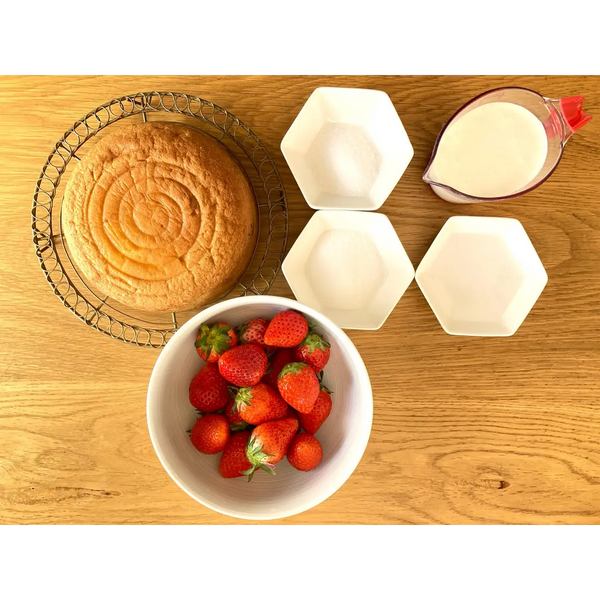
1) Gathering the Ingredients and Preheating the Oven

Gather the ingredients together. Preheat the oven to 180°C (350°F) and line a cake pan with parchment paper.

Note: We are using a pan that has a removable bottom.

2) Mixing the Eggs and Sugar
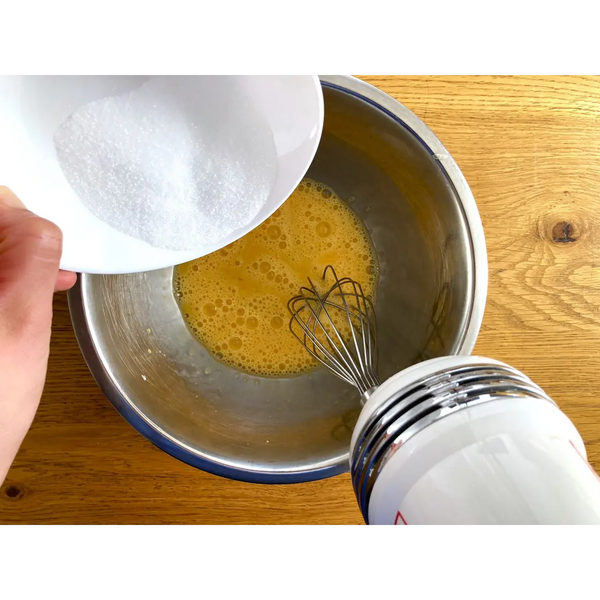
In a large bowl, add the eggs and sugar, and whip them with a hand mixer. Beat the eggs and sugar together until they become light in color and the texture becomes thicker. This will take about 6-7 minutes. The batter should form a ribbon when dropped from the whisk. Finish at low speed to make the eggs smooth until they look shiny.

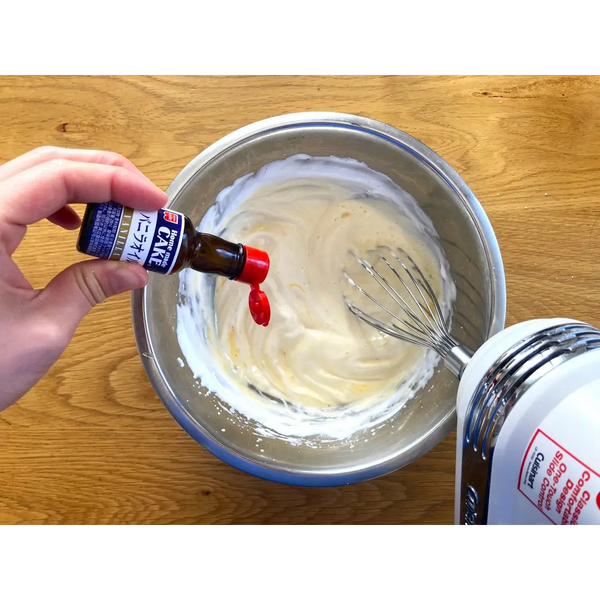
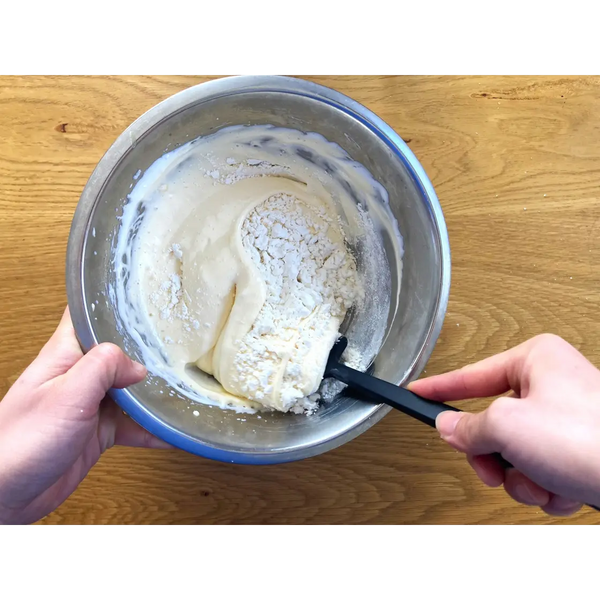
3) Adding in the Rest of the Ingredients

Combine the milk and melted butter together, and then add that and vanilla extract to the egg mixture. Once you’ve added all of the wet ingredients, switch to using a rubber spatula and add all-purpose flour. Fold the flour in gently to ensure there are no patches of flour in the batter. Add the butter very slowly and mix again until the entire mixture is evenly mixed.

Tips: This is an important step. Try not to deflate the batter by over-mixing it.

We use a rubber spatula instead of an electric hand mixer to be careful not to overmix or deflate the batter.

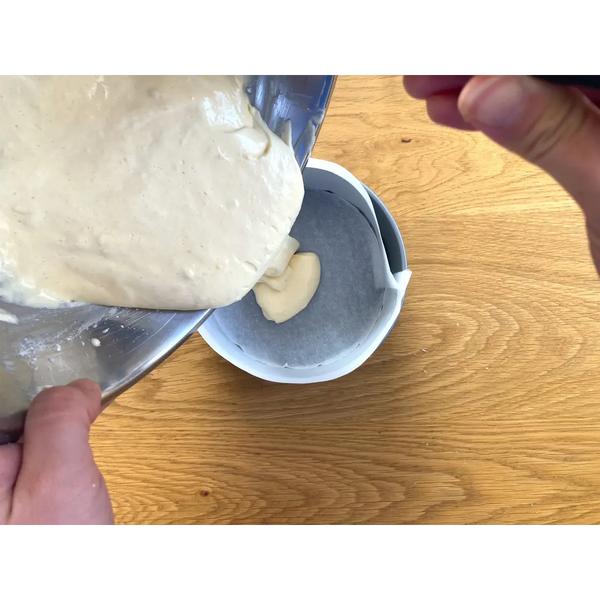
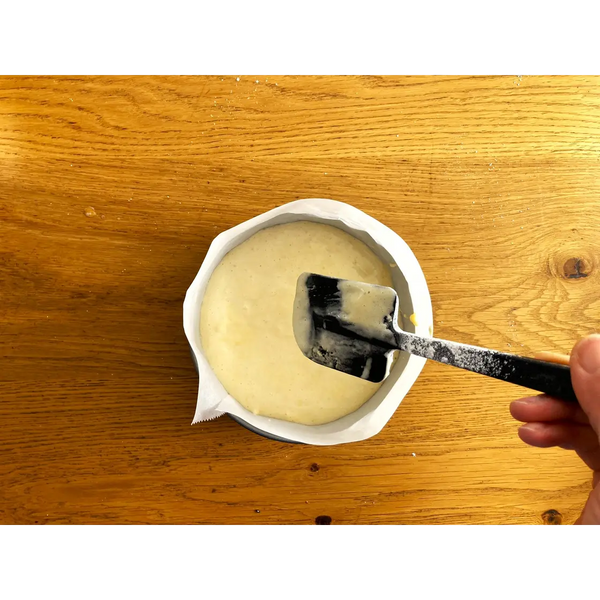
4) Pouring the Batter into the Cake Pan
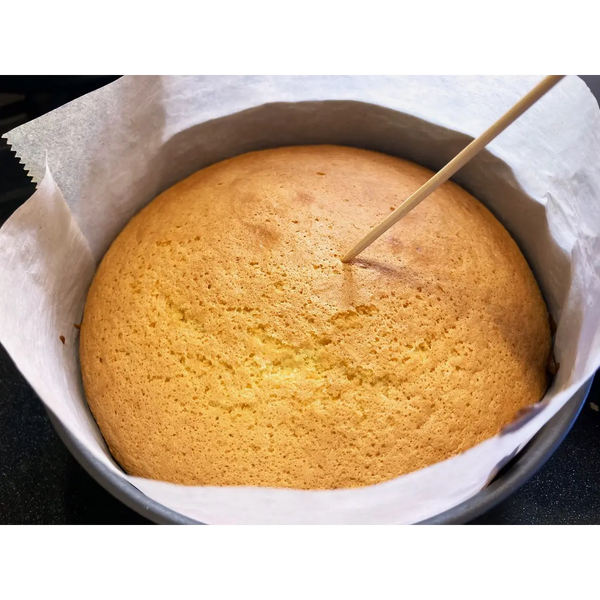
Pour the batter into the cake mold and flatten the surface lightly with a spatula. Tap the cake pan onto the counter to release any air bubbles in the batter.

5) Baking the Cake

Bake the cake at 180°C (350°F) for 25 minutes.

The cake is ready when the top turns golden brown and the surface of the cake has a light elasticity when gently touched. You can also check by poking the cake with a bamboo stick; if it comes out clean, it’s done.

Drop the cake on the counter to give it a "shock" so that it does not shrink. Leave it for 1-2 minutes on the wire rack. Then, take the cake out of the mold and let it rest until it completely cools.

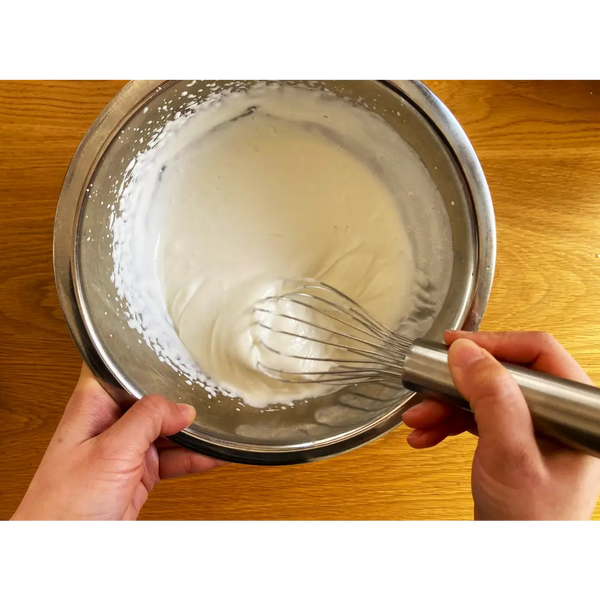
6) Ingredients for Decorating the Cake

Gather the ingredients for decorating the cake.

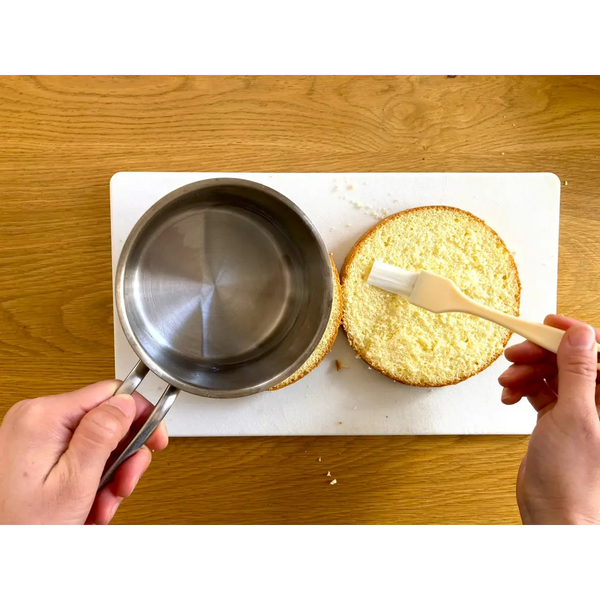
7) Making the Cake Layers & Decorating the Cake

Combine water and sugar for the syrup. This syrup is for preventing the cake layers from drying out. Heat the ingredients in a pan and dissolve the sugar.

Make sure the sponge cake has completely cooled, then slice it evenly through the middle to create two layers. Then, brush each layer with the sugar syrup that we just made.

Next, prepare the strawberries by slicing them thinly. Be sure to use strawberries that are all roughly the same size.

Add the cold fresh cream and sugar into a large bowl and beat it with the hand mixer until the cream thickens and develops soft peaks. To achieve a thicker cream for the top layer, whip the cream with a whisk on the edge of the bowl.

Spread the whipped cream evenly and then place an even layer of sliced strawberries on top. Add another layer of whipped cream and place the top layer of the cake over the cream.

Tip: We recommend using an offset spatula to frost the cake with whipped cream.

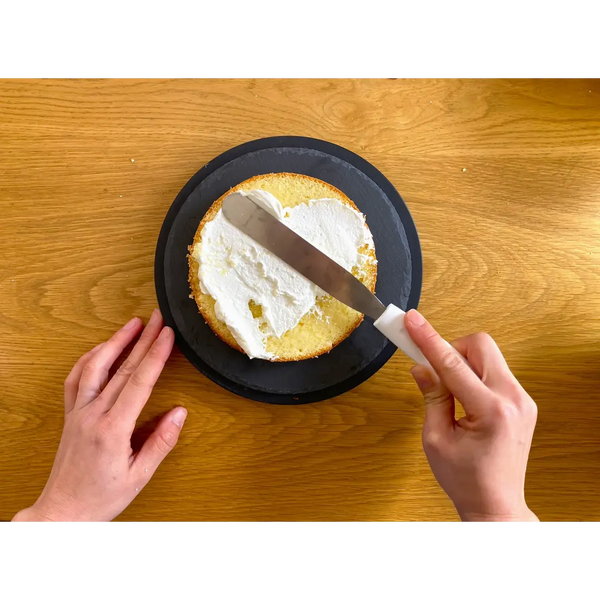
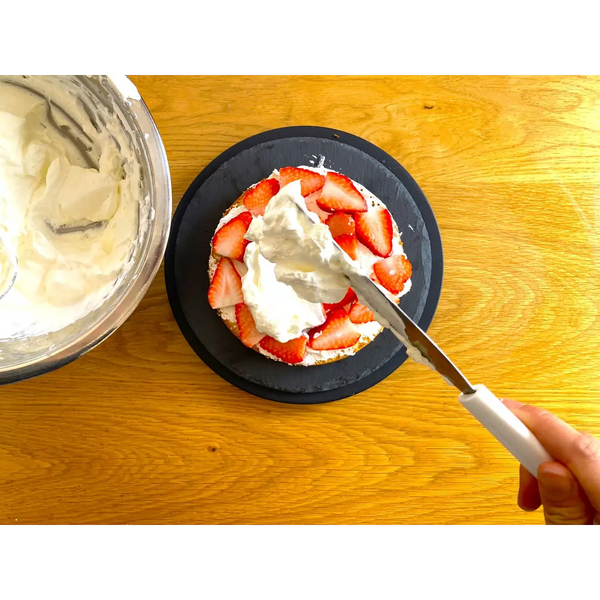
8) Decorating the Cake

Add the rest of the whipped cream on top of the cake. Then, cover the sides of the cake with cream.

Whip the cream again with a whisk to form stiff peaks. Then, put the cream into the piping bag. Decorate the cake as you wish with the remaining whipped cream and strawberries, and it's done!

Note: This cake tastes better after resting overnight. You can also keep the cake in the refrigerator for up to 2 days.

Recommended products for this recipe

0 comments


Leave a comment

Please note, comments must be approved before they are published