How to Make Ohagi (Japanese Sweet Rice Balls for the Autumn Season)

How to Make Ohagi (Japanese Sweet Rice Balls for the Autumn Season)

by Megumi Moriya

sweets dessert wagashi Autumn dessert seasonal

The combination of anko (sweet azuki red bean paste) and mochi is a popular staple in traditional Japanese sweets. One such treat is ohagi.

Ohagi, also known as bota-mochi, is made with anko and mochigome (glutinous rice). Unlike mochi, where the rice is pounded into a smooth, sticky texture, ohagi keeps the rice grains intact, giving it a chewy texture. This unique texture is what makes ohagi special, allowing you to feel the individual grains as you eat.

Ohagi was originally created as an offering during ohigana Buddhist event held twice a year when people honor their ancestors by visiting graves. It is often paired with tubuan, a chunky version of azuki red bean paste. The red color of azuki beans was thought to ward off evil spirits, and since sugar was once a luxury, the combination of azuki and sugar was a special way to show respect to ancestors.

Although similar, ohagi and bota-mochi are slightly different. In spring, people eat bota-mochi, named after the botan (peony) flower, while in fall, they enjoy ohagi, named after the hagi (bush clover) flower. Another difference is that bota-mochi is made with smooth anko (koshian), while ohagi uses chunky anko (tubuan).

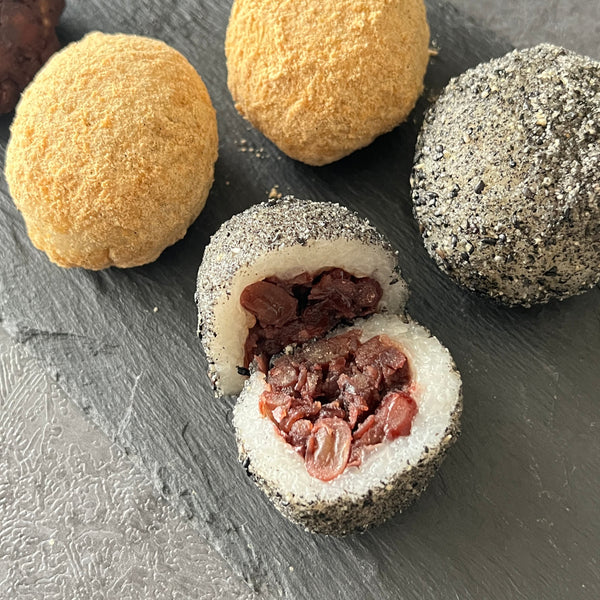
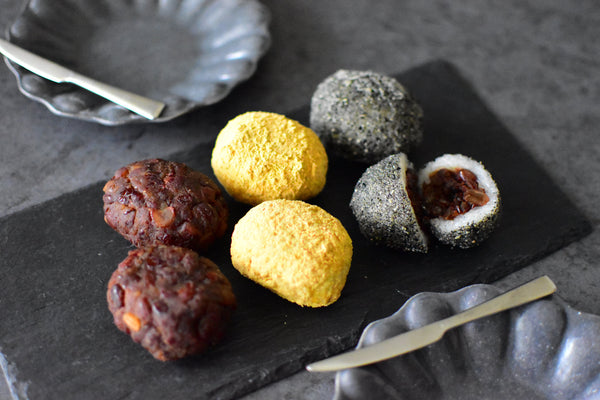
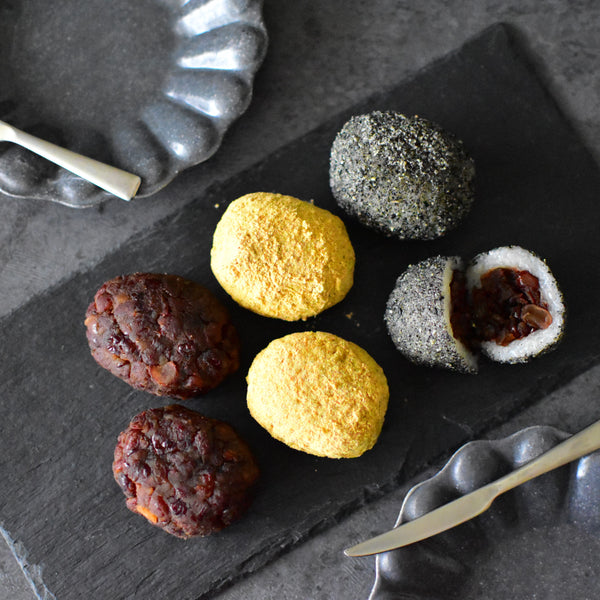
While tubuan is the most common filling for ohagi, there are other flavors like kinako (roasted soybean flour) and black sesame seed, which also have tubuan inside.

Some recipes use a mix of mochigome and regular rice (uruchimai), but I prefer using 100% mochigome for a more chewy, mochi-like texture. To keep the rice soft, I add sugar during the steaming process, which helps it stay moist.

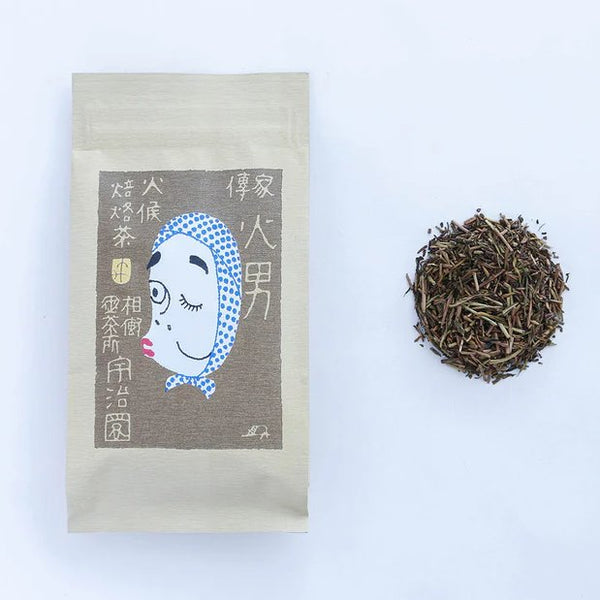
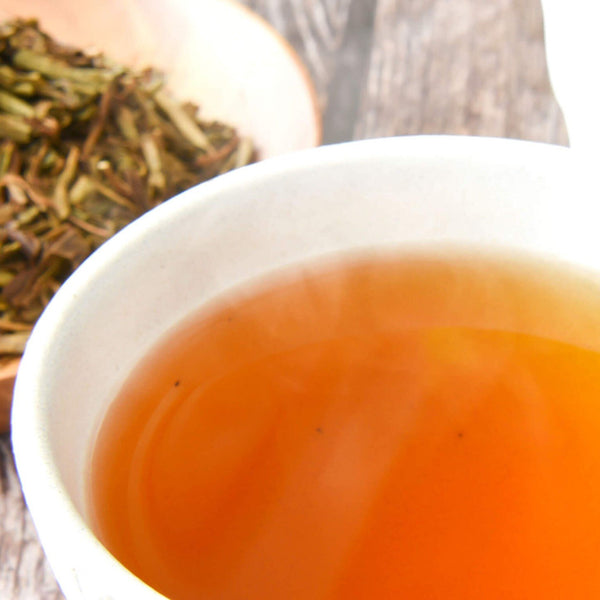
Though ohagi may be unfamiliar to some, it’s a traditional Japanese sweet worth trying. It pairs perfectly with hojicha-roasted green tea, where the sweetness of the anko balances the tea's smoky, mellow finish, creating a rich and refreshing taste experience. 

Overview

Prep time: 20 mins

Cook time: 50 mins

Total time: 1hr 10mins

Total servings: 6

Difficulty: Medium

Ingredients
  • 150g Mochigome (sticky rice, glutinous rice)
  • 180ml Water (for steaming)
  • 1Tbsp Sugar
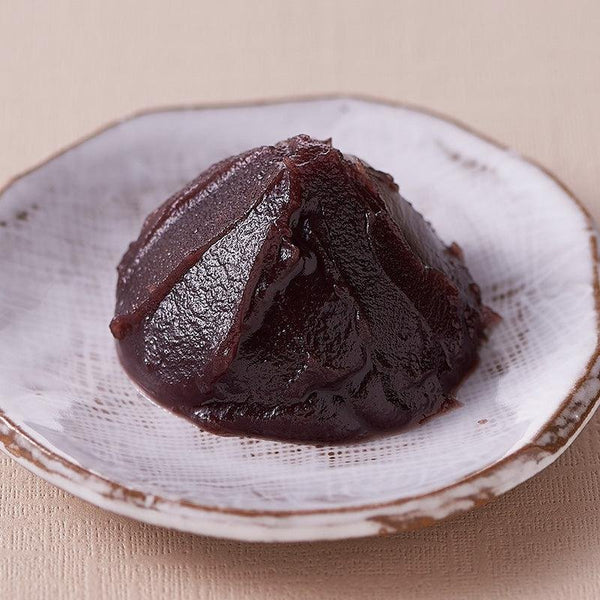
  • 190g Chunky Azuki Red Bean Paste
  • 1Tbsp Kinako Powder
  • 1Tbsp Sugar (for the kinako mixture)
  • A pinch of Salt
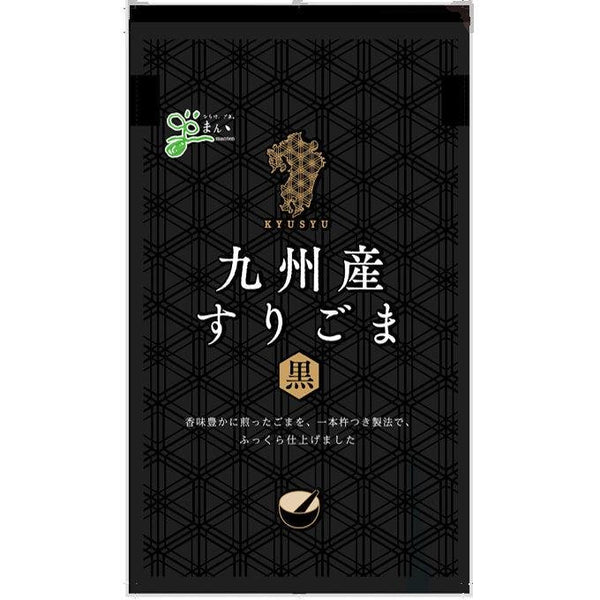
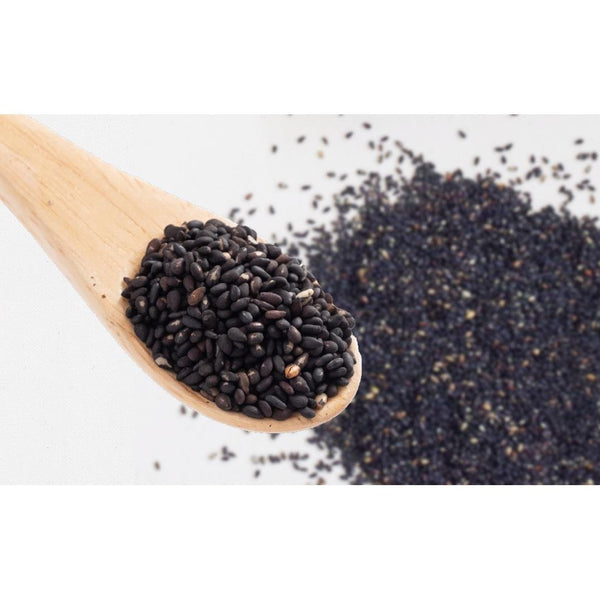
  • 1Tbsp Ground Black Sesame Seeds
  • 1Tbsp Sugar (for the black sesame seed mixture)
  • A pinch of Salt (for the black sesame seed mixture)

Expert's Tip
How to Make Ohagi (Japanese Sweet Rice Balls for the Autumn Season)

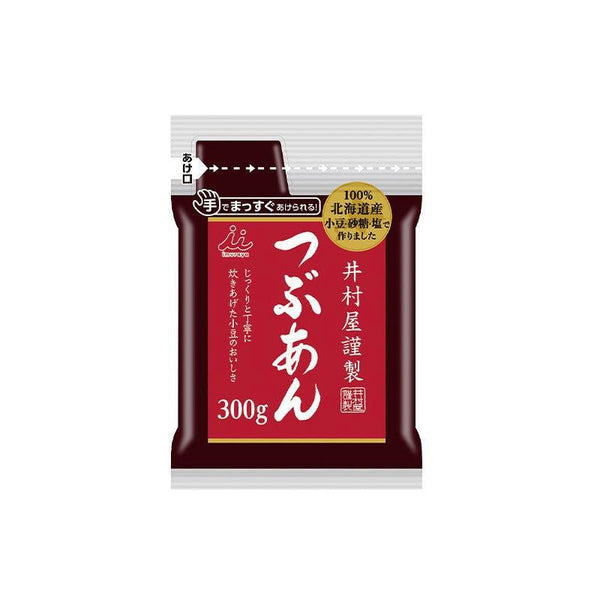
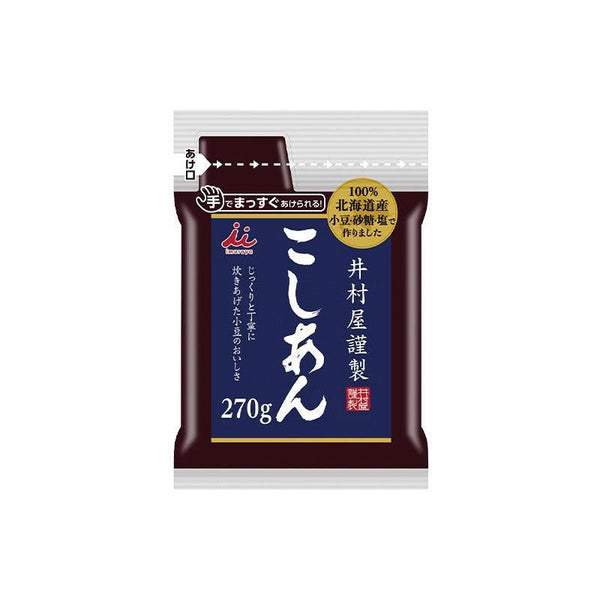
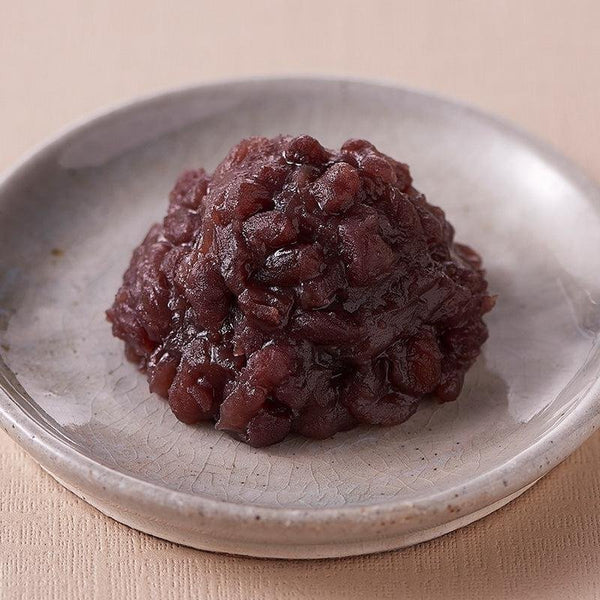
When making ohagi, using homemade tsubuan (chunky azuki red bean paste) is highly recommended for retaining the authentic azuki flavor. This product is crafted from high-quality azuki beans, sugar, and salt sourced from Hokkaido, offering the true taste of Japan. With this convenient paste, you can easily create delicious ohagi by simply steaming mochigome at home!

Instructions
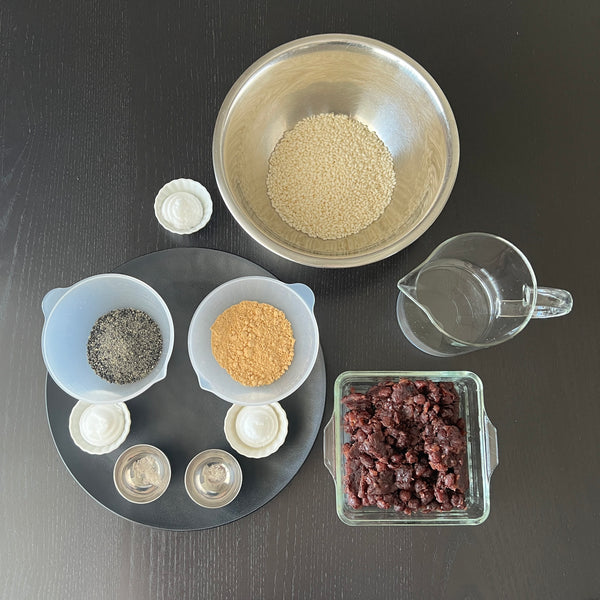
1) Gathering the Ingredients

Start by collecting all the ingredients needed for the recipe. This includes mochigome (glutinous rice), anko (azuki red bean paste), sugar, and any additional flavorings such as kinako (roasted soybean flour) or ground black sesame seeds.

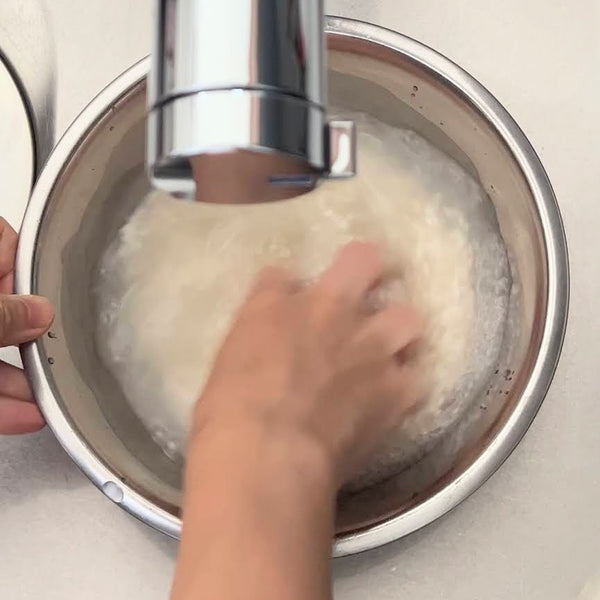
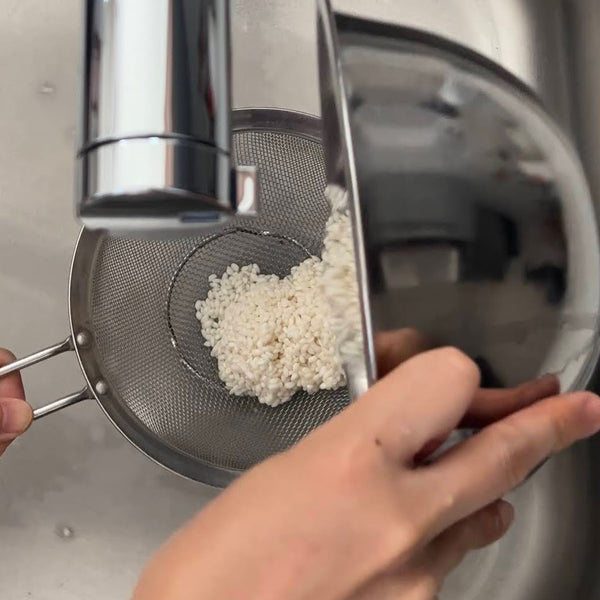
2) Preparing the Mochigome

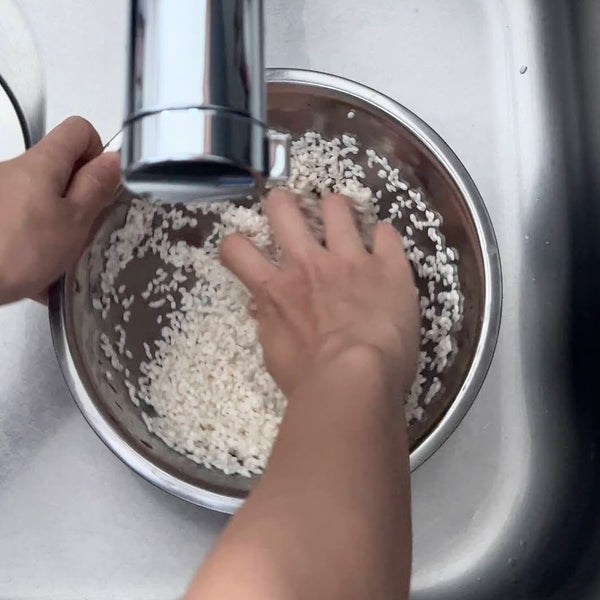
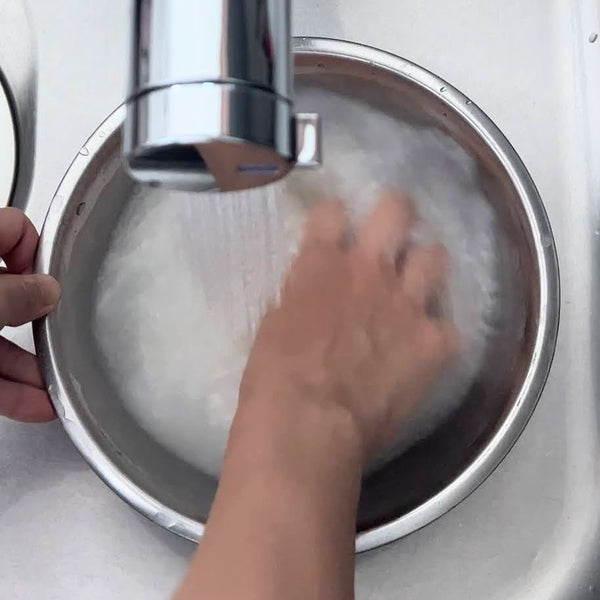
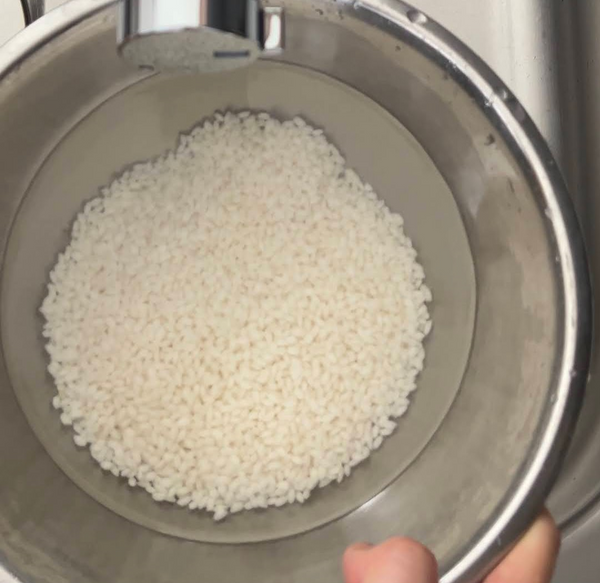
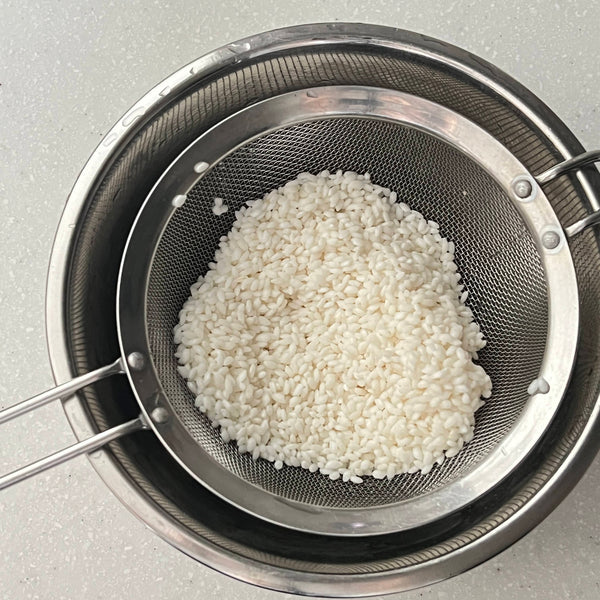
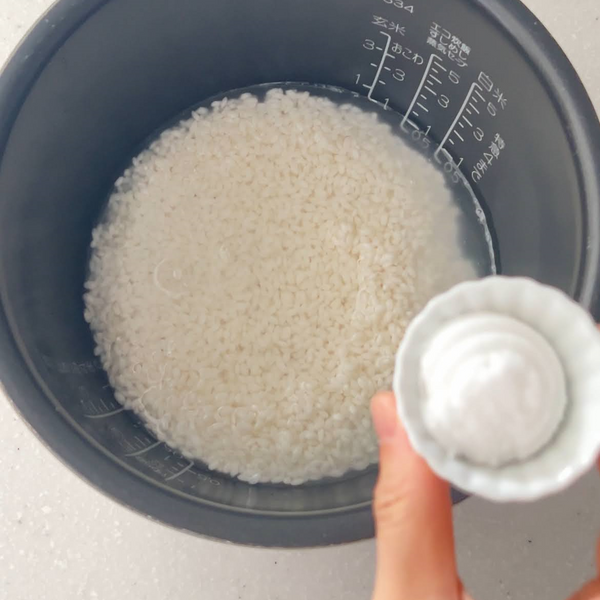
To prepare the mochigome (glutinous rice), start by placing it in a bowl and covering it with water. Stir the rice gently with your hand, then drain the water quickly. Repeat this process by adding fresh water and stirring again, rinsing about three times until the water runs clear. Once the rice is clean, drain it thoroughly and transfer it to a bowl.

Let the rice soak in fresh water for 15-30 minutes to soften it before cooking.

3) Steaming the Mochigome

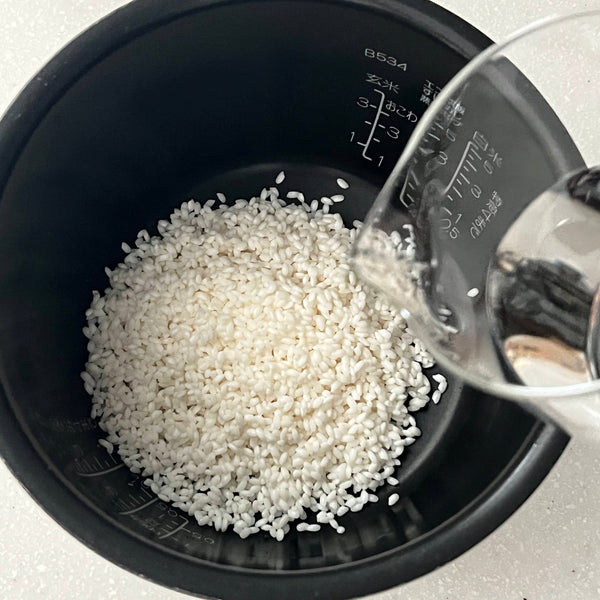
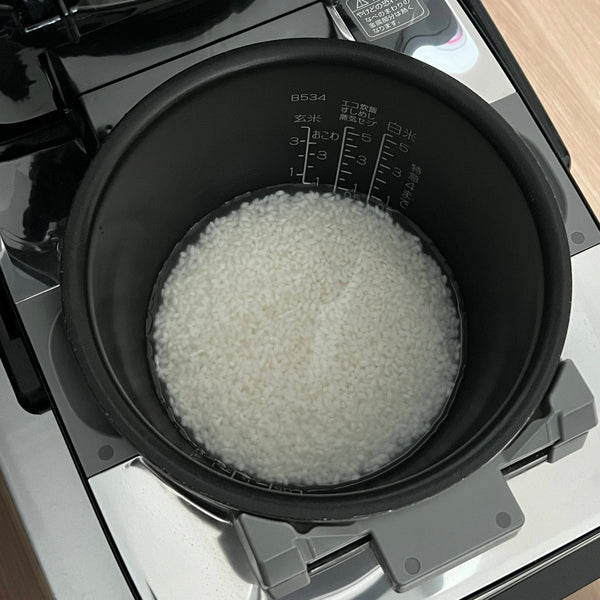
To steam the mochigome, first drain the water thoroughly after soaking for 15-30 minutes. Transfer the rice to a rice cooker, then add 180ml of water and 1 tablespoon of sugar. Stir gently to combine, then start cooking using the regular rice cooking mode.

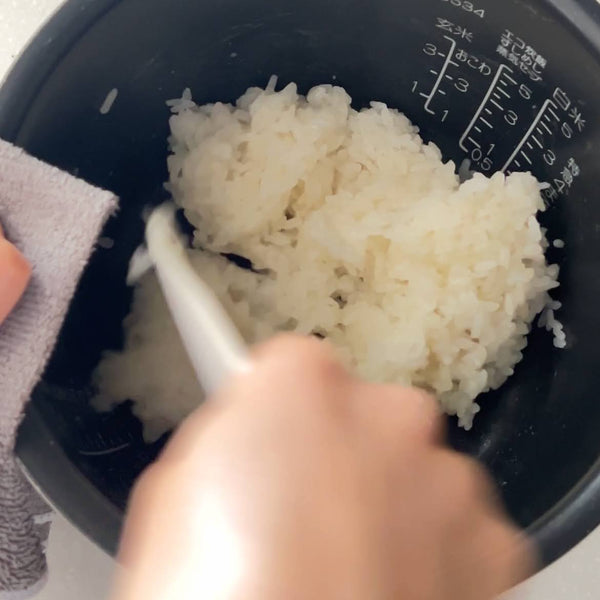
Once the rice is fully cooked, gently flip it from the bottom using a spatula. Take 230g of the steamed rice and flip it again with a light pressing motion. Be careful not to press too hard, as mochigome becomes sticky and mochi-like. The goal is to maintain the texture of each grain for the perfect ohagi.

4) Weighing the Red Bean Paste and Steamed Mochigome

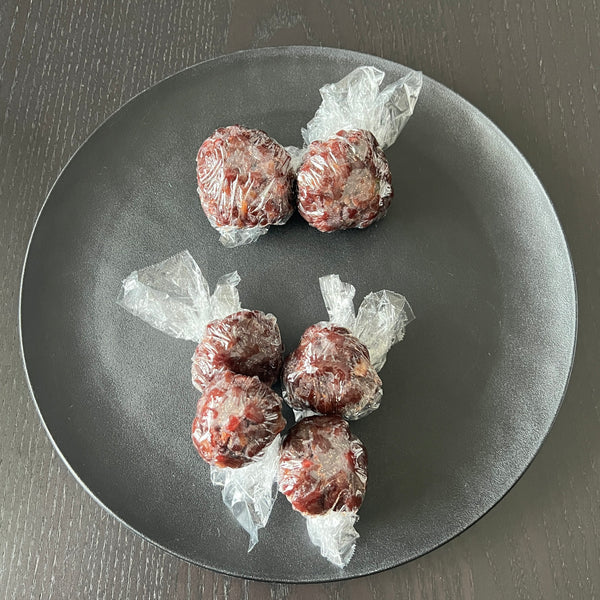
Weigh the red bean paste and steamed mochigome using plastic wrap for easy handling. We’ll be making 6 portions divided into 3 flavors, with 2 portions for each flavor.
For the tubuan flavor, measure 45g of red bean paste for each of the 2 portions. For the kinako and black sesame seed flavors, measure 25g of red bean paste for each of the 4 portions.

Next, for the steamed mochigome, measure 25g for each of the 2 tubuan portions, and 45g for each of the 4 kinako and black sesame seed portions.

5) Shaping the Ohagi

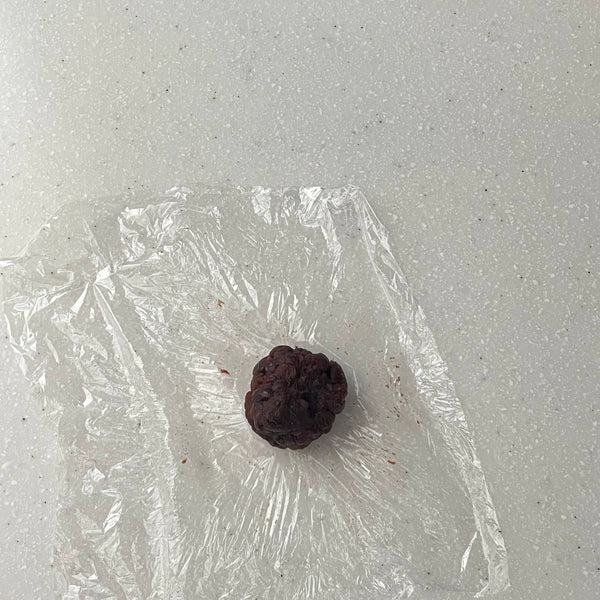
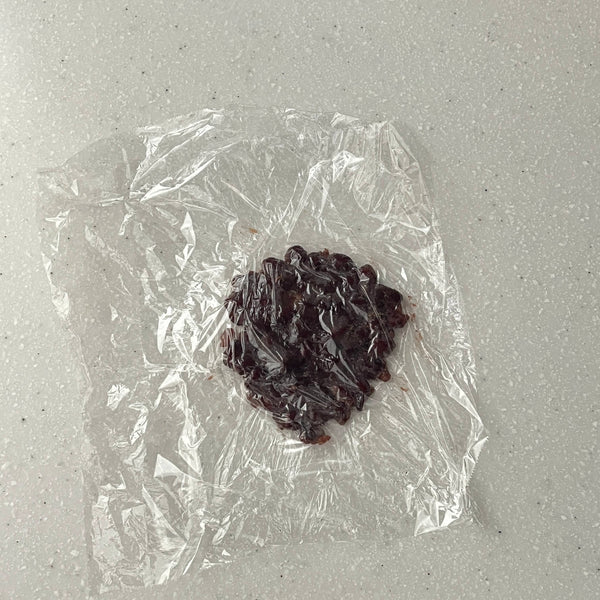
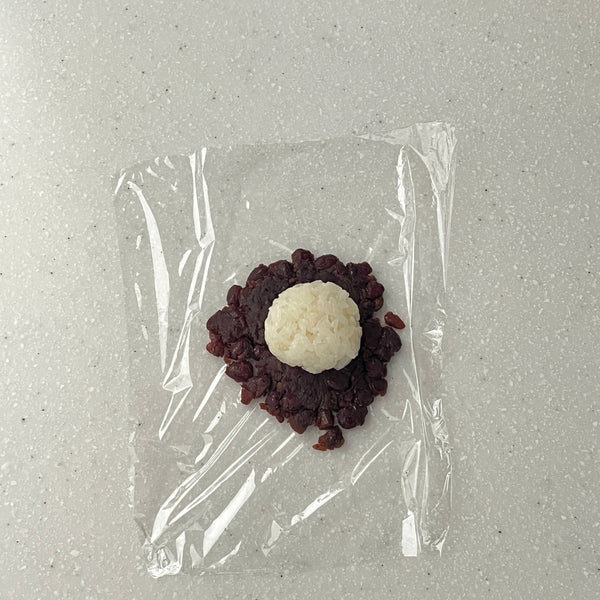
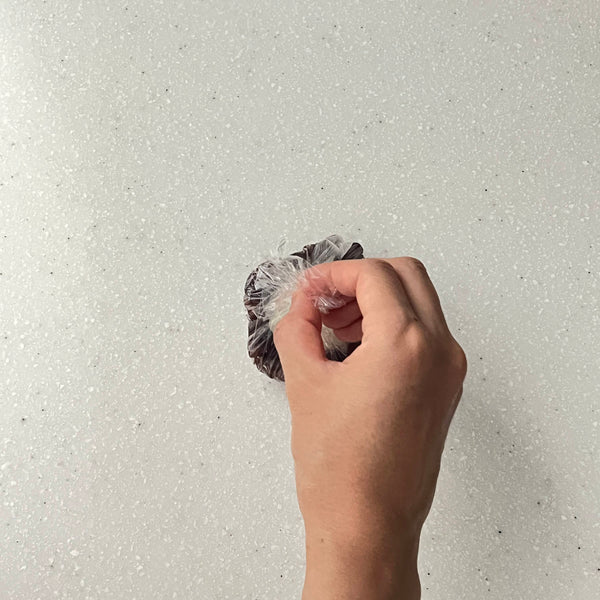
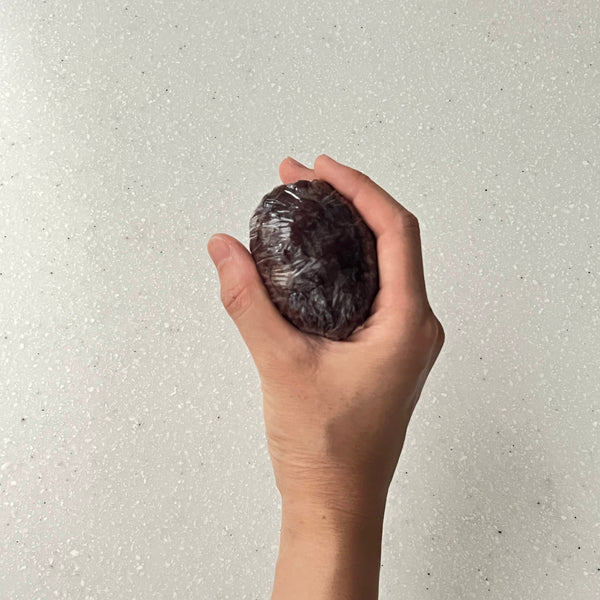
To shape the ohagi for the tubuan flavor, start by taking 45g of tubuan (chunky red bean paste) and forming it into a round ball. Place it on a piece of plastic wrap and cover it with another layer of plastic wrap. Press the tubuan tightly to flatten it slightly. Remove the top layer of plastic wrap and place 25g of steamed mochigome in the center. Wrap the tubuan around the mochigome, shaping it into an oval ball. Your tubuan flavored ohagi is now ready to eat.

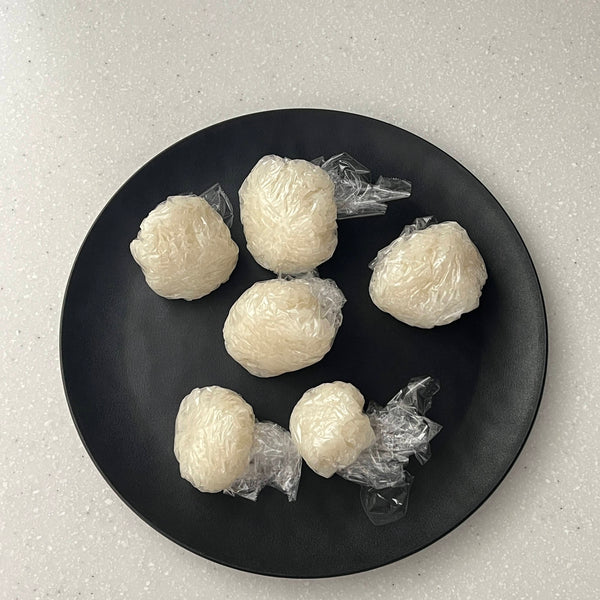
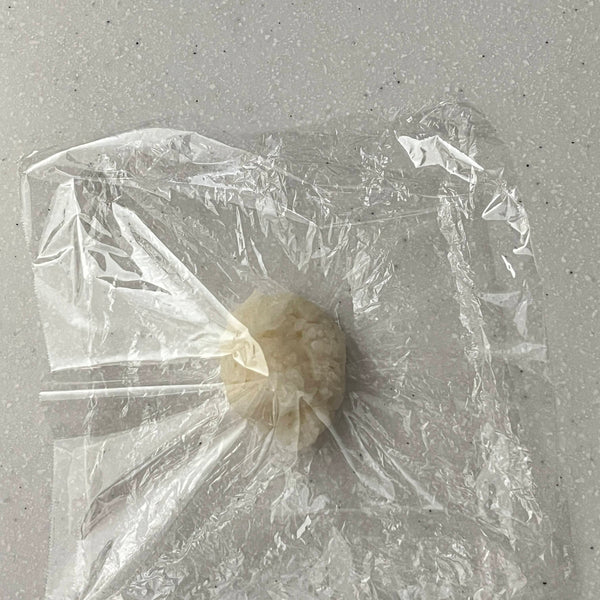
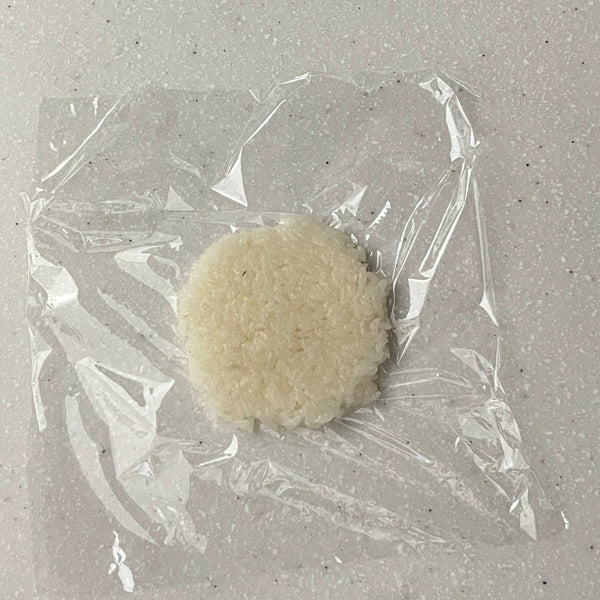
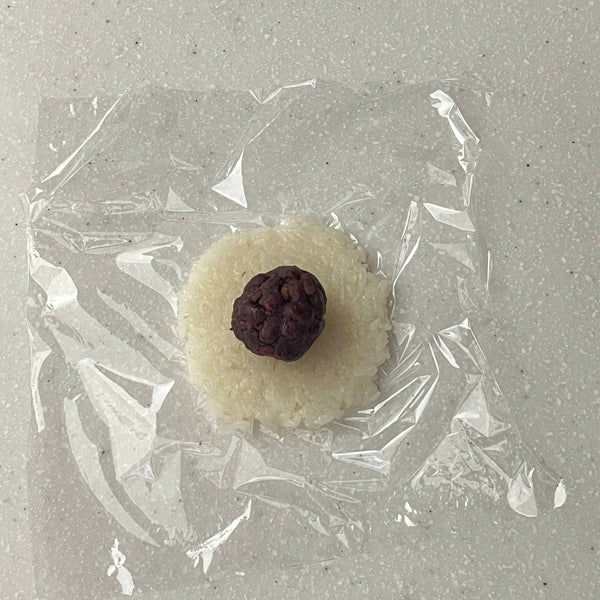
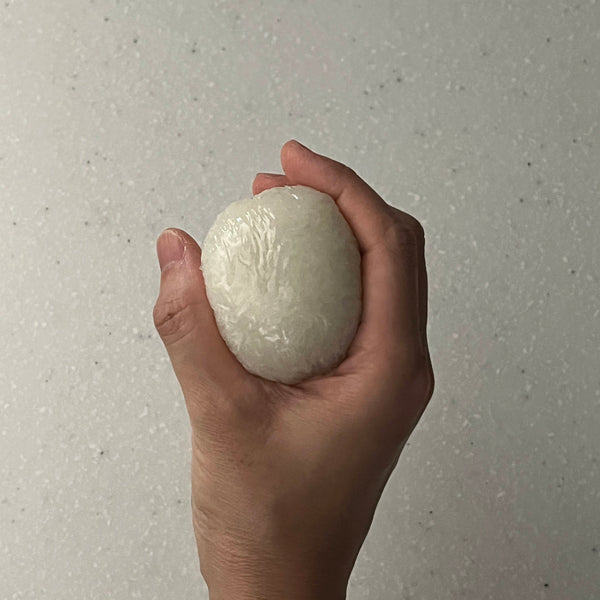
For the kinako and black sesame seed flavors, take 45g of steamed mochigome and shape it into a round ball. Place it between two layers of plastic wrap and press tightly to flatten it slightly. Uncover the top layer, then place 25g of tubuan in the center. Wrap the mochigome around the tubuan, shaping it into an oval-shaped ball. In the next step, you will coat these with the kinako or black sesame seed mixtures.

6) Coating the Ohagi with Kinako and Black Sesame Seeds

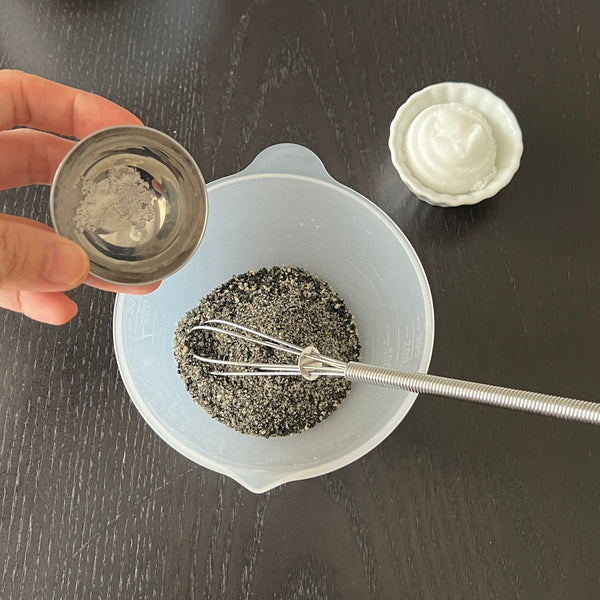
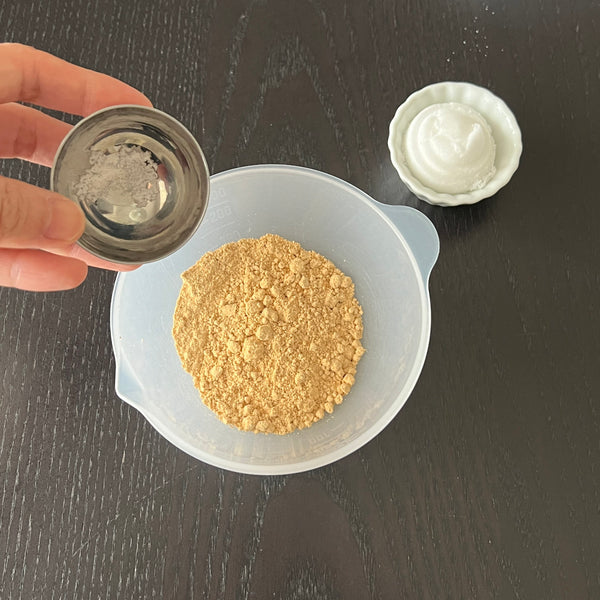
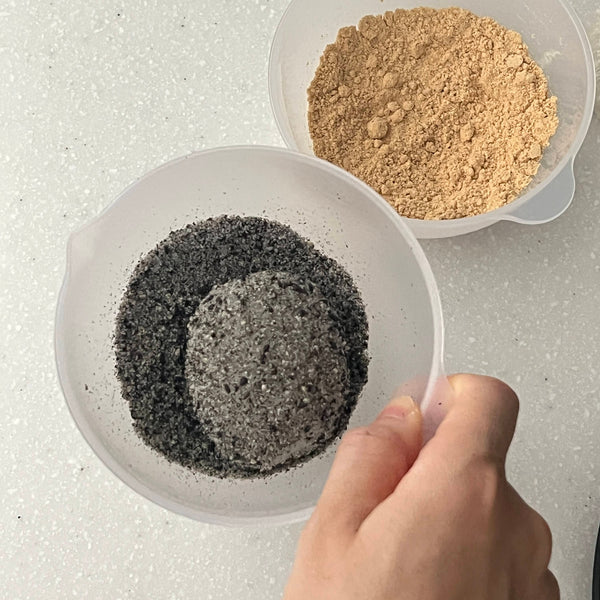
To prepare the coatings, first mix the kinako (roasted soybean flour), sugar, and a pinch of salt to create the kinako mixture. Next, mix the ground black sesame seeds, sugar, and a pinch of salt to make the black sesame seed mixture.

Once the mixtures are ready, take the ohagi prepared for the kinako and black sesame seed flavors, and coat each one thoroughly with its respective mixture.

7) Serving

Your ohagi is now ready! Arrange the different flavors—tubuan, kinako, and black sesame seed on a serving plate. Enjoy this delightful traditional Japanese sweet with your family or friends!

Recommended products for this recipe

0 comments


Leave a comment

Please note, comments must be approved before they are published