
How to Make Taiyaki – An Easy Taiyaki Recipe
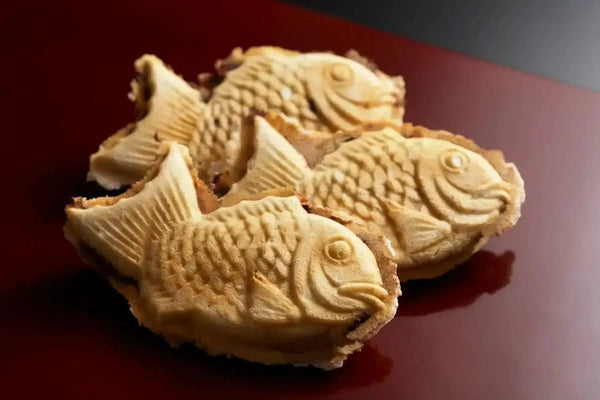
There is a crispy and sweet fish-shaped dessert in Japan. But wait, it’s not as strange as you might think! This dessert is known as taiyaki. If you are Japanese, you must have eaten this Japanese sweet at least once during your childhood.
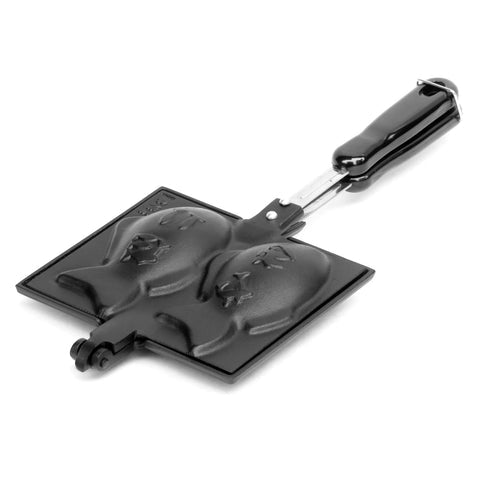
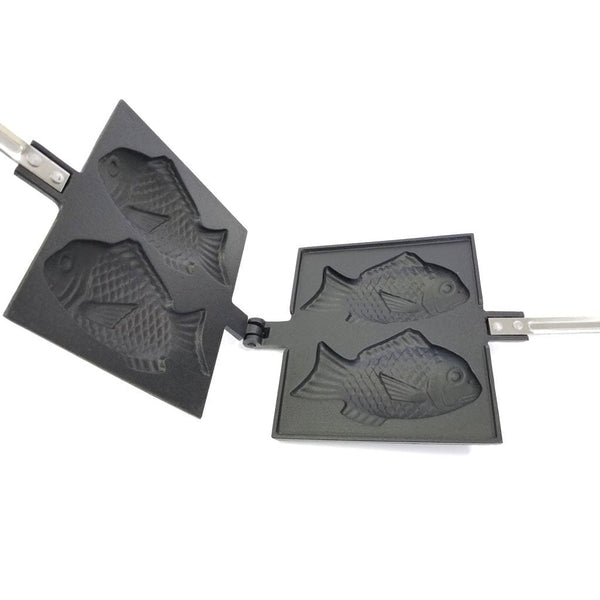
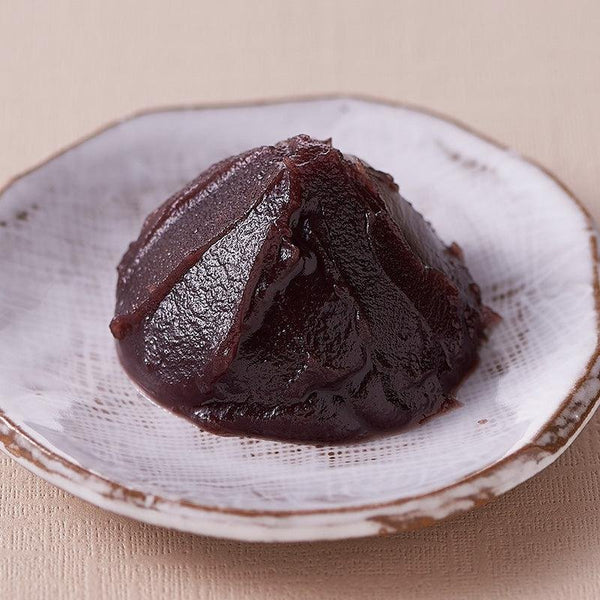
Taiyaki is a Japanese waffle-like dessert that looks like sea bream. “Tai” means “Sea bream” and “Yaki” means “Bake” in Japanese, thus - baked sea bream. Taiyaki contains an outer waffle-type layer that is crispy and lightly sweet, and the interior is normally filled with fluffy red bean paste.
While red bean paste is the most traditional filling for taiyaki, other common filling options are custard, white bean paste, or even chocolate. Depending on the shop or stall, you can even find fillings such as matcha custard, cream cheese, or even savory options like curry.
It’s a special sweet, especially nostalgic for many Japanese because we have childhood memories of eating them from festival stalls.
Taiyaki is sold everywhere in the same flavor and shape in Japan, with no particular regional differences in taste. The expression of the sea bream may vary depending on the metal grilling machine that makes the shape of the sea bream.
Wait, but what does taiyaki actually taste like? Why is a dessert even fish shaped? Today, we would like to introduce you to the nostalgic and interestingly-shaped taiyaki.
*As a side note: red bean paste can be substituted for other fillings such as white bean paste, custard or chocolate cream. Just made sure that the filling is not too wet.
Overview
Prep time: 35 mins
Cook time: 5 mins
Total time: 40 mins
Total servings: 8
Difficulty: Easy
Ingredients
- 150g Cake Flour
- 1 tsp Baking Soda
- 1 tsp Baking Powder
- 15g Granulated Sugar
- 1/4 tsp Salt
- 1 Egg
- 75ml Milk (milk substitute is OK)
- 75ml Water
- Oil (for greasing the Taiyaki Mold)
Expert's Tip
One of the most important items you’ll need is a taiyaki maker to mold the sweets into the correct seabream shape. You can easily find inexpensive ones available to order on the Internet. There are two types of taiyaki makers: one that is directly heated on a gas stove, and the other is an electric plate type that can be cooked on a tabletop. You can choose the one that best suits your kitchen situation at home.The taiyaki maker has a sea bream shaped mold attached to the baking pan so that it will make the shape of a taiyaki when baked. If you want to go all out and make Instagram-worthy taiyaki that look as though they came straight from the store, then check out the Iwachu Nambu Japanese Cast Iron Taiyaki Maker made by famous Japanese ironware brand Iwachu. You’ll also need a bowl and a whisk!
Instructions
1) Whisking the Ingredients
In a large bowl, mix the all of the dry ingredients listed (except for the oil) to make the batter with a whisk.
2) Making the Batter
Add an egg, milk, and water into the bowl and mix well. Once the batter has been thoroughly mixed and all of the ingredients are incorporated, rest it in the refrigerator for 30 minutes.
3) Preparing the Taiyaki Pan
While waiting for the batter, separate red bean paste or filling into 8 portions.
4) Cooking the Taiyaki, part 1
Heat up the taiyaki maker. Oil each mold of the pan with an oil brush or paper towel to ensure the that batter doesn't stick to the pan. Pour the batter into each mold, and top each taiyaki with a dollop of red bean paste or your desired filling.
5) Cooking the Taiyaki, part 2
Add another small amount of batter on top and close the top lid of the maker.
6) Serving the Taiyaki
Wait for 2-3 minutes, until the taiyaki is golden brown and cooked through. (Adjust the cooking temperature according to your maker.)
That’s it! Enjoy the freshly baked taiyaki with your family and friends!
Pro tip: When reheating taiyaki that have cooled down, first heat them in the microwave for 30 seconds and then crisp them up in the toaster.
0 comments