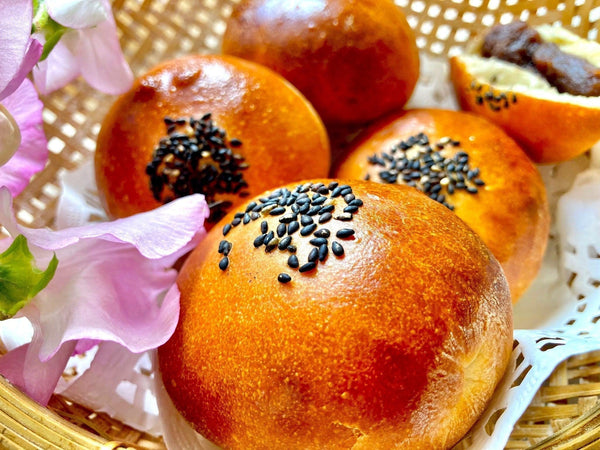
Anpan is a Japanese-style bread filled with sweet red bean paste. It was invented in 1874 by Yasubei Kimura, who was a Samurai.
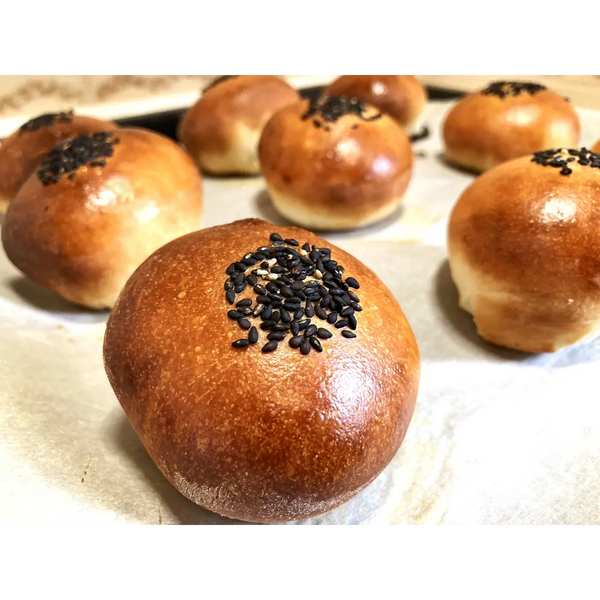
It's a classic! In fact, Anpan is the most traditional sweet bread in Japan. It is a perfect mix of Western and Japanese culture and taste. The texture of anpan is fluffy but chewy Japanese bread and is slightly sweet. The red bean paste, or anko, is also quite sweet, but not like Western desserts.
As Japan became more westernized during the Meiji period, the Samurai were no longer needed. This led Kimura to open up a bakery called “Kimuraya” in Tokyo. However, only hops yeast was available for making bread at this time, but it didn’t fit the taste of the Japanese palette. Kimura wanted to try something new, something more familiar to Japanese people.
Kimura came up with the idea of making bread that tastes like the Japanese sweet, Manju (a steamed sweet bun), but using Sakadane (Rice yeast), which is used to make sake instead of hops yeast.
He started selling Anpan in his bakery as a snack. As he was quite good at marketing, he decided to present his anpan to Emperor Meiji as a nutritious food. Kimura stressed that anpan contains Vitamin B1, which would help people not to contract the beriberi disease, a widespread disease in Japan during that time. Thanks to Kimura’s effort, Anpan became popular nationwide.
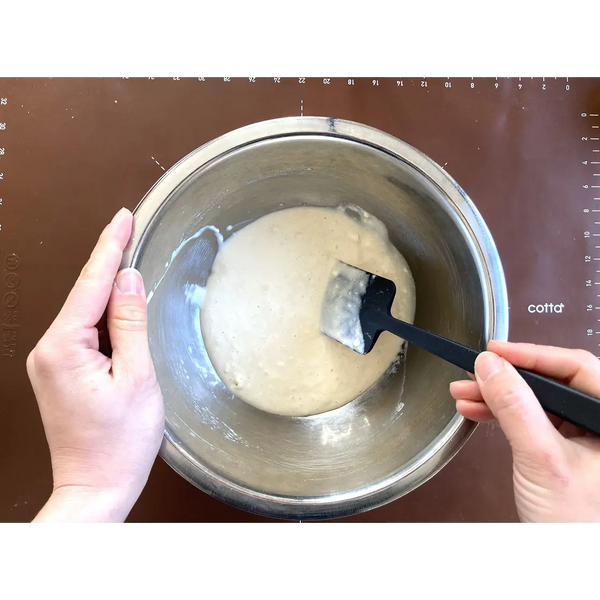
It is best to use Sakadane for making anpan because it gives it the traditional flavor. However, it takes at least 5 days to make the Sakadane yeast, so we will introduce an anpan recipe using a water roux instead. Not only is water roux easier to make, but it also gives anpan a similar texture as if using Sakadane. It contains a nice amount of water and helps to give anpan the chewy texture that it’s known for.
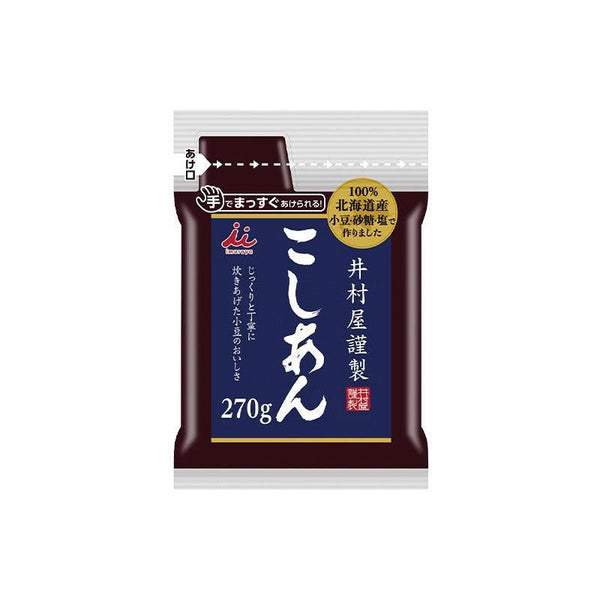
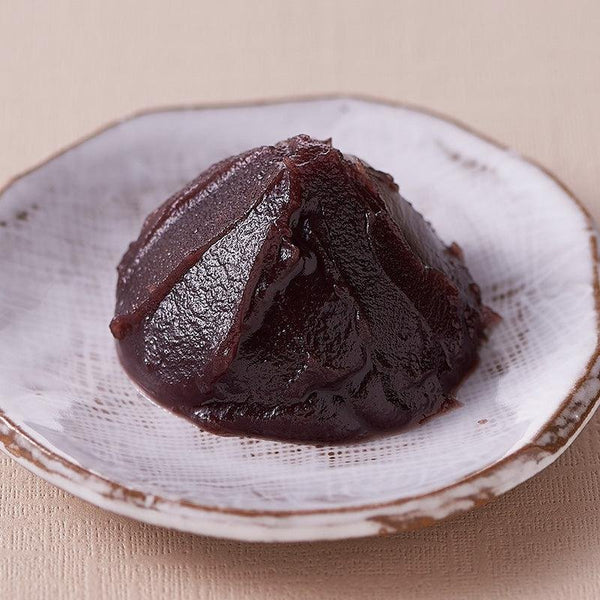
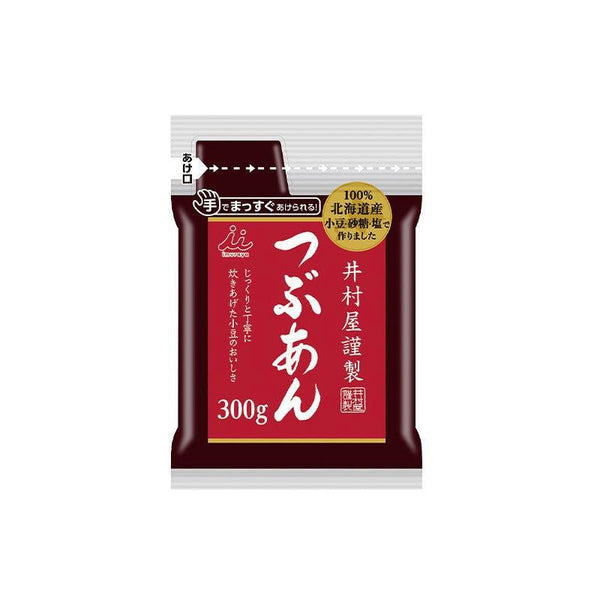
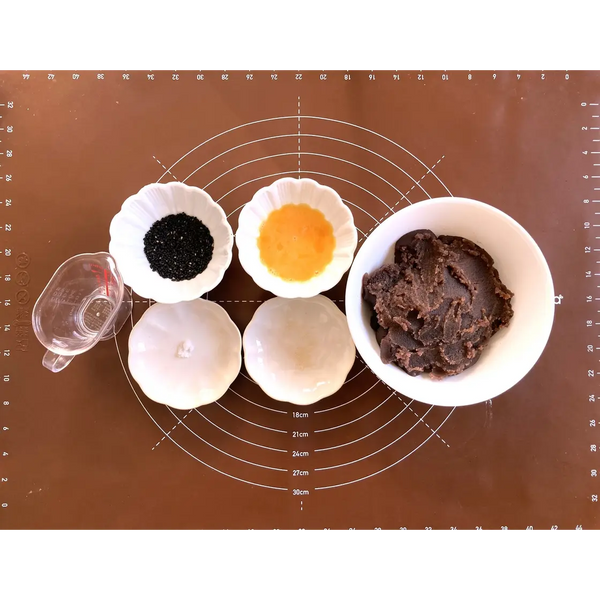
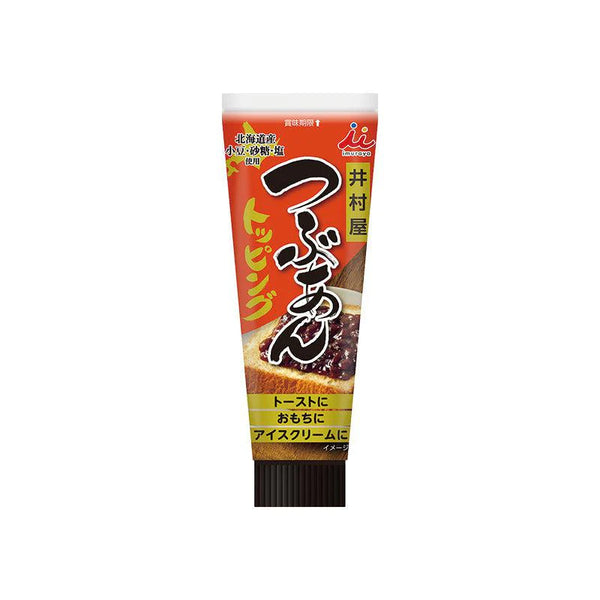
Depending on your tastes, you can use either smooth anko or chunky anko
Because Azuki beans are rich in nutrients such as fiber, protein, iron, and manganese, they make a perfect snack for the afternoon. Anko, made from Azuki beans, goes very well with green tea, but it also tastes surprisingly good with coffee.
Anpan is such a simple bread, yet it has had a significant impact on Japanese history. Follow along with this recipe to recreate the delicious yet nostalgic anpan.
Instructions
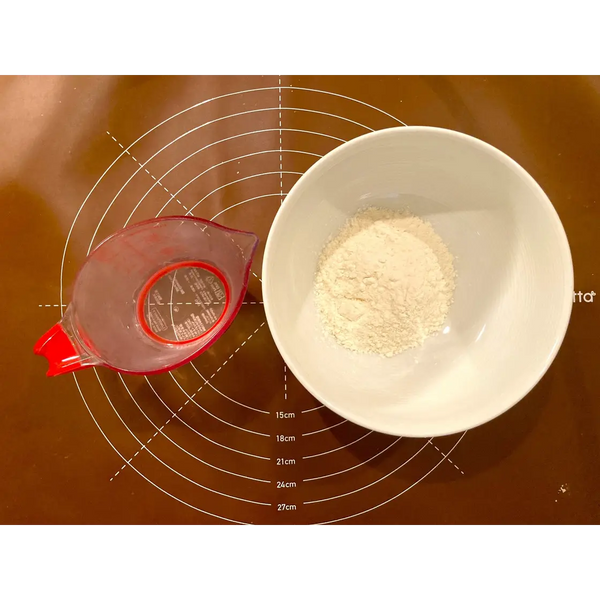
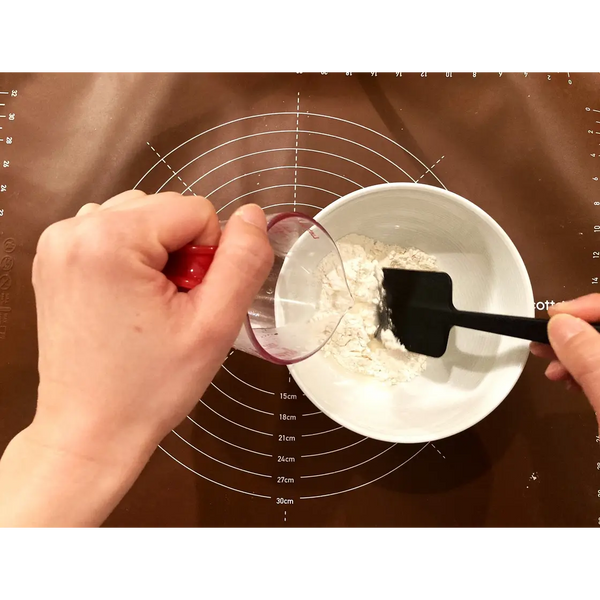
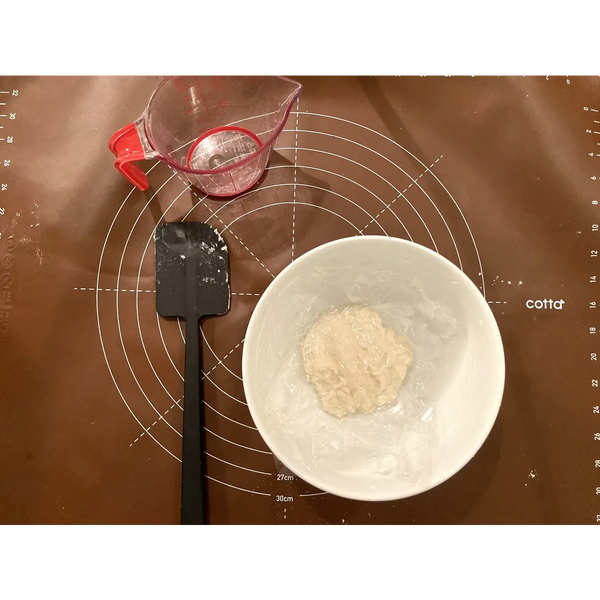
1) Ingredients for the Water Roux
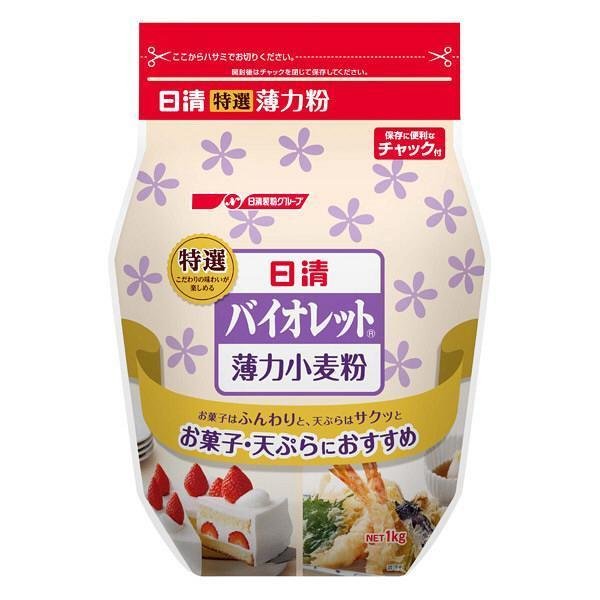
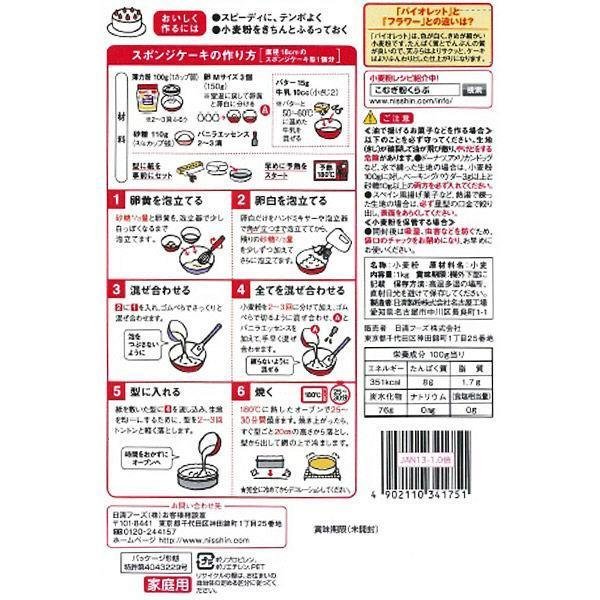
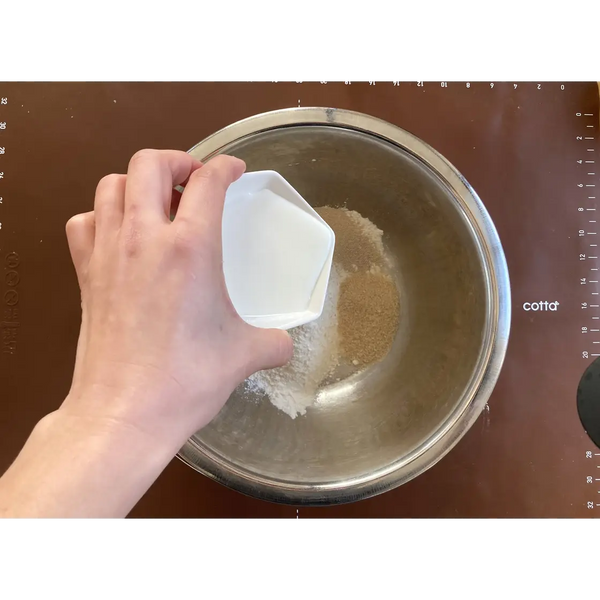
2) Ingredients for Making the Bread

Expert's Tip
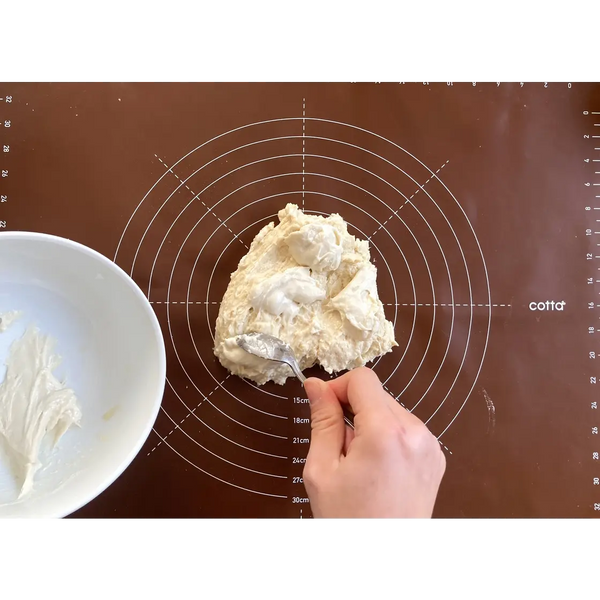
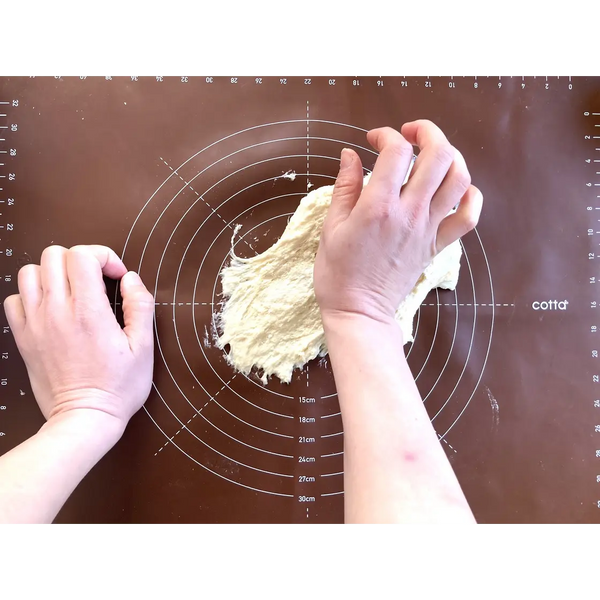
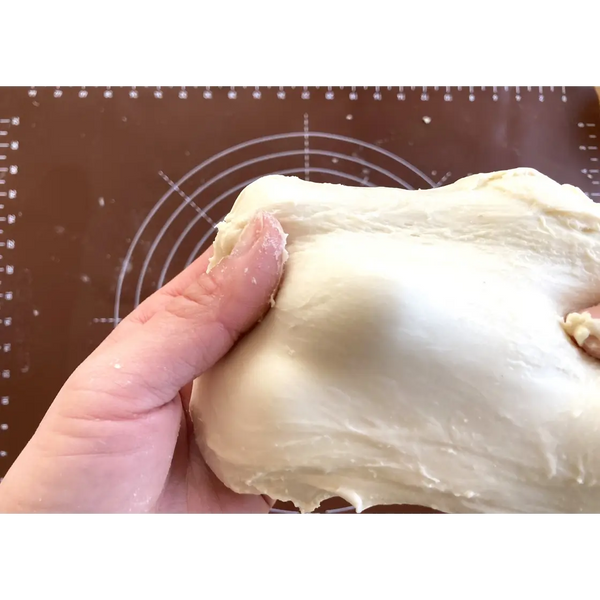
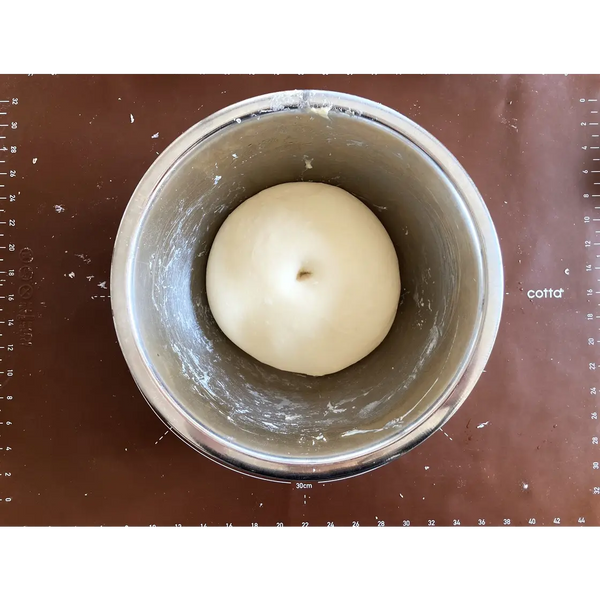
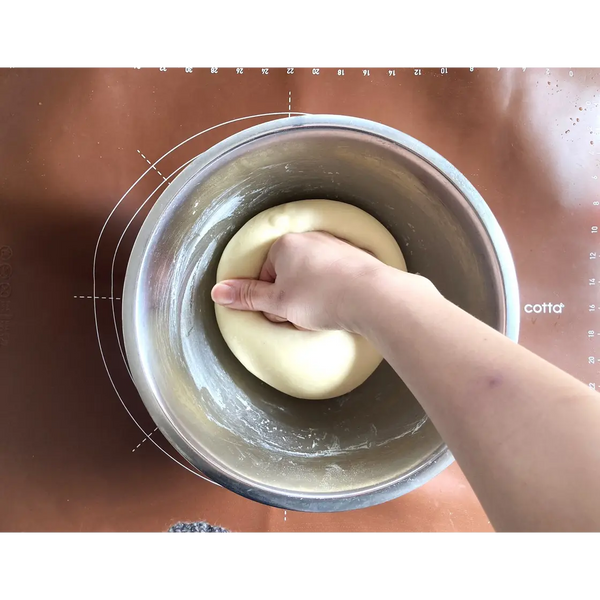
3) Preparing the Bread Dough
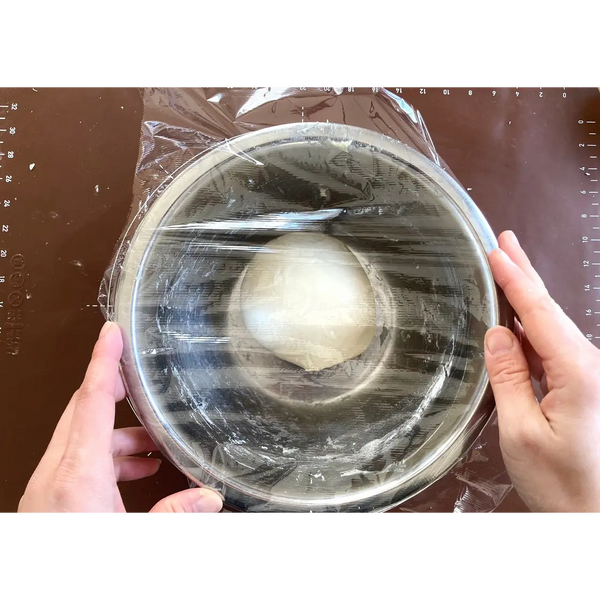
4) Resting the Dough
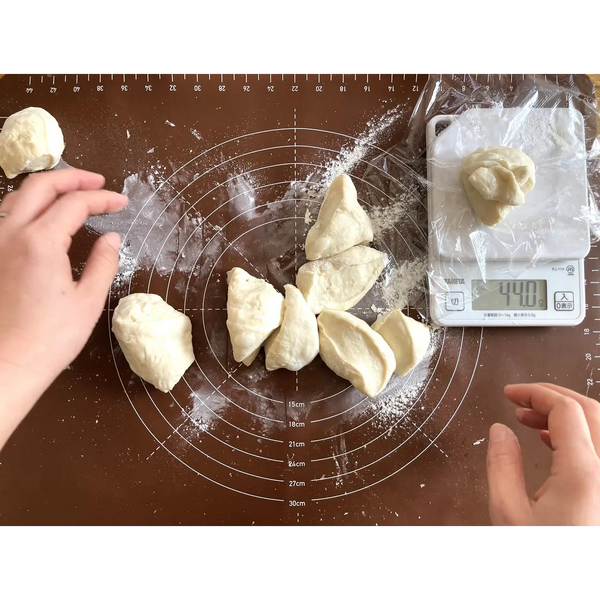
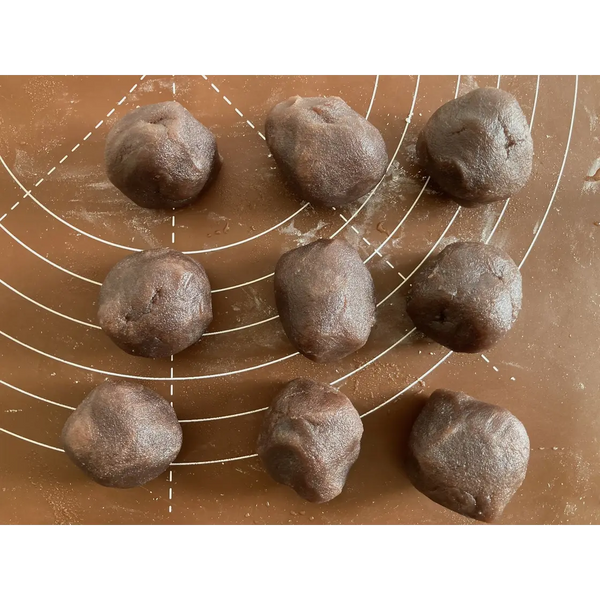
5) Splitting Up the Dough
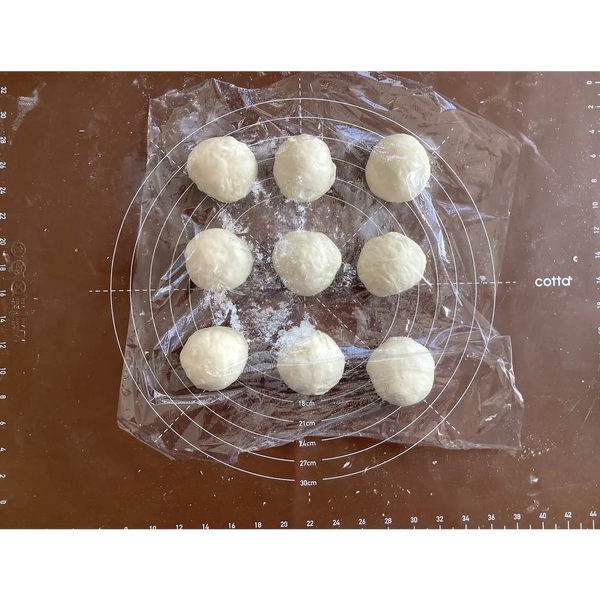
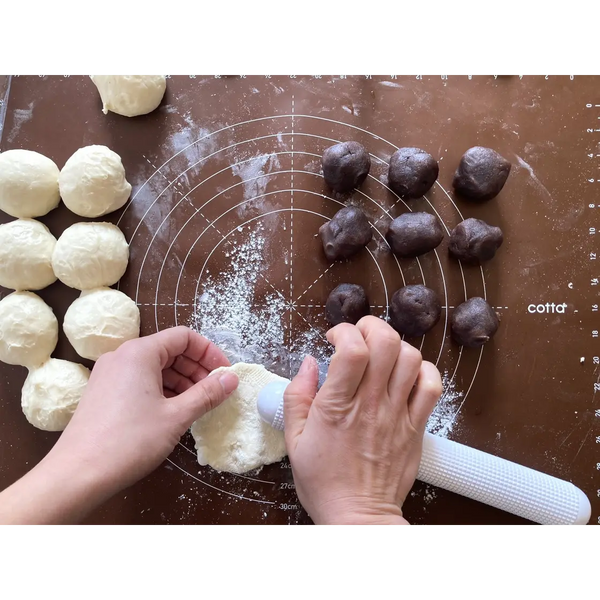
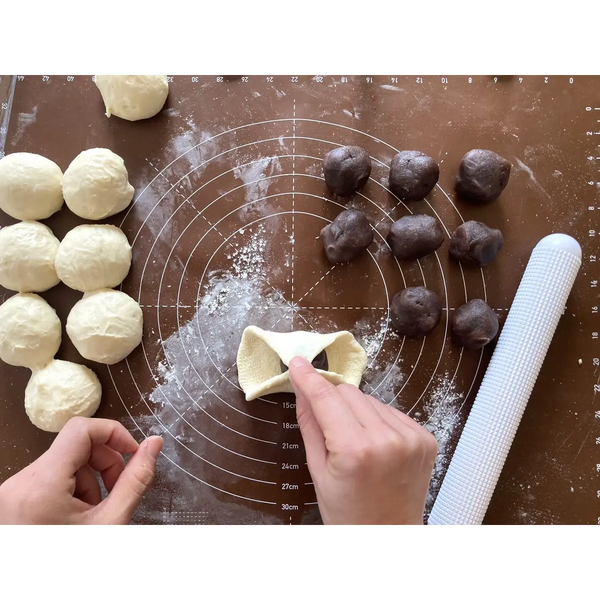
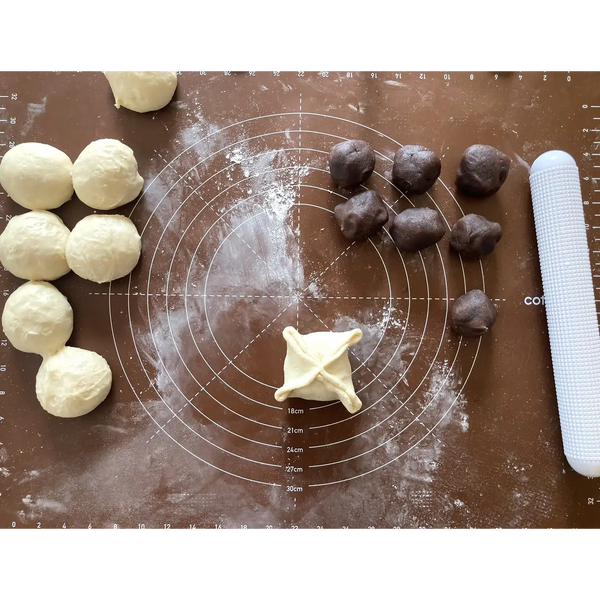
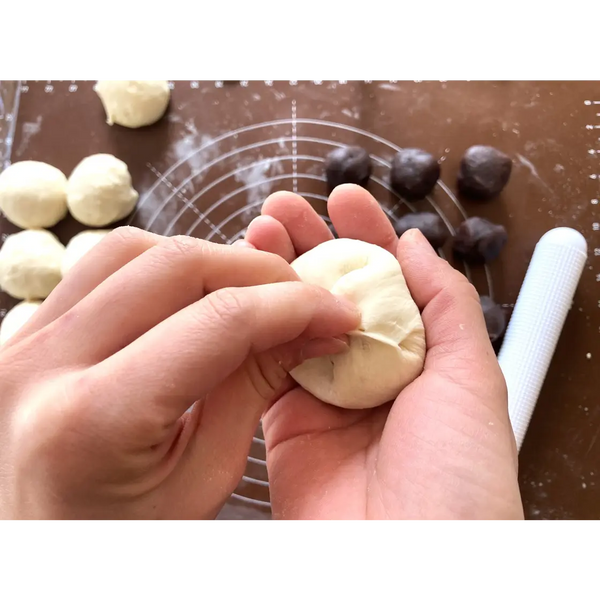
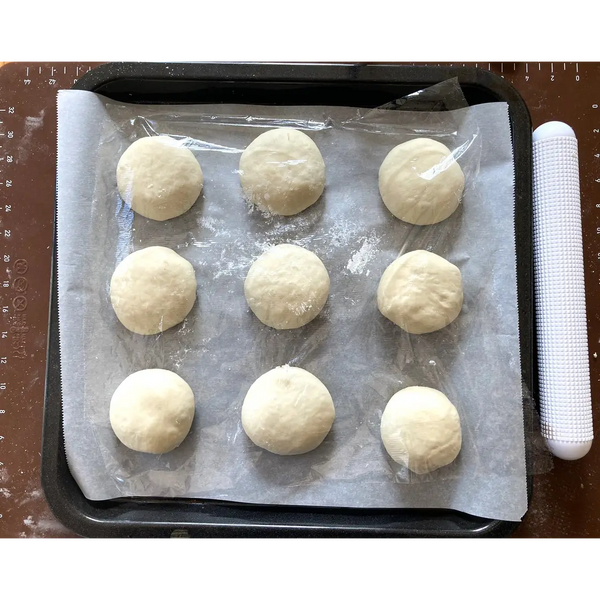
6) Shaping the Anpan and then Resting Them Again
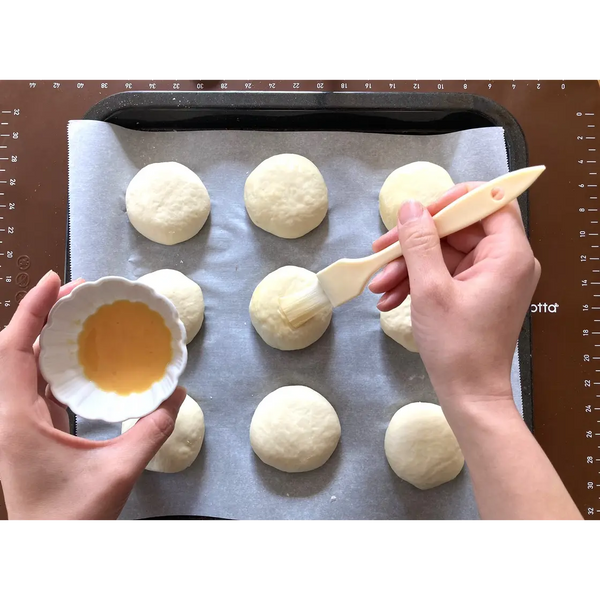
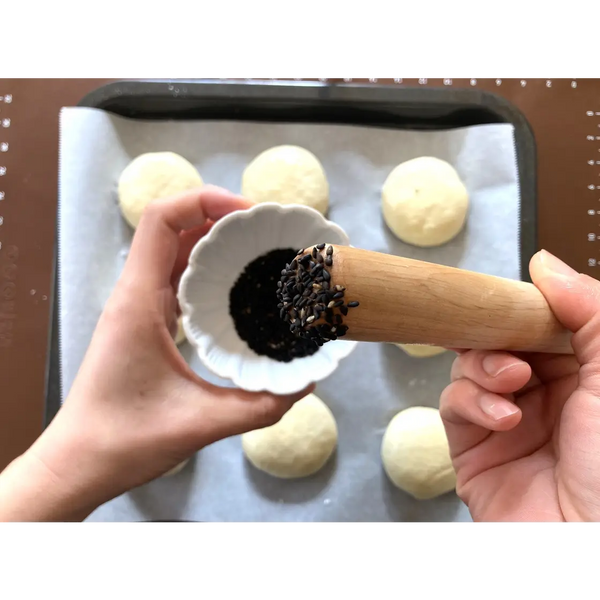
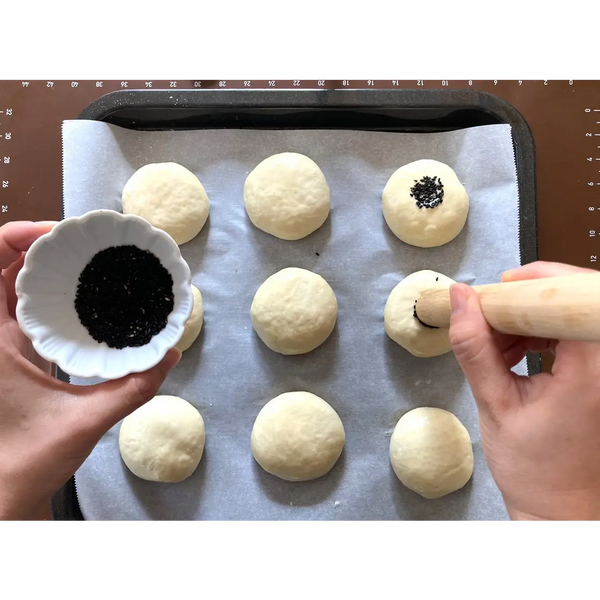
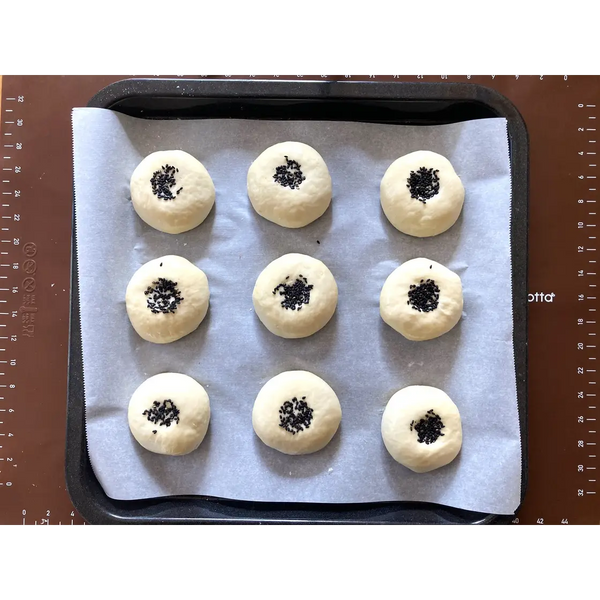
7) Decorating the Anpan
8) Baking the Anpan