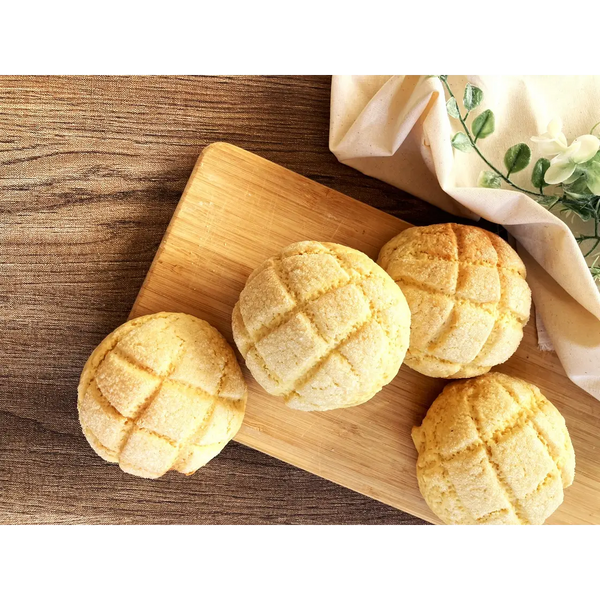
“Melon Pan” is an iconic classic sweetbread and a beloved treat among all generations in Japan. From convenience stores to high-end artisanal bakeries, it is a staple of Japanese food culture. What makes it so special is the delightful contrast in textures: it features a unique combination of a thin, crispy, cookie-like crust on the outside and a cloud-like, fluffy bread roll on the inside. Its charming round shape and sweet aroma are enough to make anyone smile at first bite.
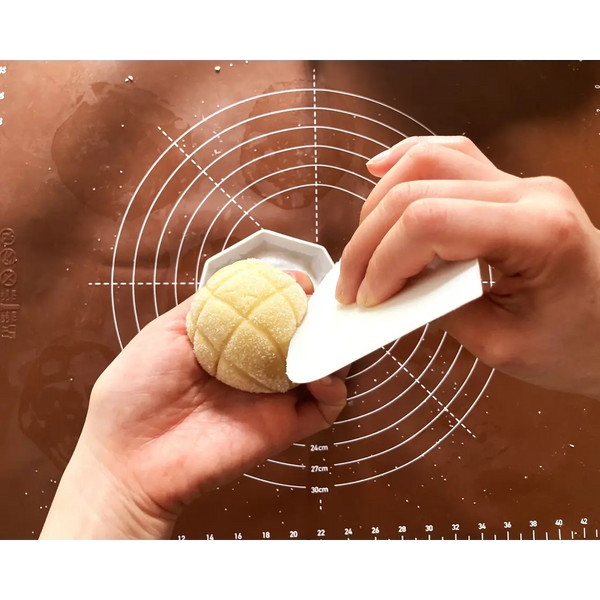
Interestingly, despite the name “Melon Pan,” it usually does not contain any actual melon. Instead, the name comes from its appearance. The cross-hatched pattern scored into the cookie dough resembles the rind of a musk melon—a fruit considered a luxurious, high-class delicacy in Japan. While most traditional versions taste of sweet butter and vanilla, some modern bakeries now add melon juice or green coloring to align the flavor with its famous name.
The Japanese obsession with this bread is immense. In Tokyo, there is an annual Melon Pan Festival that attracts thousands of fans. The bread's cultural impact is so deep that you can find bakeries specializing exclusively in Melon Pan, famous animated characters designed after the bread, and even catchy songs dedicated to it. If you visit Japan, trying a warm Melon Pan straight from the oven is a mandatory culinary experience!
The history of Melon Pan is as rich as its flavor, with several fascinating theories regarding its origin. The most prominent story tells of an Armenian baker at the Imperial Hotel who, in 1910, combined the techniques of French galettes with soft Russian bread. Another popular theory originates from a bakery in Kobe, which created a sweet bread shaped like the rising sun. To this day, some traditional bakeries in Western Japan still refer to it as “Sunrise Pan.” If you’re a fan of unique doughs, you can explore more in our dedicated article on the diverse world of Japanese breads.
If you’ve become curious about this legendary treat, why not bring the scent of a Japanese bakery into your own kitchen? We are excited to introduce a classic, traditional Melon Pan recipe that you can easily master at home. In this guide, we will demonstrate the handmade process to show you the authentic feel of the dough, though a stand mixer is a great time-saver if you prefer. We’ll also share professional tips—such as how to achieve the perfect golden-brown crust—to guarantee your success.
The heavenly aroma of freshly baked butter and sugar will surely make your family’s and friends’ mouths water, leaving them eager to devour your creations immediately. We hope you enjoy the process of baking and eating this Japanese favorite!
Instructions
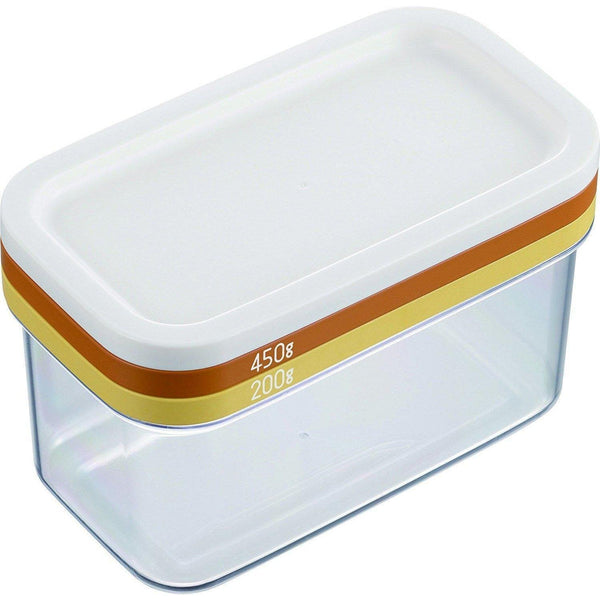
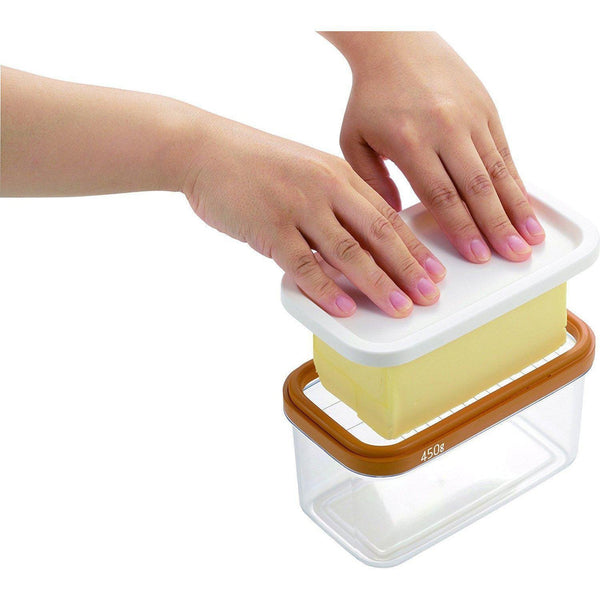
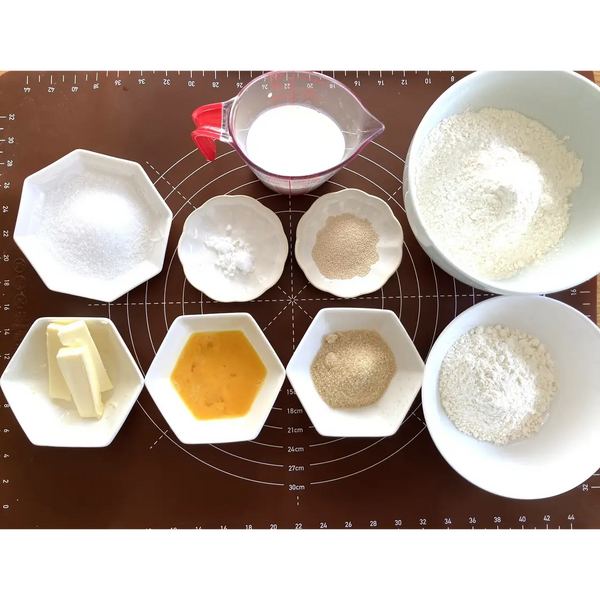
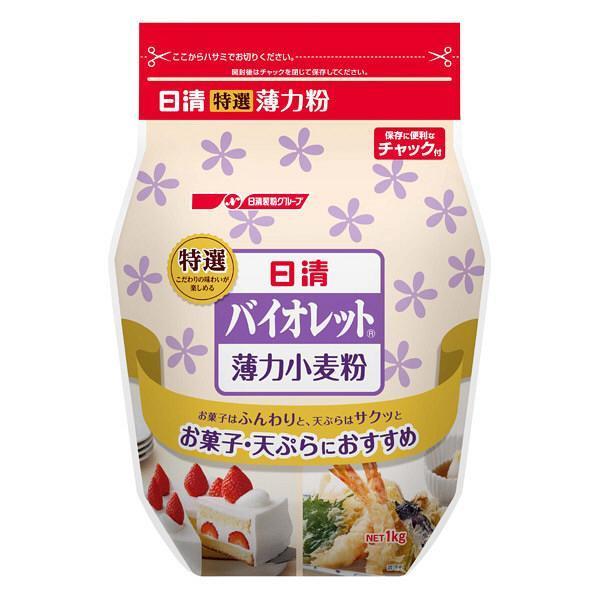
1) Gathering the Ingredients

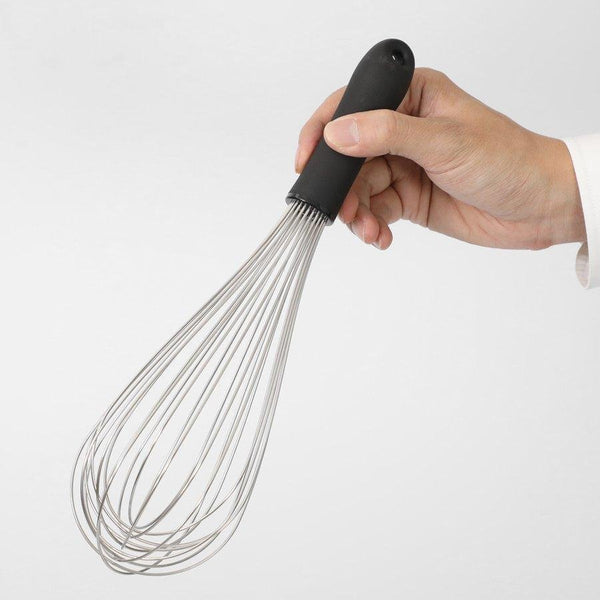
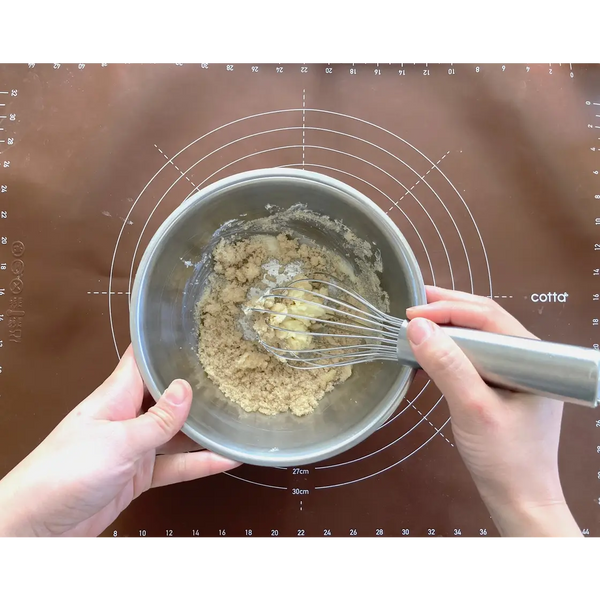
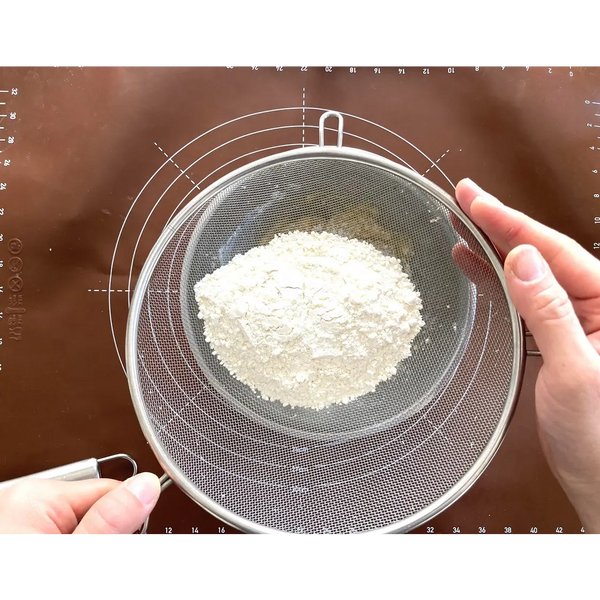
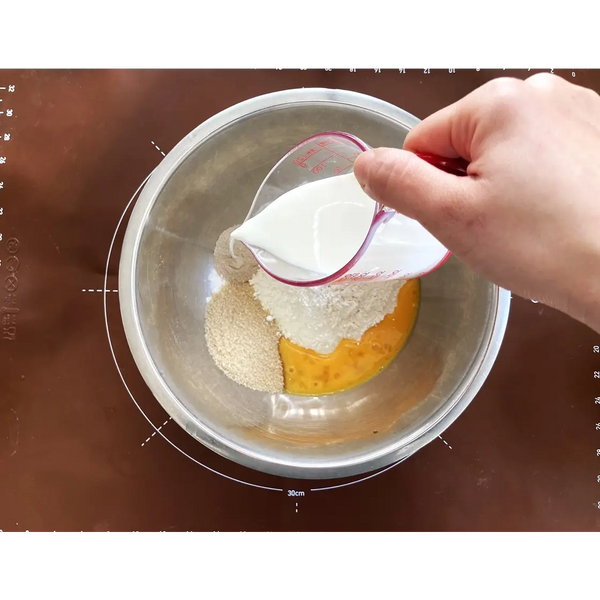
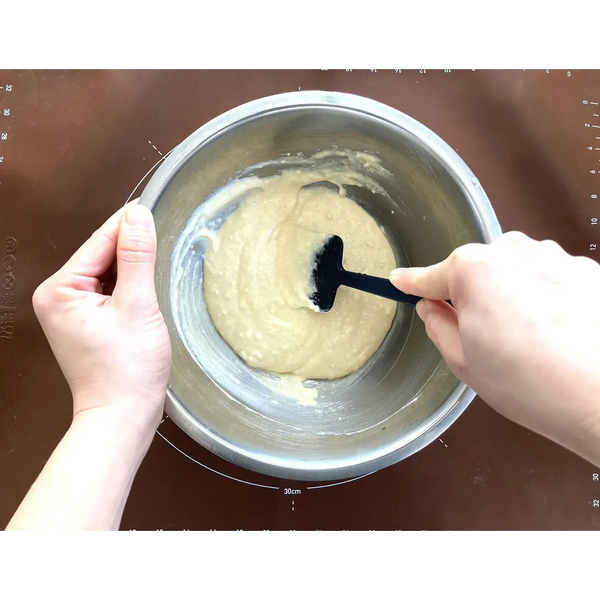
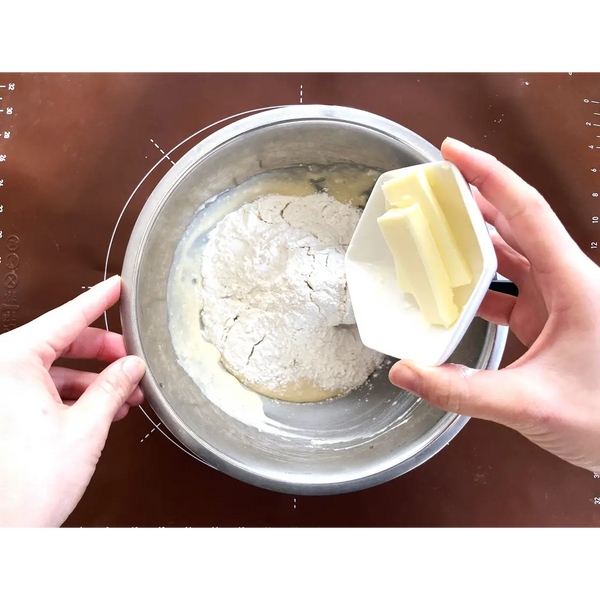
2) Making the Melon Pan Biscuit Dough


Expert's Tip
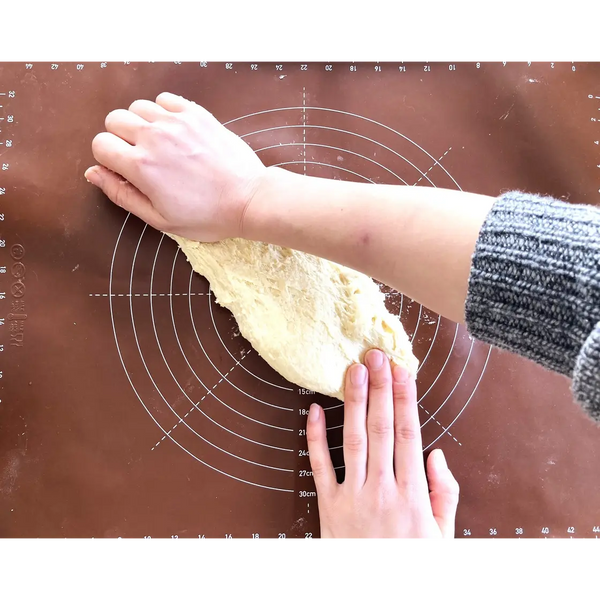
3) Preparing the Melon Pan Bread Dough
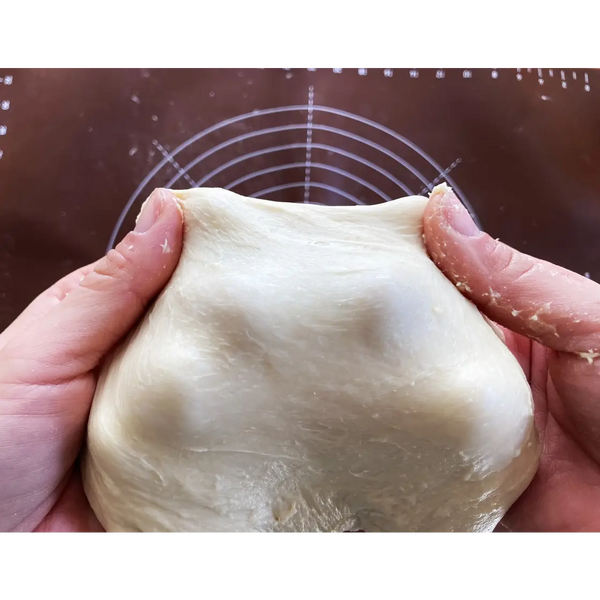
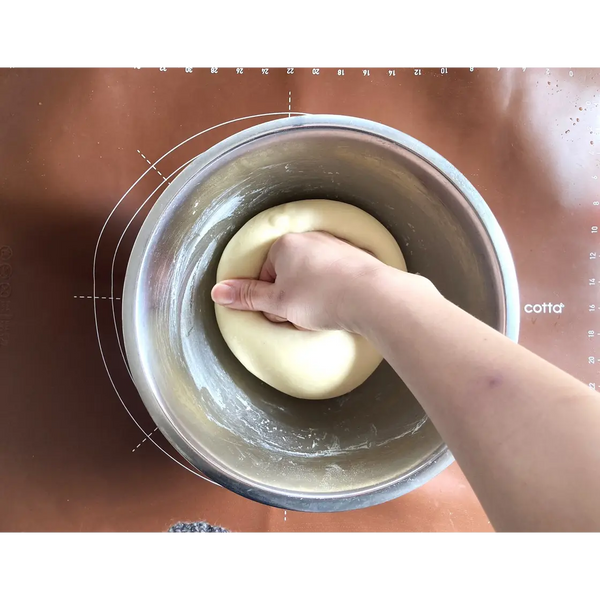
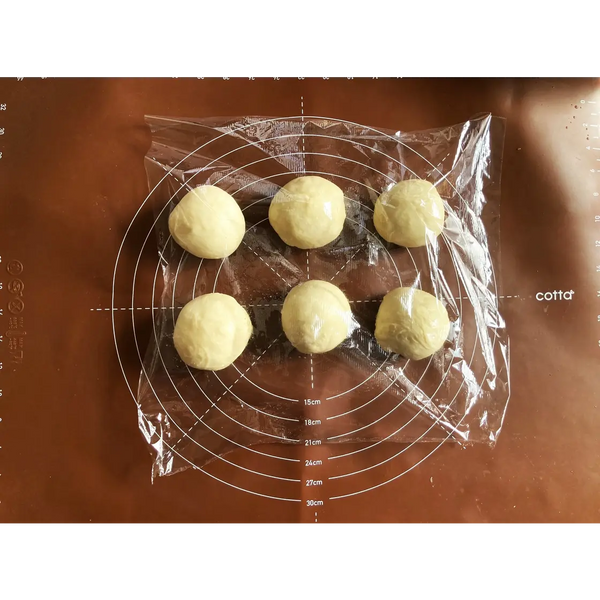
4) Resting the Bread Dough

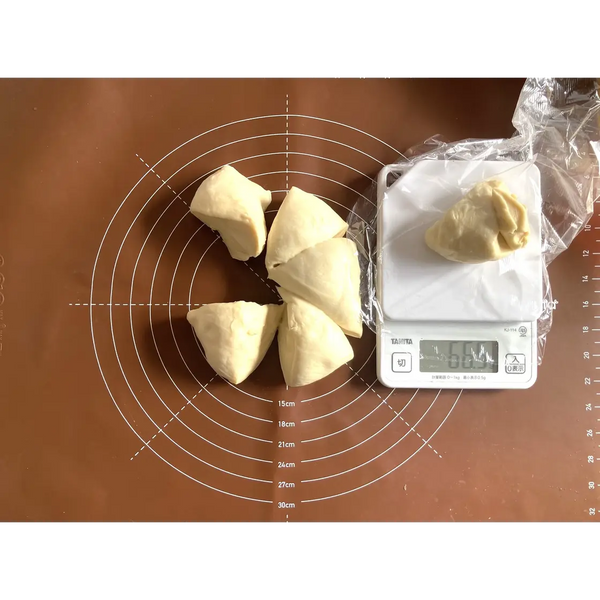
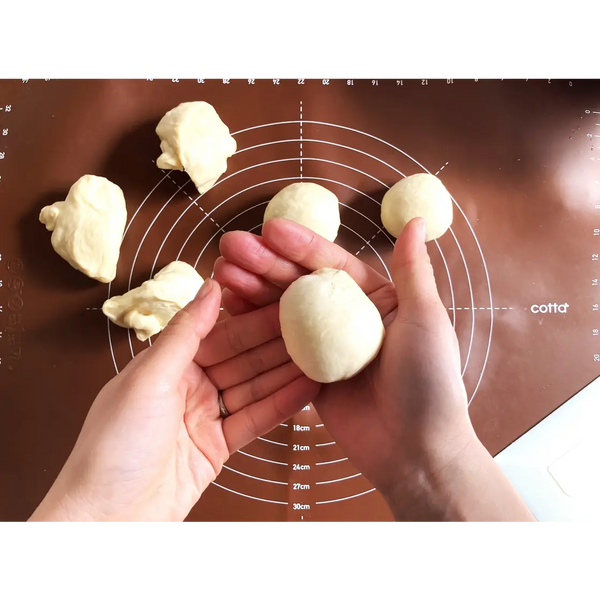
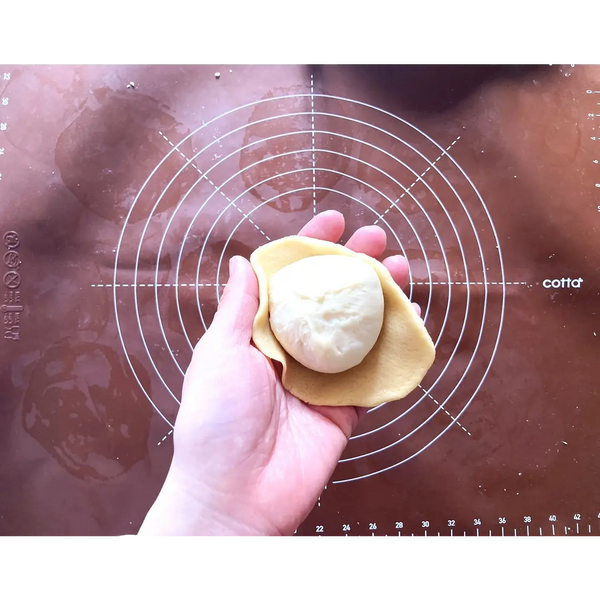
5) Cutting and Shaping the Bread Dough

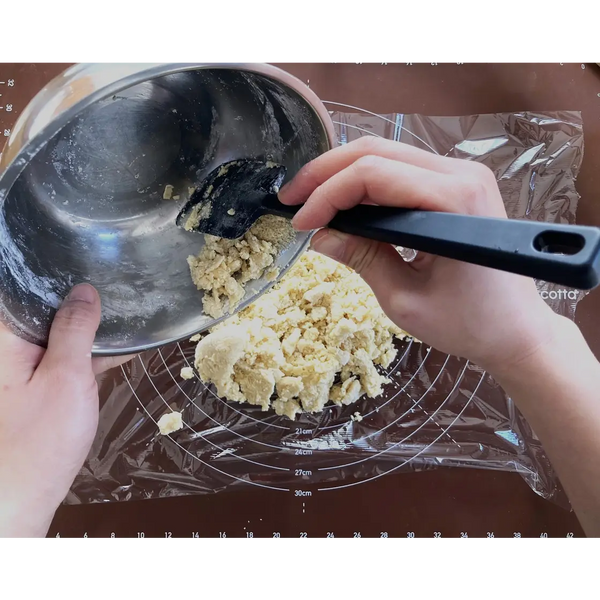
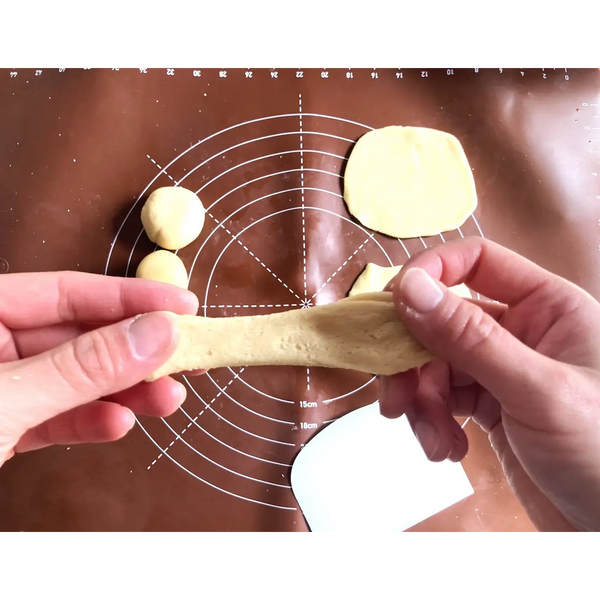
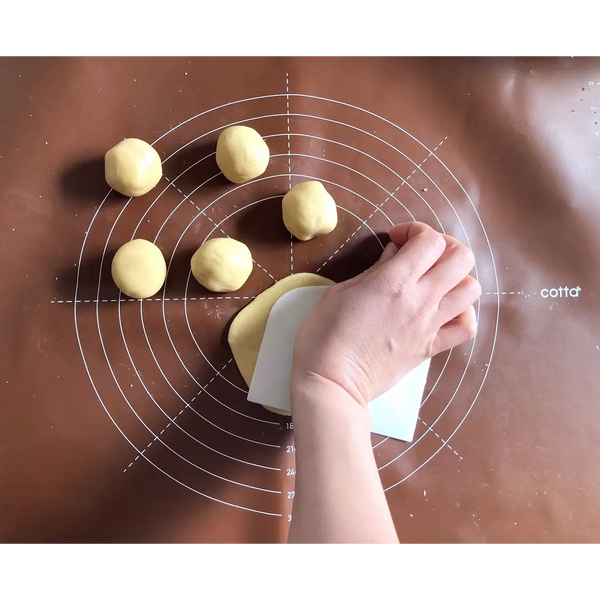
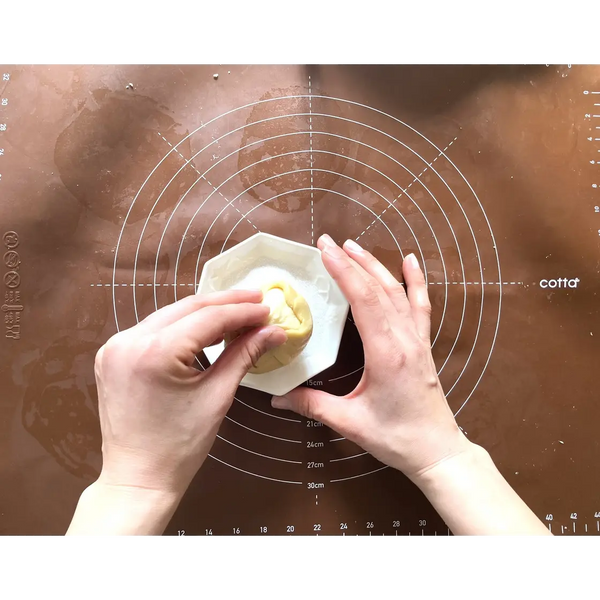
6) Kneading and Shaping the Biscuit Dough
7) Resting the Melon Pan

8) Baking the Melon Pan