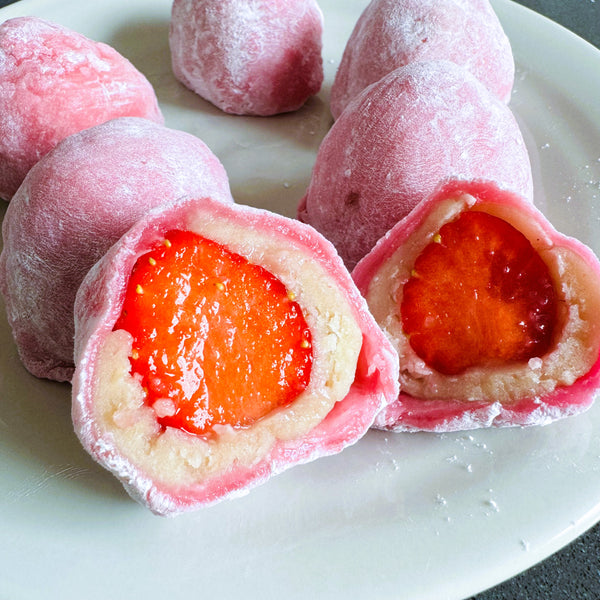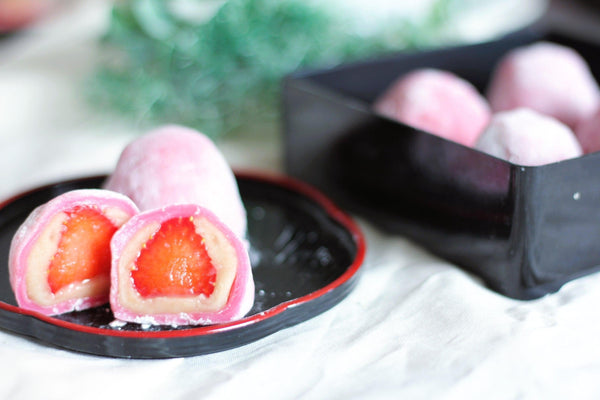
Strawberry Mochi is a Japanese confection that combines the soft, chewy texture of mochi (rice cake) with the juicy flavor of strawberries. It is called 'Ichigo Daifuku' in Japanese. 'Ichigo' means strawberry, and 'Daifuku' translates to 'great luck' or 'great fortune.' We've previously shared a more traditional ichigo daifuku recipe, but here we're going to show you this fun and pink version!
The outer layer is chewy pink-colored mochi, and inside you will find a filling made from sweet white bean paste and a fresh strawberry. It is unlike anything you will find in Western desserts, and while the combination might seem strange, it offers a perfect balance of sweetness and texture.
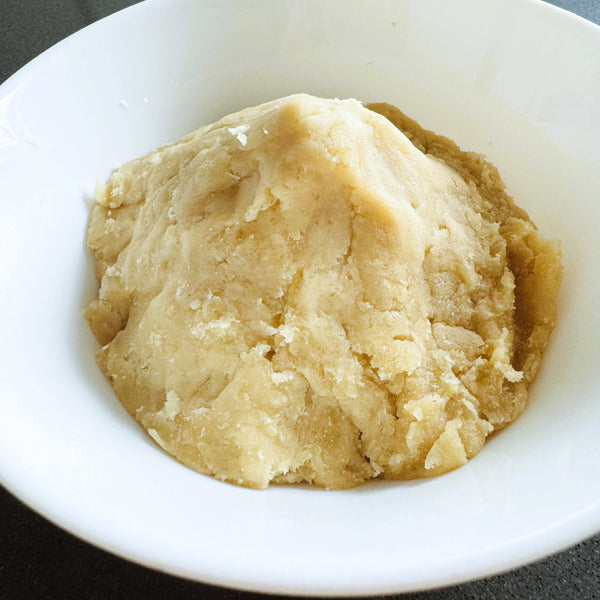
Shiro-an (white bean paste) is traditionally made from white kidney beans. It has a milder taste compared to the more commonly seen red bean paste (anko), making it easier to eat for those who aren’t fond of red bean paste.
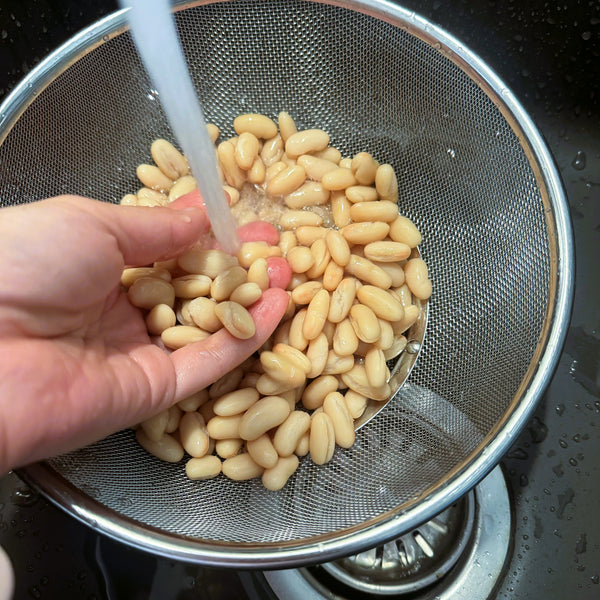
Traditionally, the beans are peeled, mixed with water and sugar, and kneaded by cooking. This recipe simplifies the process by using canned white beans blended in a food processor. The recipe uses the quantity from one can, and any leftover paste can be wrapped in plastic wrap and frozen. The leftover paste can also be spread on bread and eaten as is.
White bean paste is harder to find than regular red bean paste (anko). Even in Japan, it is not often seen in supermarkets and is more commonly found in specialty confectionery shops.
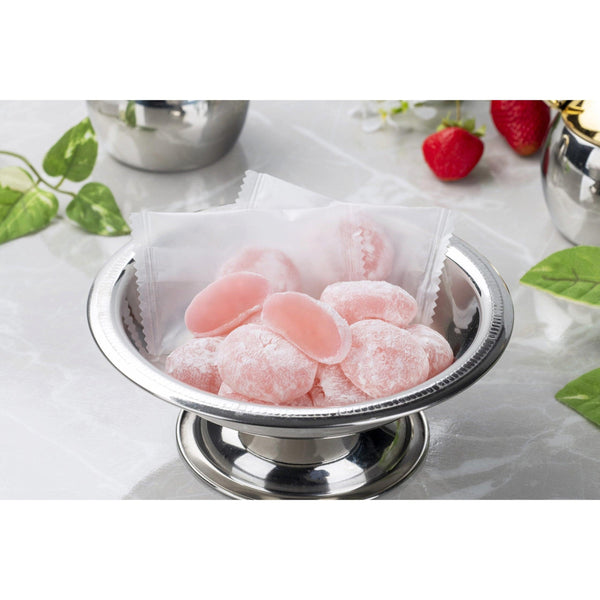
It is best to eat Strawberry Mochi on the same day or the next day because the fresh strawberries won’t remain fresh after 2 days. Store it at room temperature in an airtight container to prevent it from drying out. Keep the container in a cool, dry place.
Try making it while strawberries are still in season; it is surprisingly delicious!
Instructions
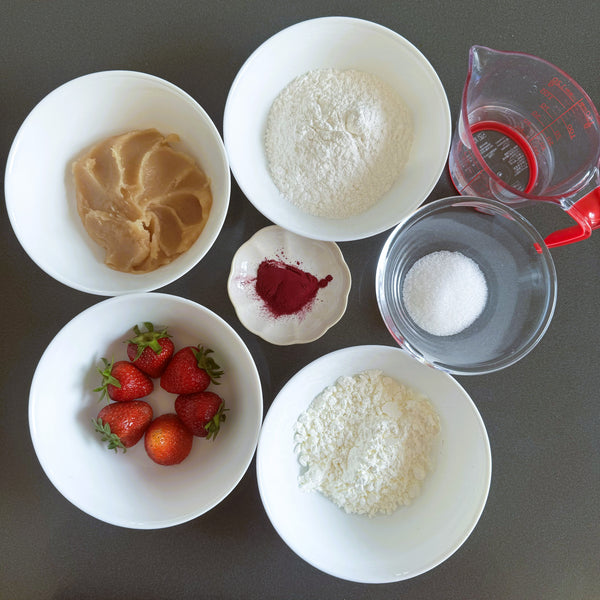
1) Gathering the Ingredients
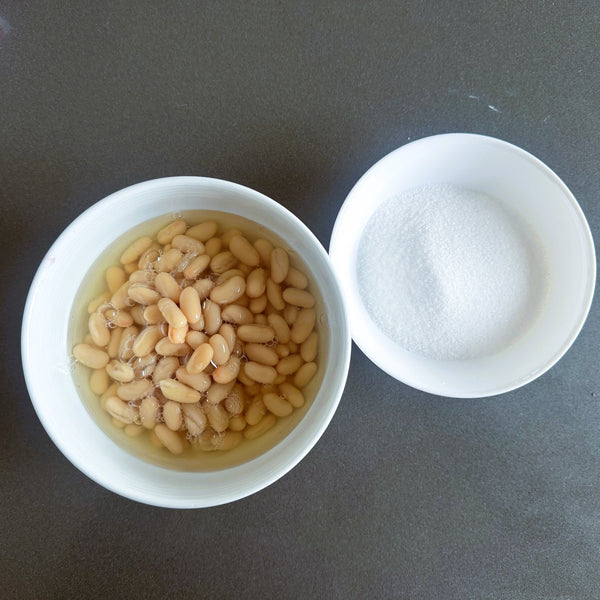
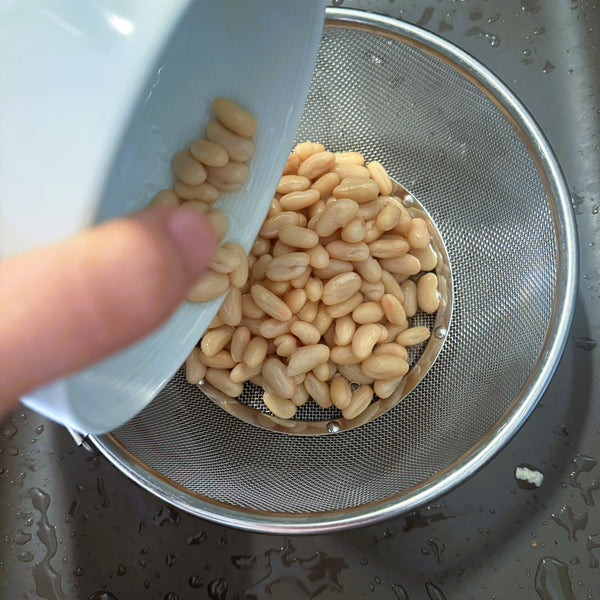
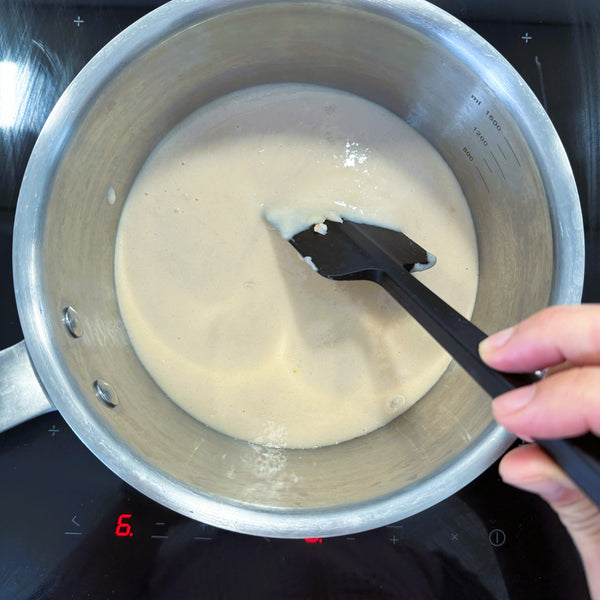
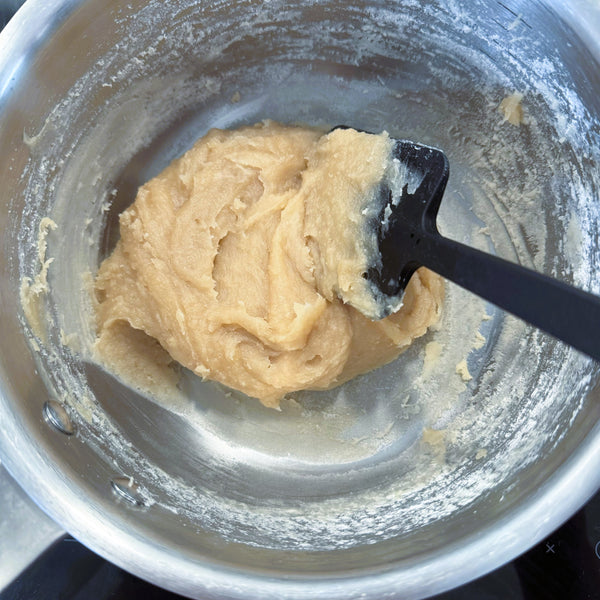
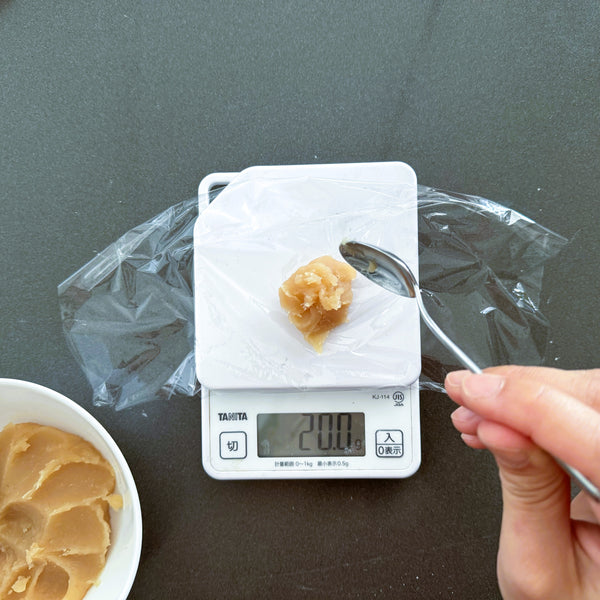
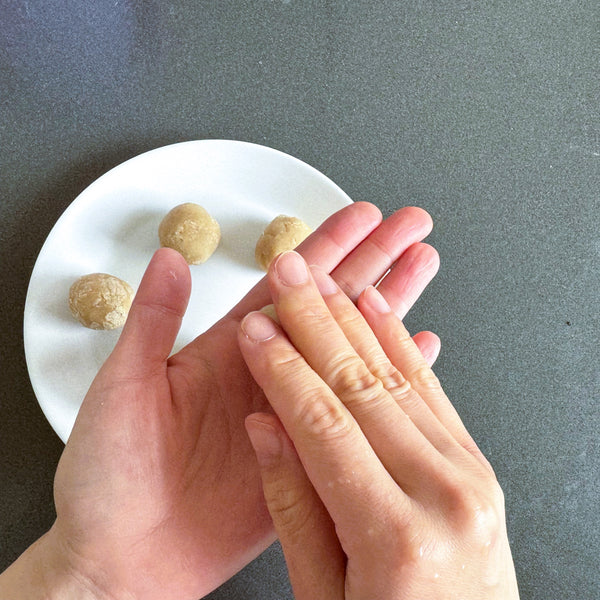
2) Making the White Bean Paste


Expert's Tip
3) Cooking the White Bean Paste
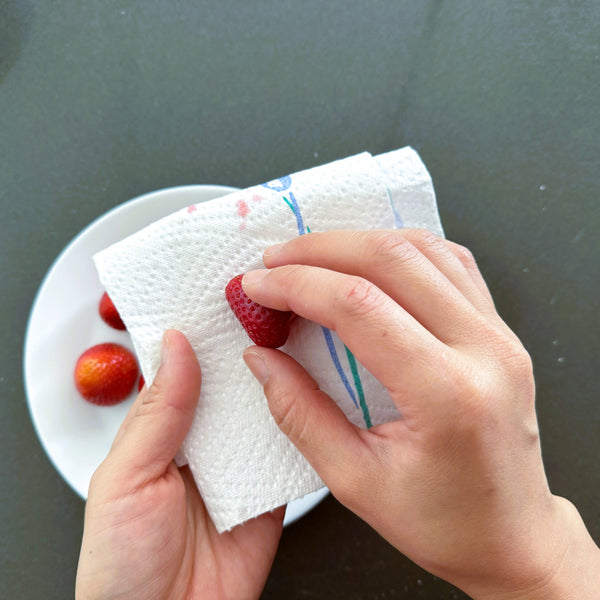
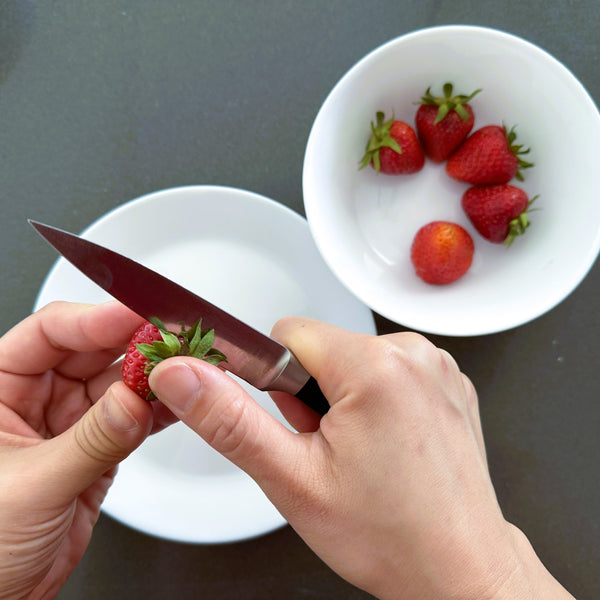
4) Preparing the Strawberries
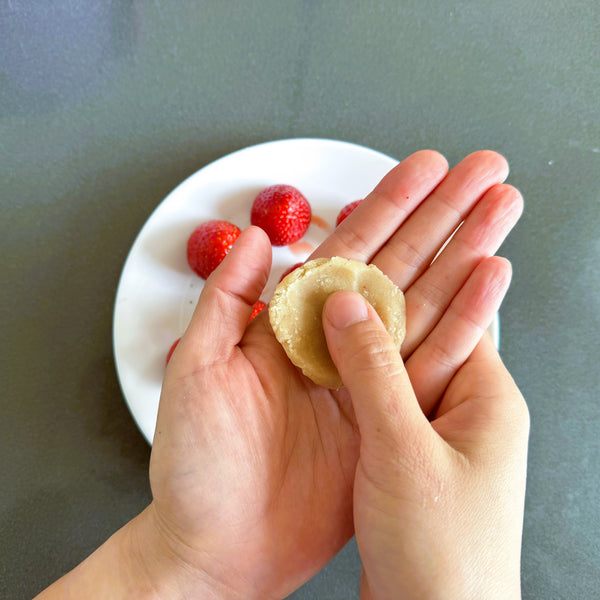
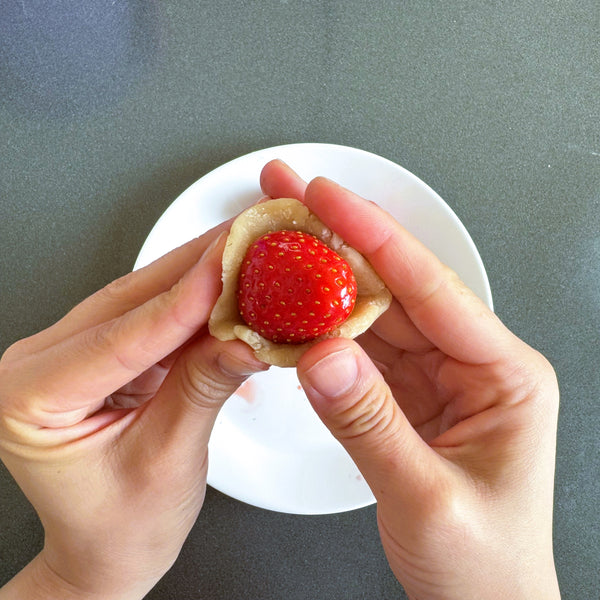
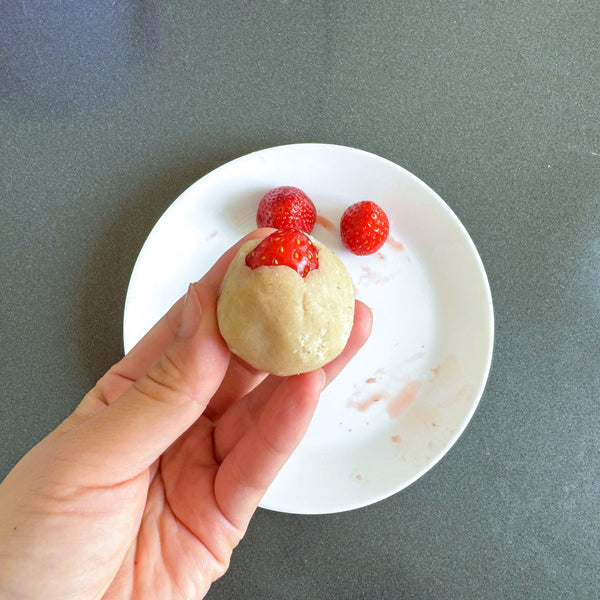
5) Wrapping the Strawberries In White Bean Paste
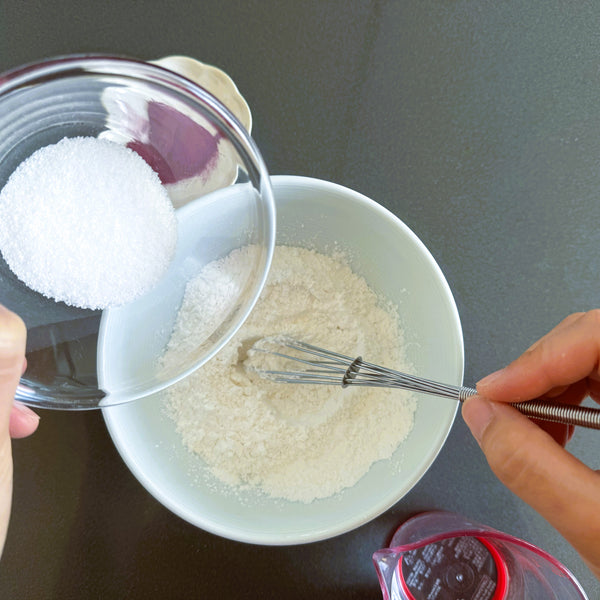
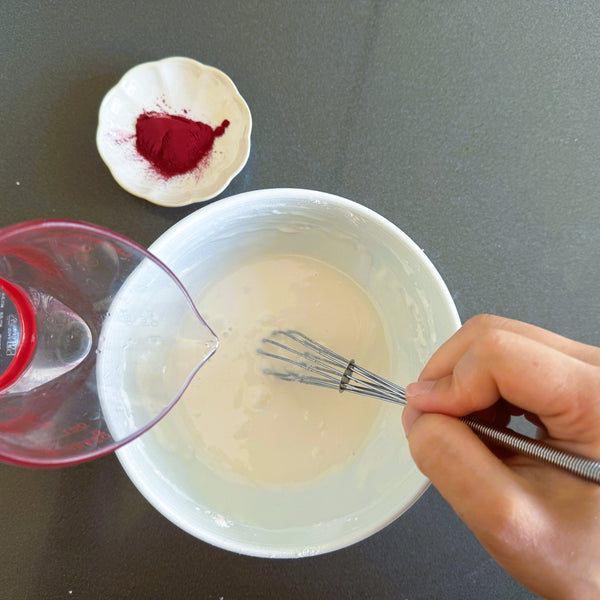
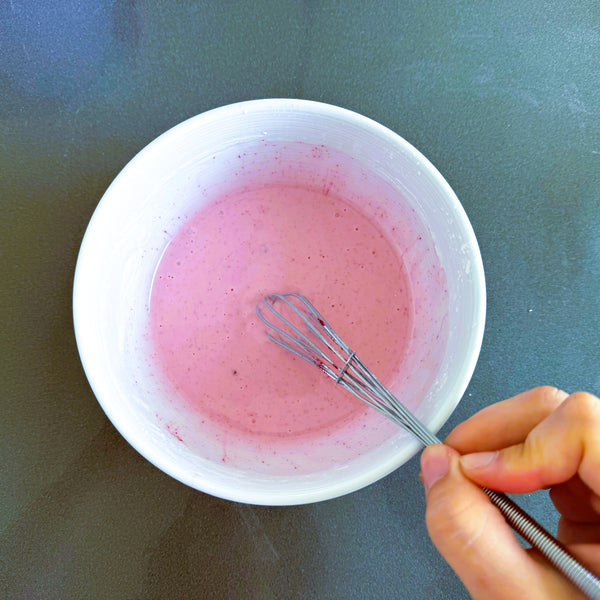
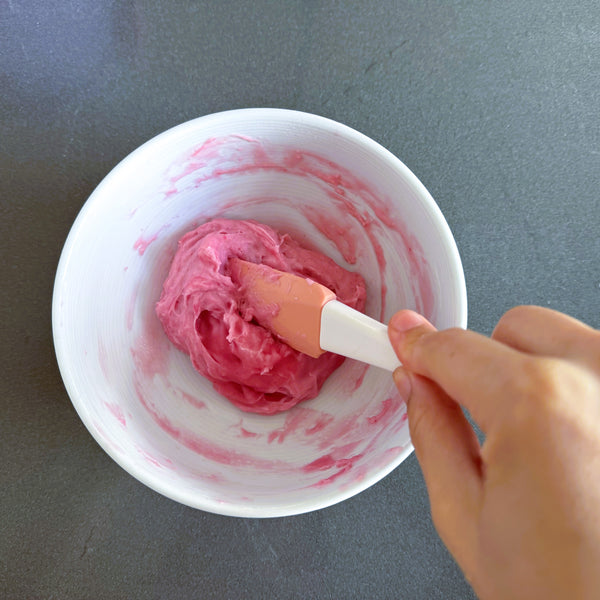
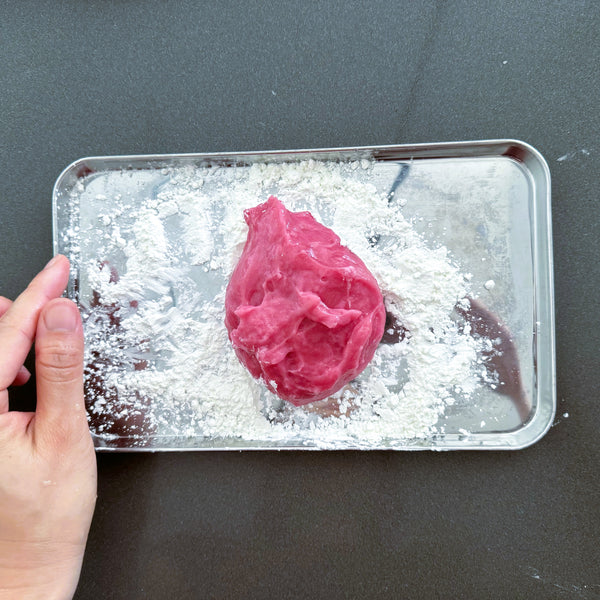
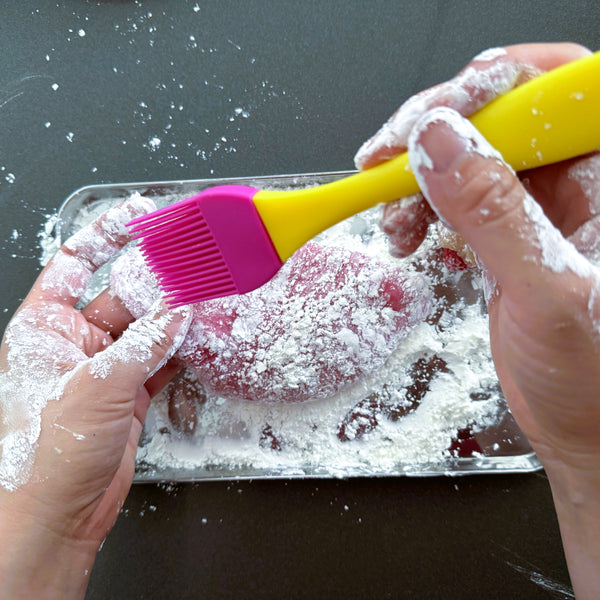
6) Making the Mochi Dough

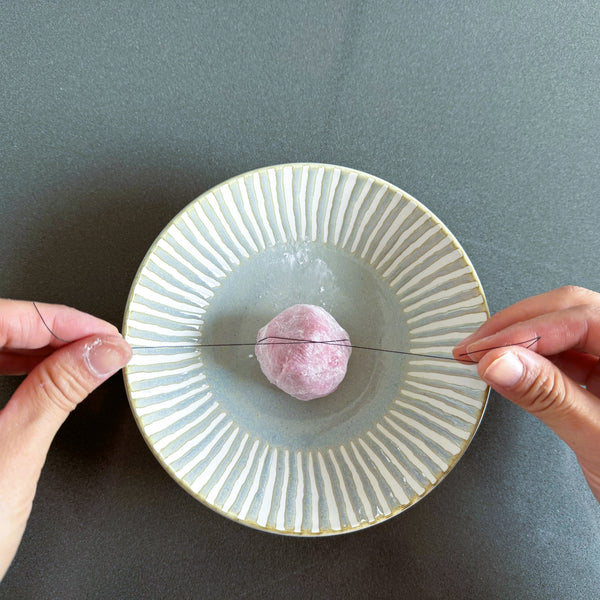
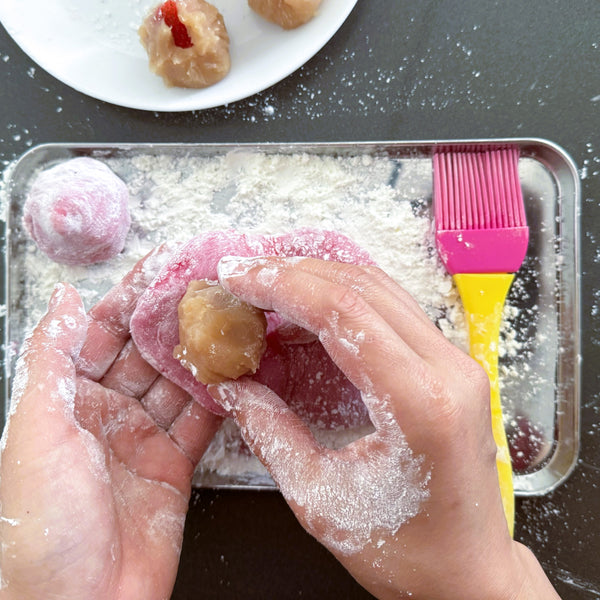
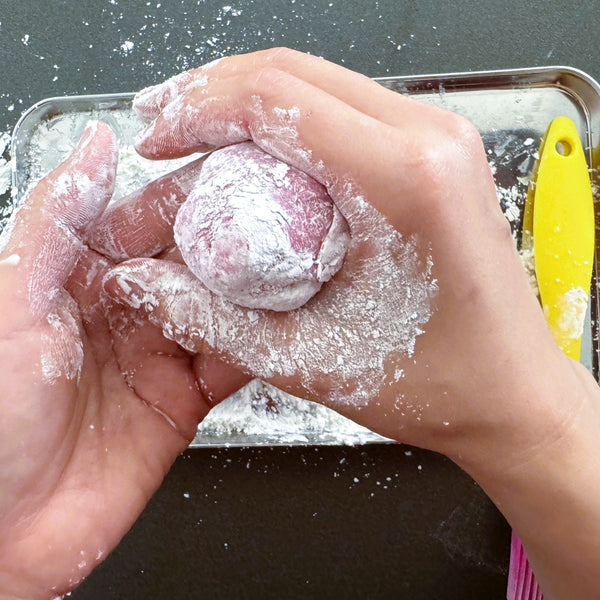
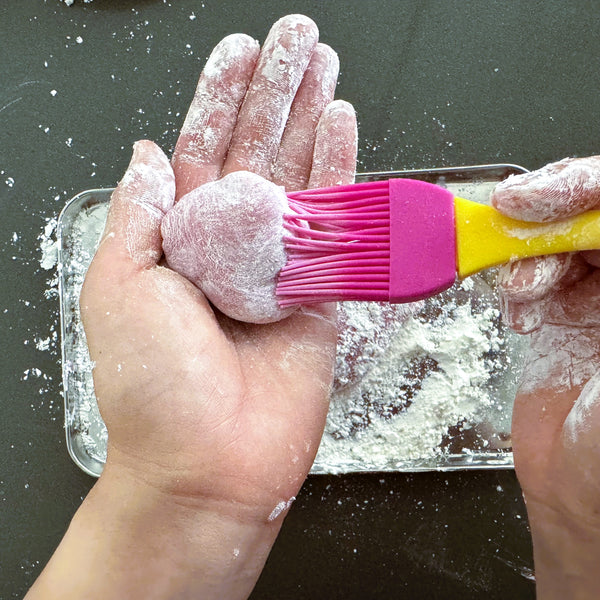
7) Wrapping the Strawberries In the Mochi Dough
8) Cutting the Strawberry Mochi In Half