How To Make Matcha Muffins With White Chocolate Chunks-Japanese Taste

How To Make Matcha Muffins With White Chocolate Chunks

by Mana Sobral

Dessert Make-ahead Party Food Matcha White Chocolate Kid-friendly Vegetarian Easy Baking

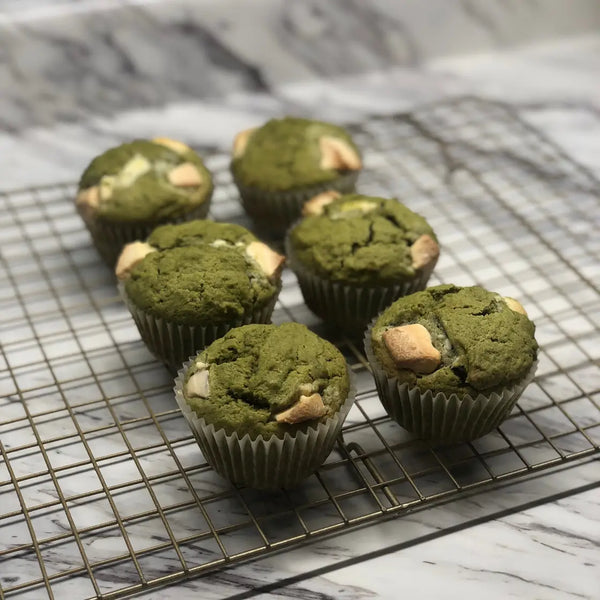
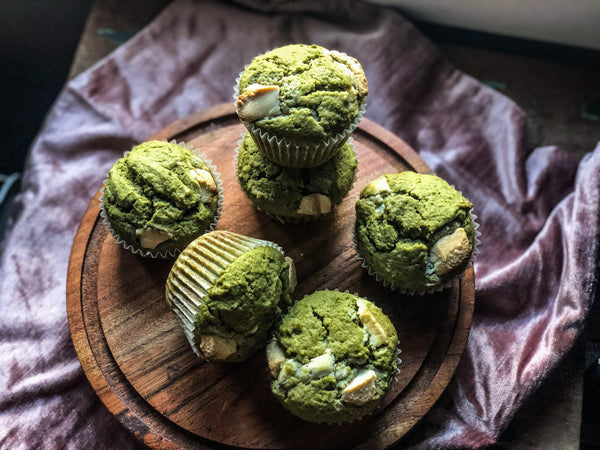
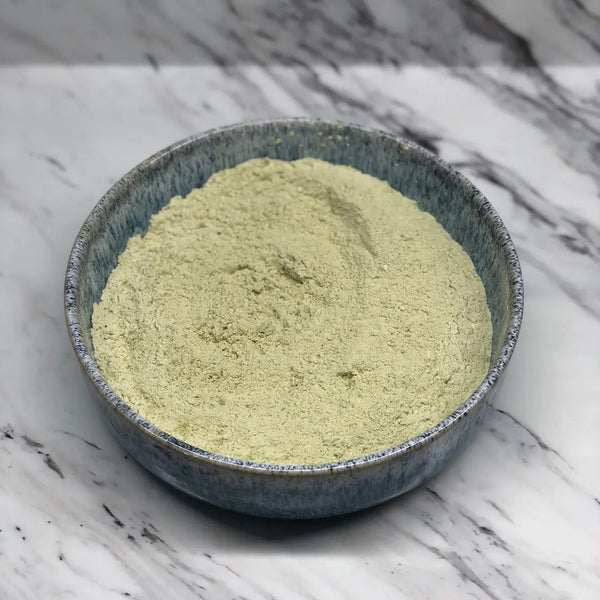
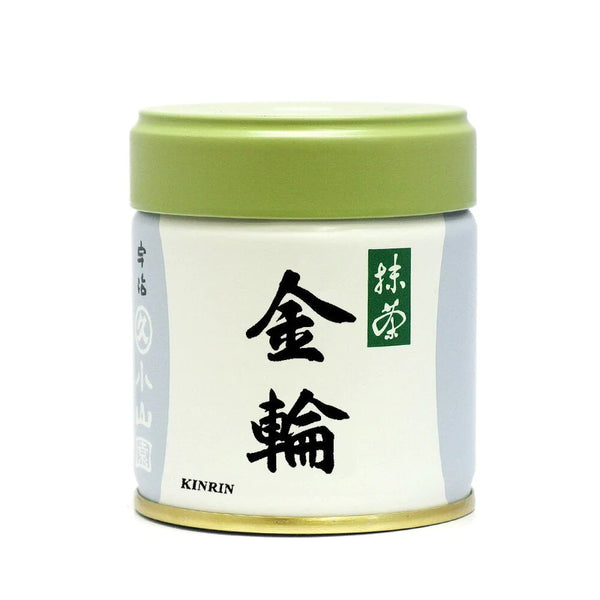
Matcha muffins are a delightful fusion of Eastern and Western flavors, infusing your everyday muffin experience with the charming essence of Japanese matcha. While the usual suspects—flour, sugar, eggs, milk, and butter—make their appearance, the real star is the vibrant green matcha powder.

These muffins boast a unique earthy flavor, courtesy of the matcha, harmonizing beautifully with the sweetness of sugar and the richness of butter. Taking a bite is like attending a mini flavor party – vibrant, slightly bitter, and sweet, all at once.

Beyond the delectable taste, matcha is an antioxidant powerhouse. Packed with catechins, it's believed to boost metabolism, enhance focus, and contribute to overall health.

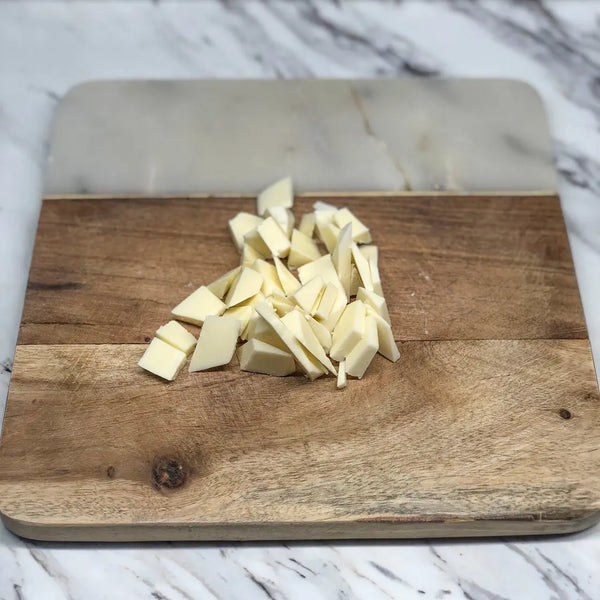
Enjoy matcha muffins however you like – for breakfast, as a snack, or a dessert. Pair them with your morning coffee, share with friends over tea, or elevate them with a drizzle of white chocolate. Their eye-catching green hue makes them perfect for social media, ideal for parties and celebrations.

In essence, matcha muffins are not just a taste explosion but also a potential health booster. Whether you start or end your day with these green goodies, they're a versatile and tasty addition to your menu.

Overview

Prep time: 15 mins

Cook time: 25 mins

Total time: 40 mins

Total servings: 6

Difficulty: Easy

Ingredients
  • 100 g Unsalted Butter (Room Temparature)
  • 1 Egg (Room Temparature)
  • 80 g White Sugar
  • 10 g Matcha Powder
  • 1 tsp Baking Powder
  • 160 g All Purpose Flour
  • 60 ml Whole Milk (Room Temperature)
  • 100 g White Chocolate (Mixing into the batter and for topping)

Expert's Tip

How To Make Matcha Muffins With White Chocolate Chunks

If you're looking to elevate your matcha muffins, then be sure to check out Marukyu Koyamaen Kinrin Uji Matcha Powder. This premium matcha is not just for tea ceremony, it will take your Matcha Muffins to the next level!

Instructions

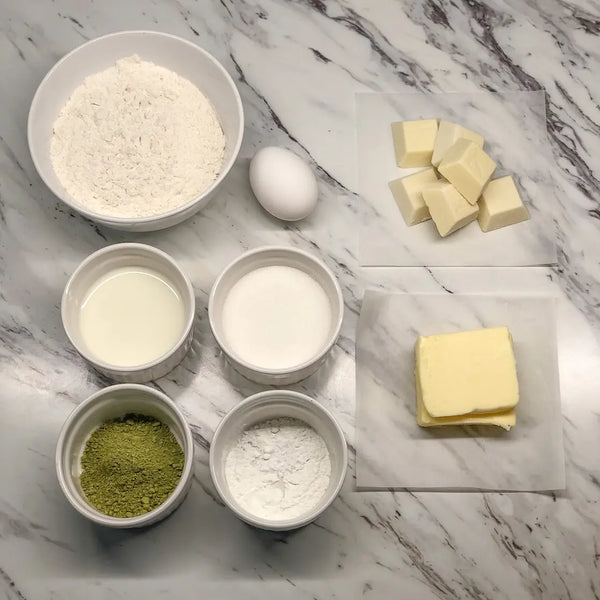
1) Gathering the Ingredients and Recipe Preparations

Gather the ingredients together. Preheat the oven to 375 F.

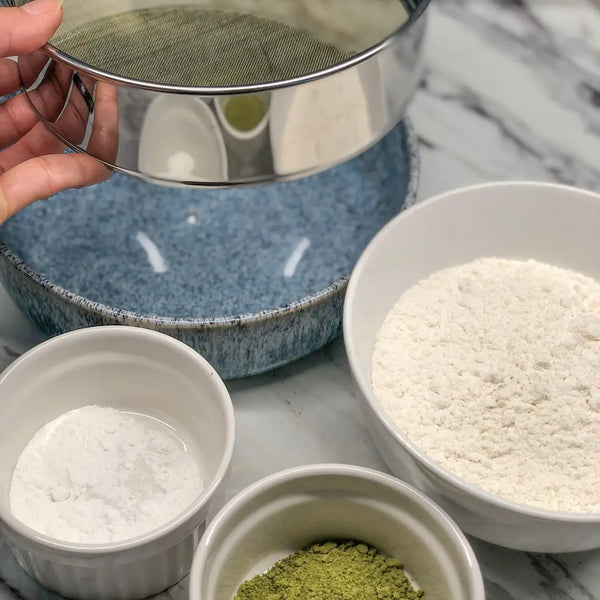
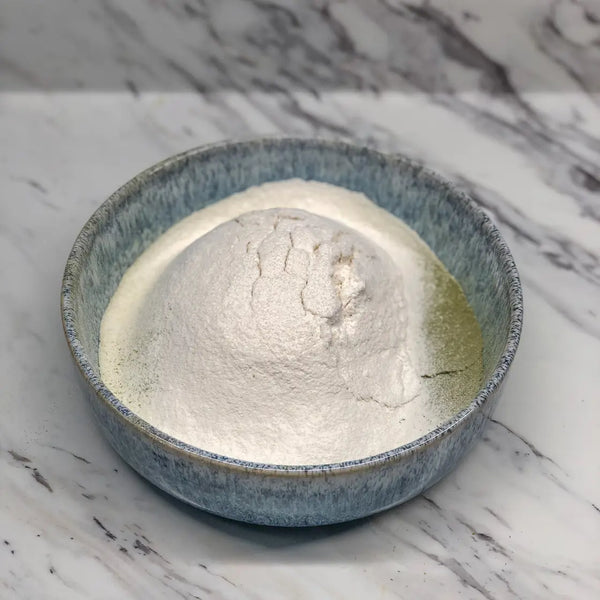
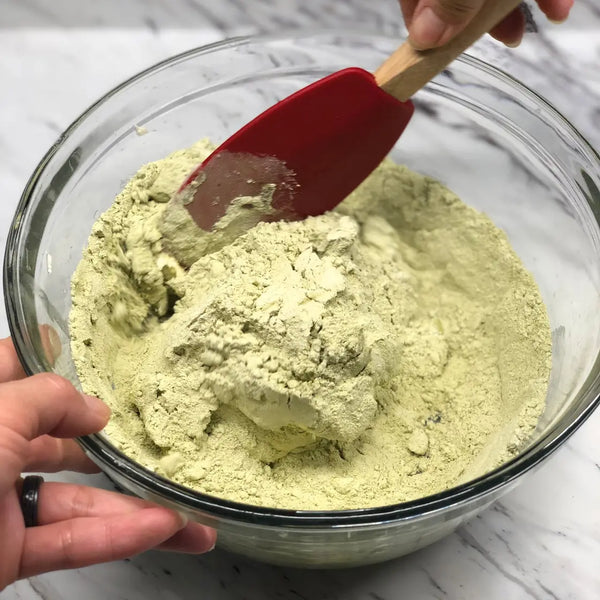
2) Mixing the Dry Ingredients & Other Recipe Preparations

Sift matcha powder, baking powder, and flour into the same bowl. Mix them well and set aside. 

Place muffin liners in the pan. Chop a chunk of white chocolate into medium-sized pieces. 

Tip: When using a piping bag to fill muffin cups, cut the chocolate into small pieces to avoid clogging.

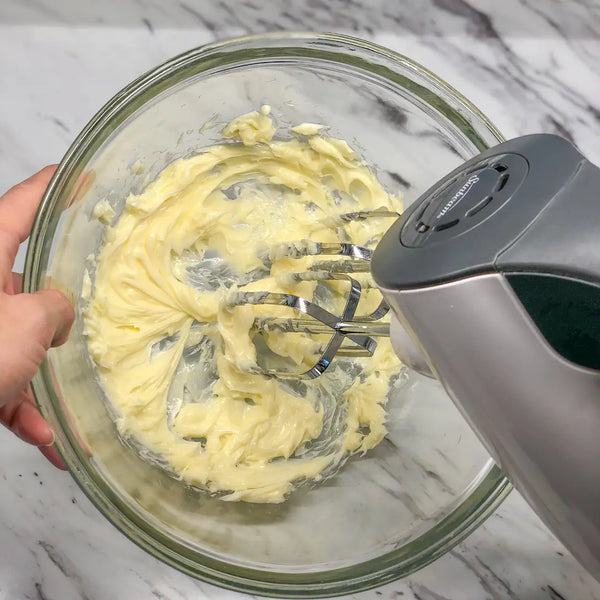
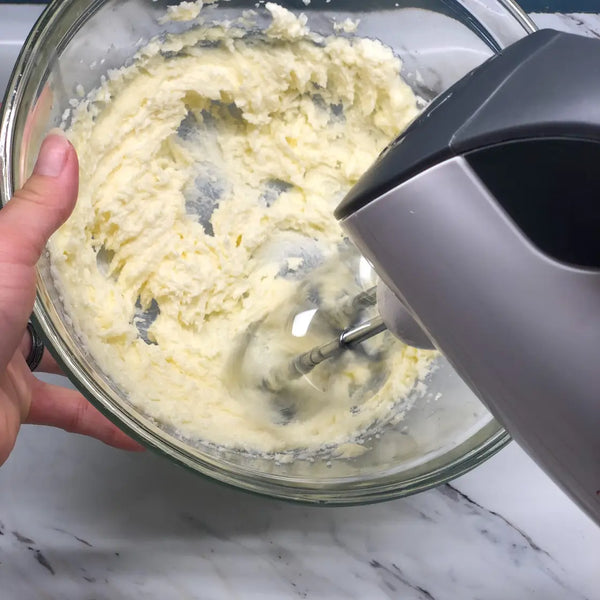
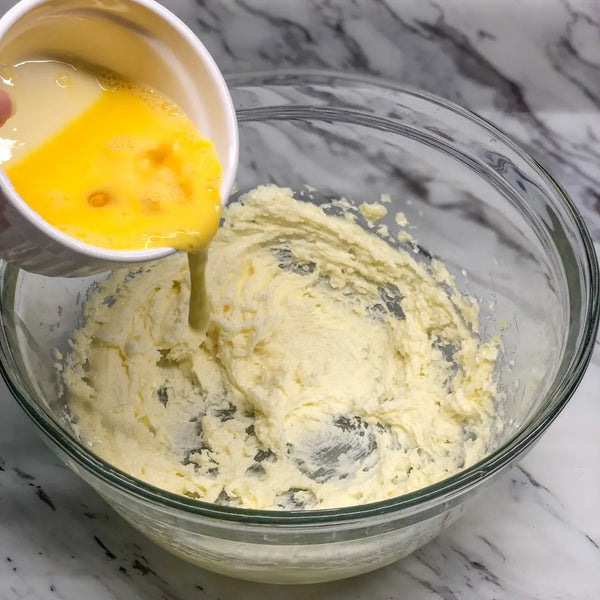
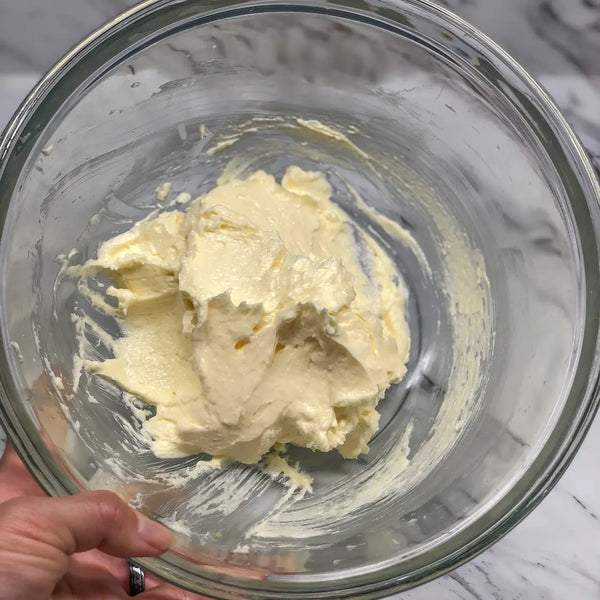
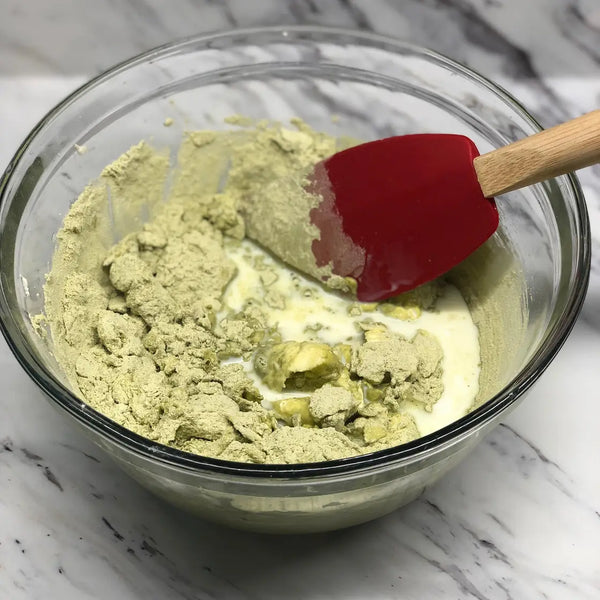
3) Mixing the Wet Ingredients Together

Place softened butter in a medium bowl and mix with a hand mixer or whisk until it becomes fluffy. Add white sugar and mix well. Gradually incorporate beaten egg, mixing thoroughly each time. Stop mixing when the mixture reaches a fluffy consistency.

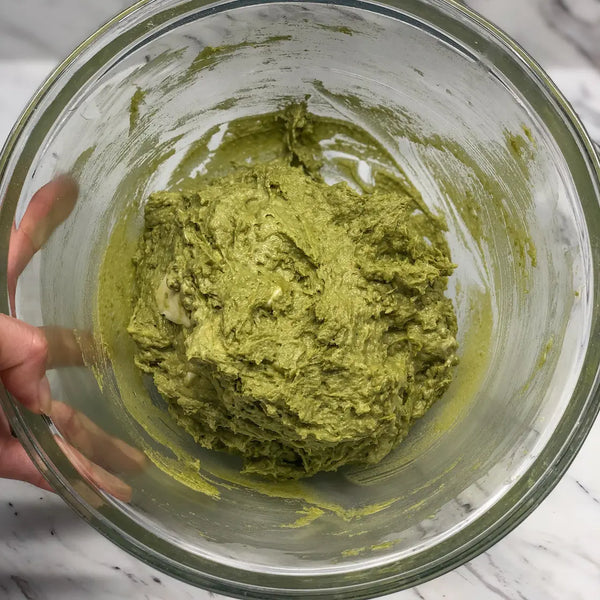
4) Mixing the Dry Ingredients into the Wet Ingredients

Combine the flour mixture into the batter bowl. Mix lightly with a spatula. Pour in the milk and gently mix (no need to mix it thoroughly). Then, fold in ⅔ of the chopped white chocolate, reserving ⅓ for topping. Mix well until combined.

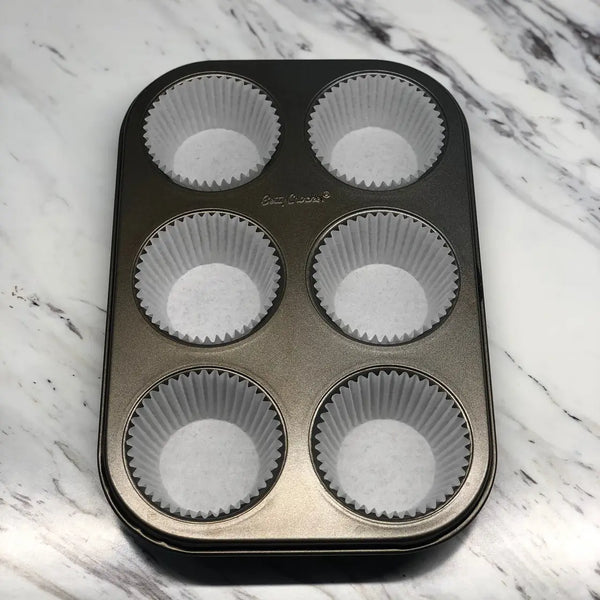
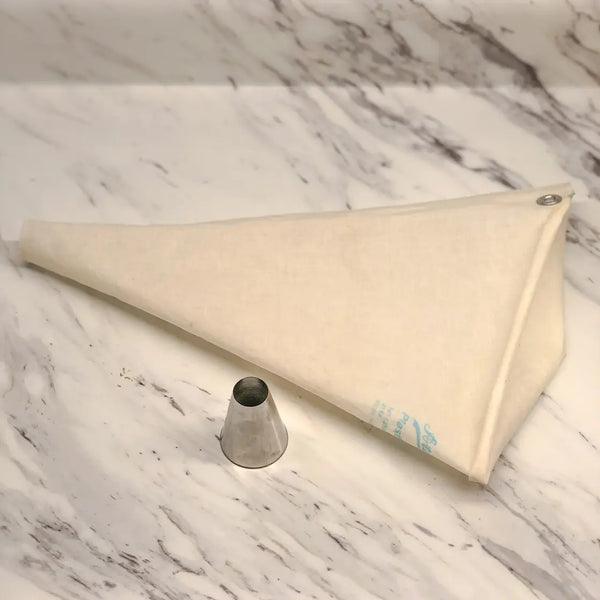
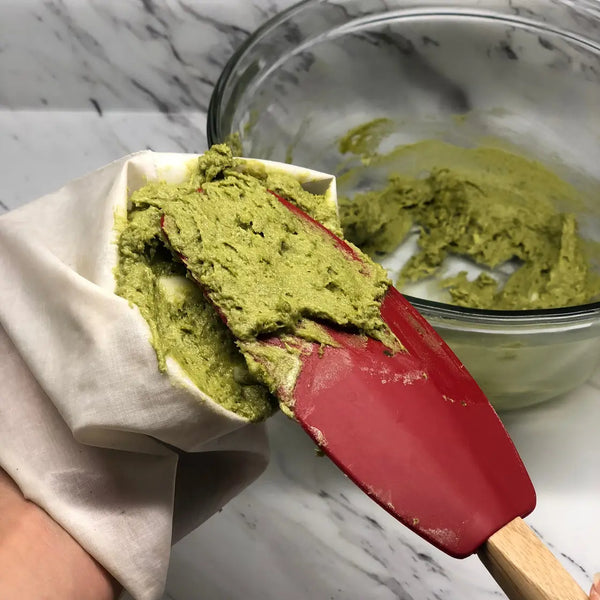
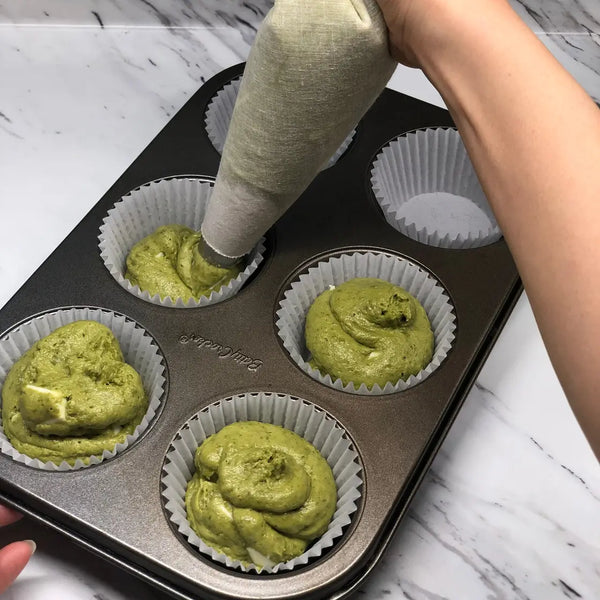
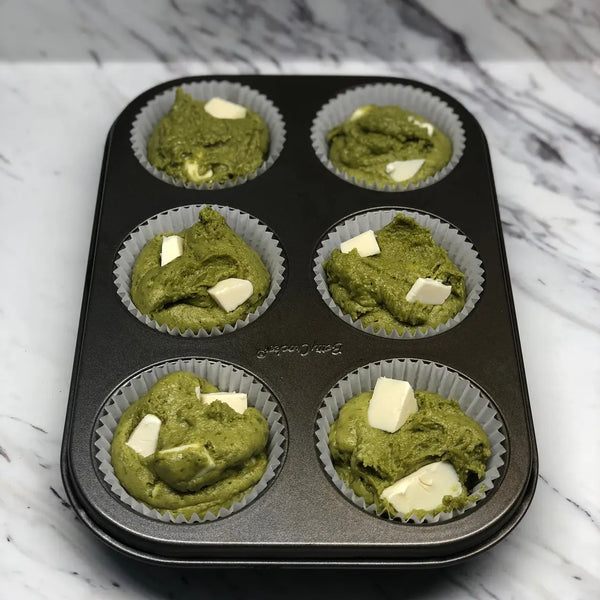
5) Filling the Muffin Tin

You can use an ice cream scoop or spoon to transfer the muffin batter into the muffin cups, but we're going to use a piping bag. Using a piping bag makes it easy to pour the batter neatly. 

Fill the piping bag with the batter and pipe it into the muffin cups. Finish by placing the remaining white chocolate on top.

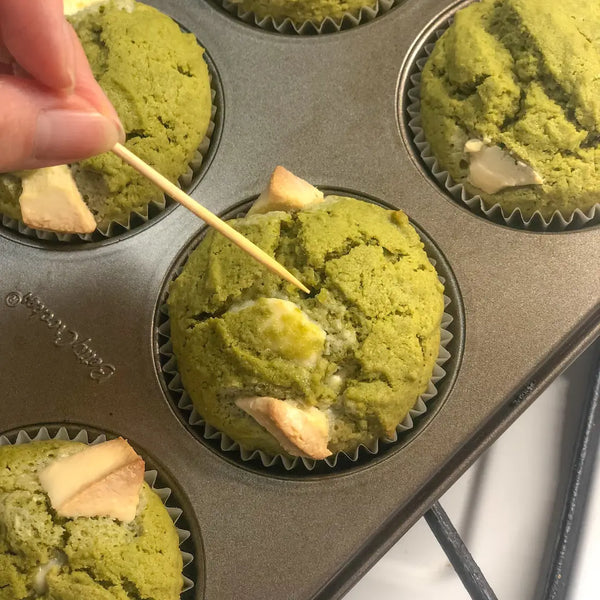
6) Baking the Muffins

Place the muffins in the preheated oven and bake for 20 minutes. To check for doneness, insert a toothpick in the center. If it comes out clean, they're done! If not, bake for another 3 minutes.

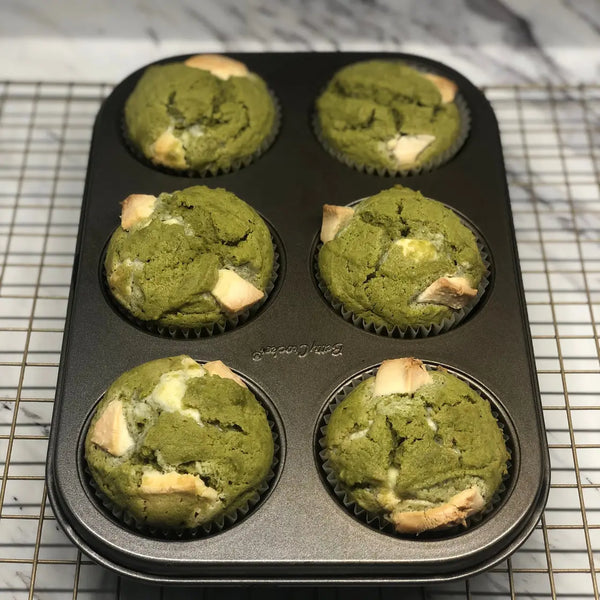
7) Enjoying the Matcha Muffins

Remove the hot muffins from the pan. While they're delicious even when cooled, enjoy them fresh out of the oven if possible!

Tip: To maintain the vibrant green color, store the muffins in a spot away from light, as prolonged exposure can cause fading.

Recommended products for this recipe

0 comments


Leave a comment

Please note, comments must be approved before they are published