How To Make Buta No Kakuni (Braised Pork Belly)-Japanese Taste

How To Make Buta No Kakuni (Braised Pork Belly)

by Megumi Moriya

Appetizer Izakaya Make Ahead Meal Prep Pork Pressure Cooker Simmered Dish Washoku

As this dish has now become a hall-of-fame dish in Japan, there are many ways to make Buta No Kakuni at home. As the name suggests, the basic cooking process is very simple: just simmering pork belly in sweetened soy sauce-based seasoning soup. However, making this dish requires several steps and quite a long time. To reduce these efforts, some recipes use a pressure cooker or rice cooker, but in this article, we are opting for the basic method of making Buta No Kakuni using a regular pot, which involves some additional steps and time. This is because we are confident that you can create an authentic, delicious, and tender Buta No Kakuni with our recipe!

First of all, the perfect Buta No Kakuni is tender, juicy, and deeply flavored, which is totally different from roast pork or Chashu, although their exteriors look similar. To achieve these goals, you need to follow some steps and wait for it to be the perfect finish.

Before delving into the cooking process, it is essential to consider how to select the pork belly. Then how should we choose the pork belly? First and foremost, examine the balance of lean parts and fatty parts. Ideally, the layers should be evenly distributed. Therefore, we recommend opting for the belly part over the shoulder loin or leg ham, as it yields a juicier Buta No Kakuni. Once you have chosen the right pork belly, achieving the perfect Buta No Kakuni becomes much easier!

Finally, let’s delve into the cooking process. In our recipe, there are 3 stages to cook the pork belly. First, we grill all the surfaces of the pork to seal in Umami flavor. Second, we boil it with aromatic vegetables to remove any unwanted smells and tenderize the meat. Finally, we simmer the pork belly with seasonings to infuse the flavors deeply and further tenderize it.

Thus, the process is simple enough, and time is what makes the dish more delicious. Hold off on any hasty feelings and enjoy the waiting period, anticipating the savory dish to come!

Overview

Prep time: 10 mins

Cook time: 2hrs 30mins

Total time: 2hrs 40mins

Total servings: 3

Difficulty: Easy

Ingredients
  • 400-600g Pork Belly Block
  • 1 tsp Cooking Oil
  • 3 Tbsp Sugar
  • 3 Tbsp Soy Sauce
  • 100ml Cooking Sake
  • Water, as needed
  • 60-80g Japanese Leek (green part)
  • 4 Slices of Ginger (with peel)
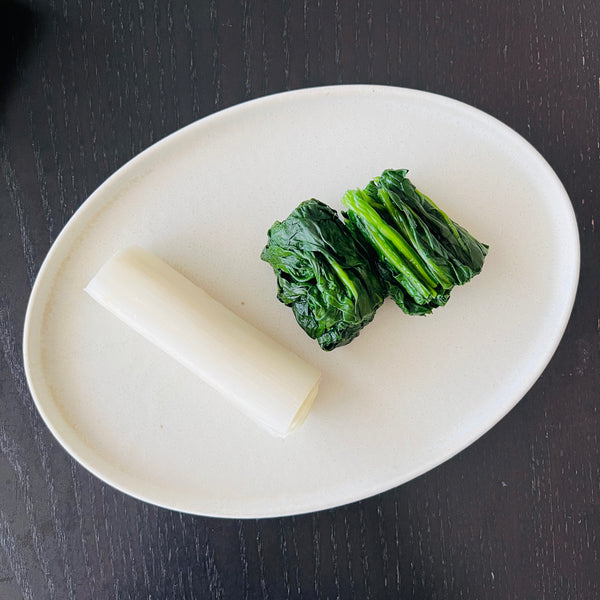
  • 8cm Japanese Leek (white part, for garnish)
  • Boiled Spinach as needed

Expert's Tip

How To Make Buta No Kakuni (Braised Pork Belly)

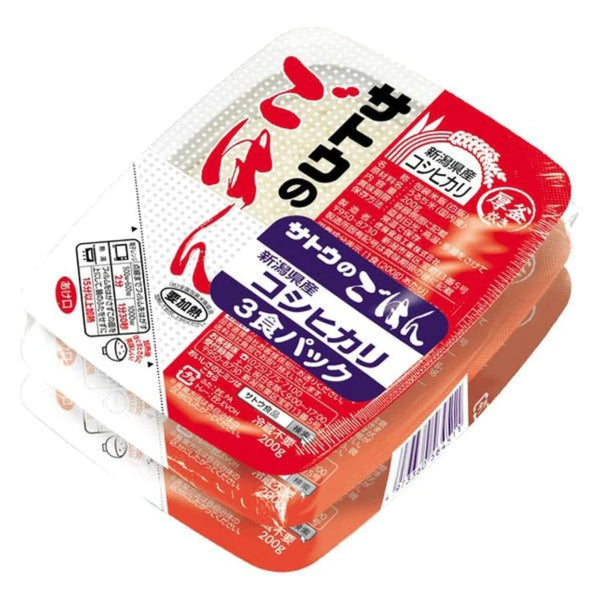
Many Japanese dishes are traditionally enjoyed with steamed rice, as rice is a staple in Japanese cuisine. Sato No Gohan is an instant rice product that allows you to easily enjoy authentic Japanese rice in just 2 minutes in the microwave or 15 minutes by boiling. Its quality is highly regarded by Japanese rice lovers. Why not keep some at home and savor Japanese rice with your favorite Japanese dishes?

Instructions

buta no kakuni ingredients
buta no kakuni garnishes

1) Gathering the Ingredients

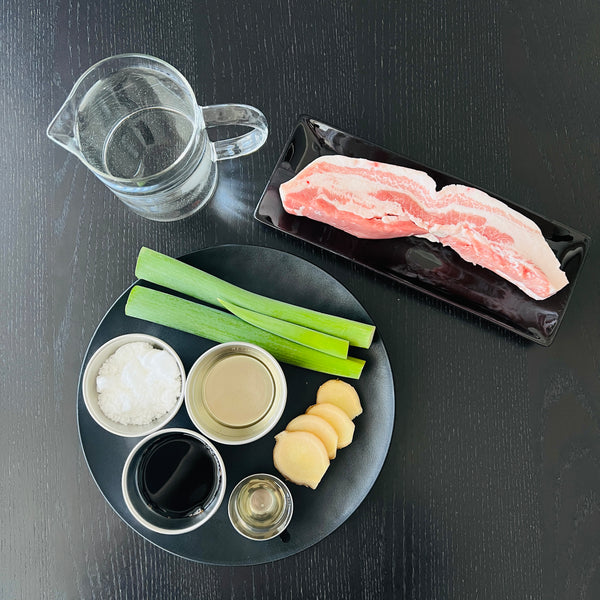
Gather the ingredients together.

adding the pork belly to a pot
searing the pork belly
seared pork belly

2) Searing the Pork Belly

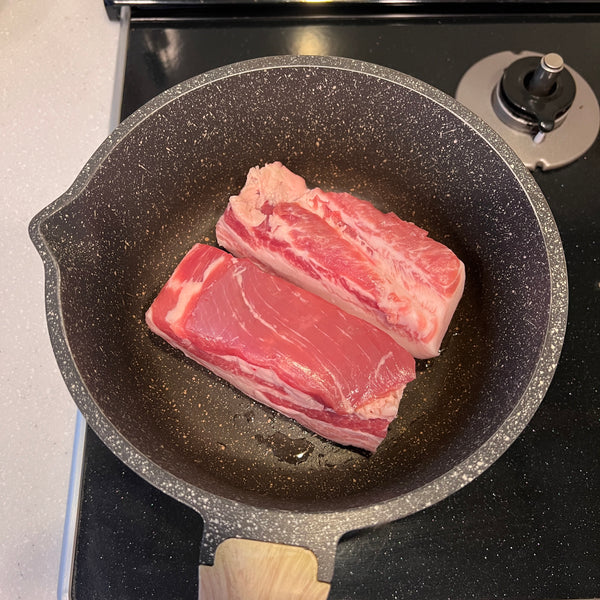
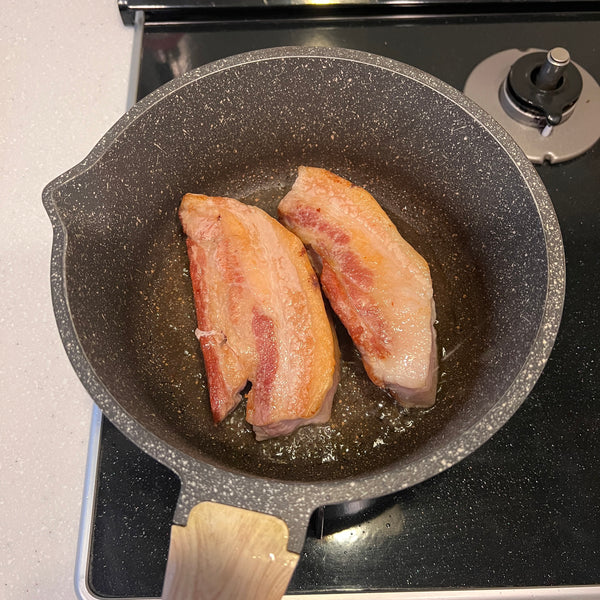
Prepare a pot and add cooking oil, then place the pork belly with the fatty side on the bottom. (If the pork belly is big and difficult to place in the pot, cut it in half as shown in the picture below.) Grill it over medium heat until all surfaces are golden brown.

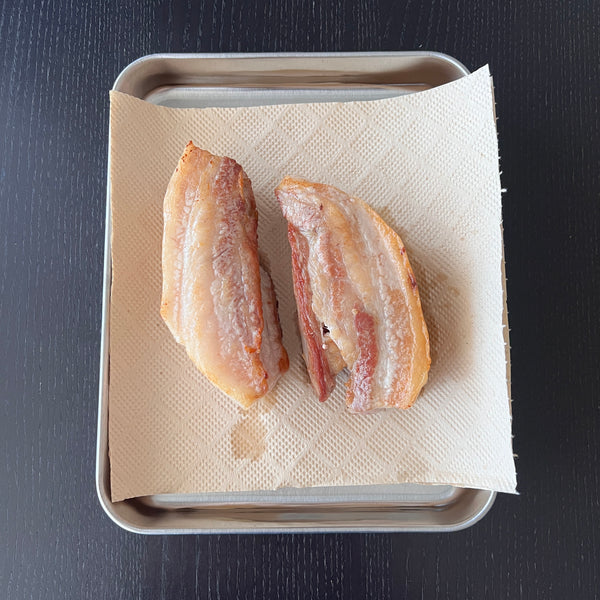
After grilling, place it on paper towels to remove excess oil. Clean the pot to use it in the next steps.

simmering the pork belly

3) Simmering the Pork Belly

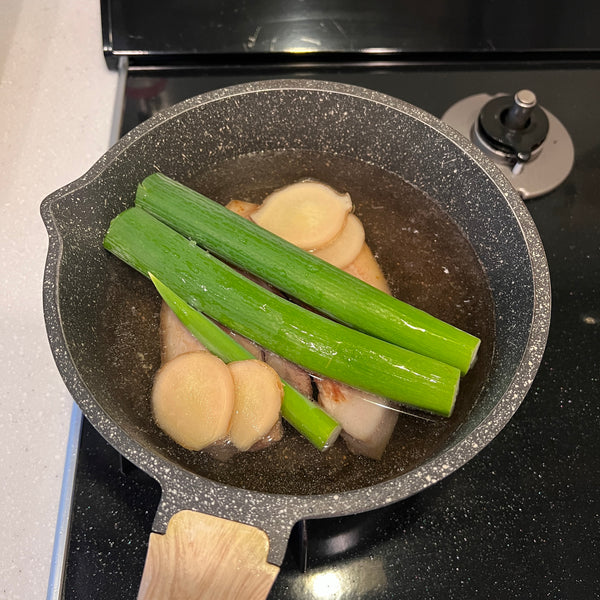
Place the grilled pork belly in the pot and pour water just enough to barely cover the pork belly. Add Japanese leek (green part) and sliced ginger on top. Heat them over medium heat until boiling. Once boiled, simmer for about 1 hour over LOW heat.

If the water level decreases, add extra water to ensure the pork belly remains covered at all times.

straining the broth into a bowl
broth from the buta no kakuni

4) Taking the Pork Belly Out Of the Broth

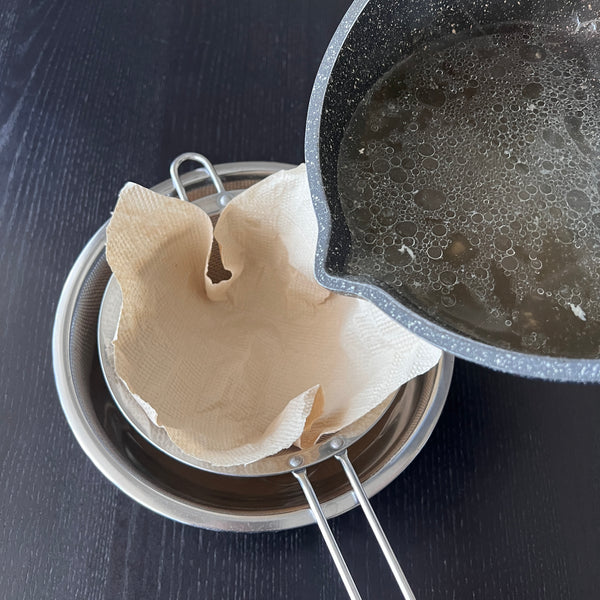
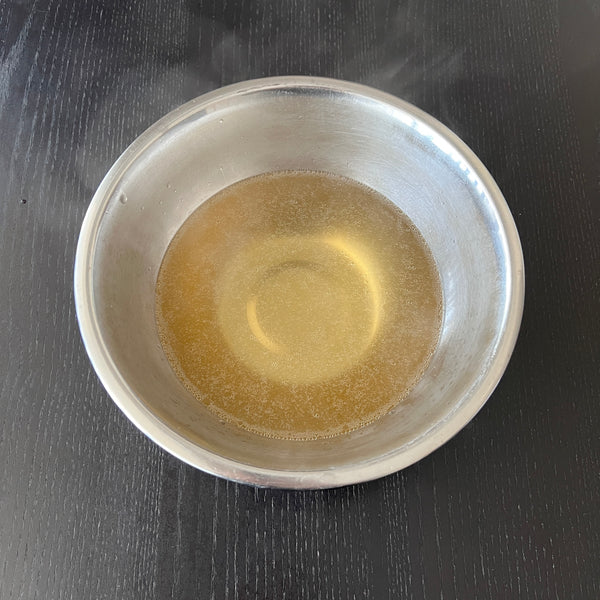
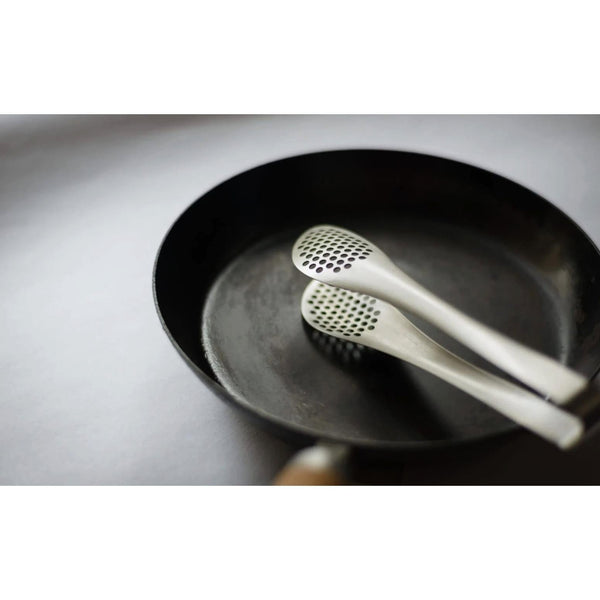
After 1 hour, separate the pork belly and broth. Use tongs to remove the pork belly and cut it into 6 portions. Strain the broth using a fine-mesh strainer lined with a paper towel over a bowl. You should obtain approximately 500ml of broth. Keep the broth to use in the next step.

*If you prefer to remove fat from the broth, allow it to cool once and then skim off the solidified fat from the surface before separating the pork belly and the broth.

adding the seasonings to the buta no kakuni
adding sugar
adding soy sauce
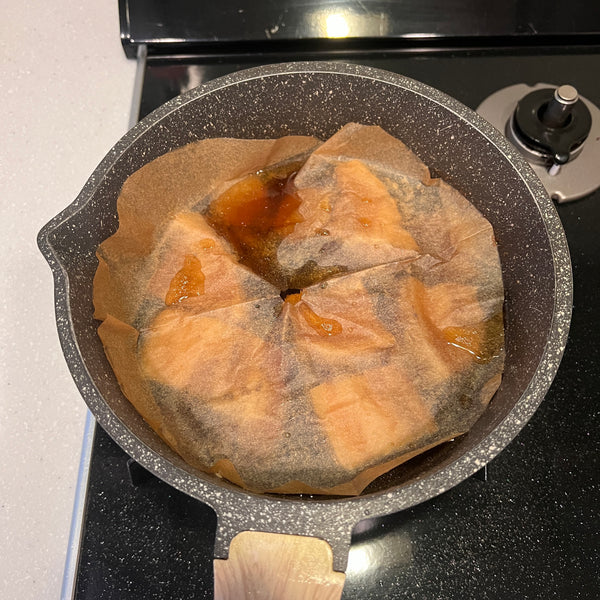
adding a piece of parchment paper over the buta no kakuni to prevent the liquid from evaporating too much

5) Simmering the Pork Belly with Seasonings

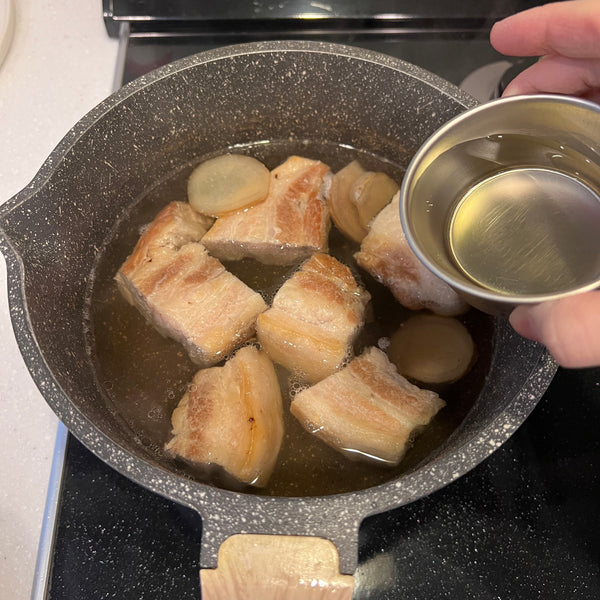
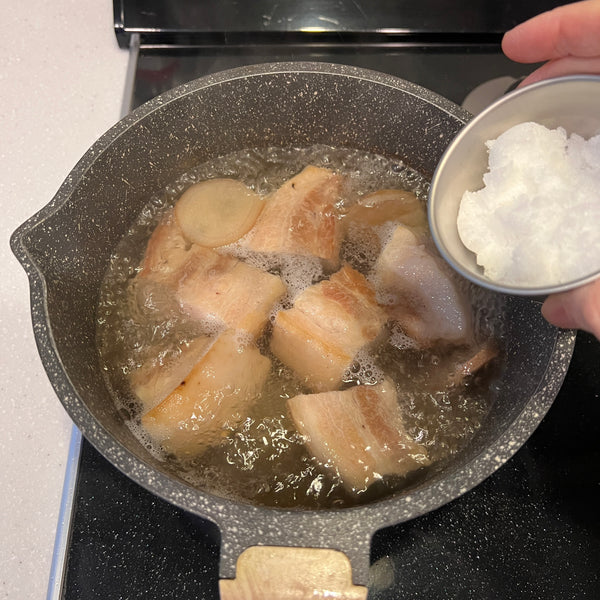
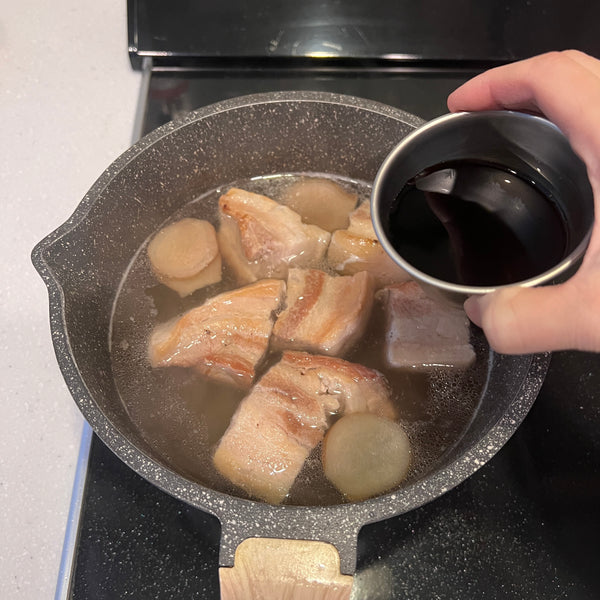
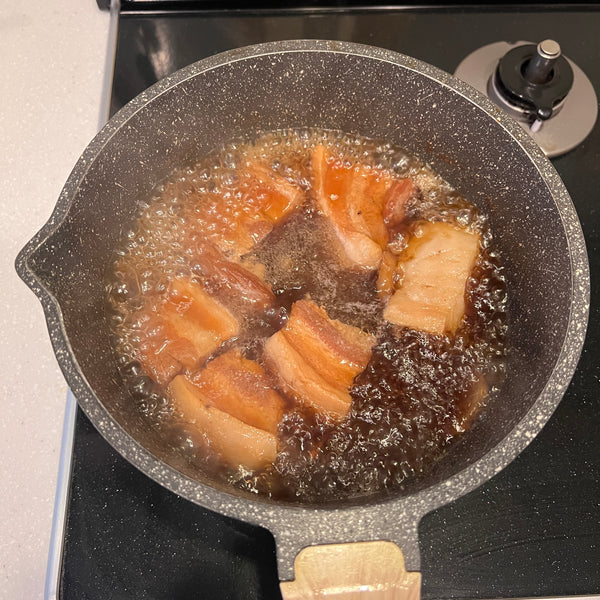
Clean the pot and place the pork belly portions in it. Add the broth and cooking sake. If there is not enough broth to cover the pork belly, add extra water. Heat them over medium heat. Once boiling, add sugar and simmer for 5 minutes over low heat. Then add soy sauce and braise for 1 hour over LOW heat with parchment paper covering the pot.

If the water level decreases, add extra water to ensure the pork belly remains covered at all times.

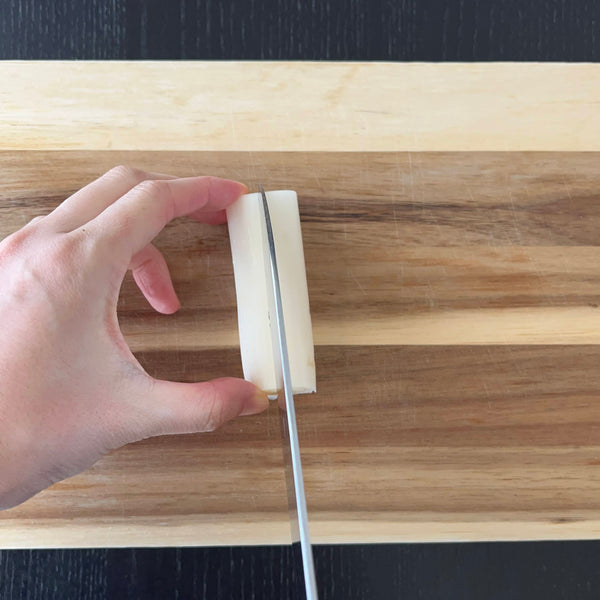
slicing the white part of the leek in half
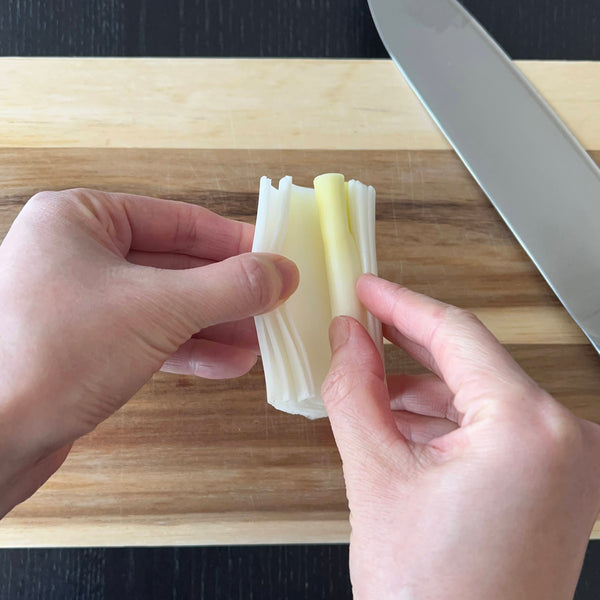
removing the inner core of the leek
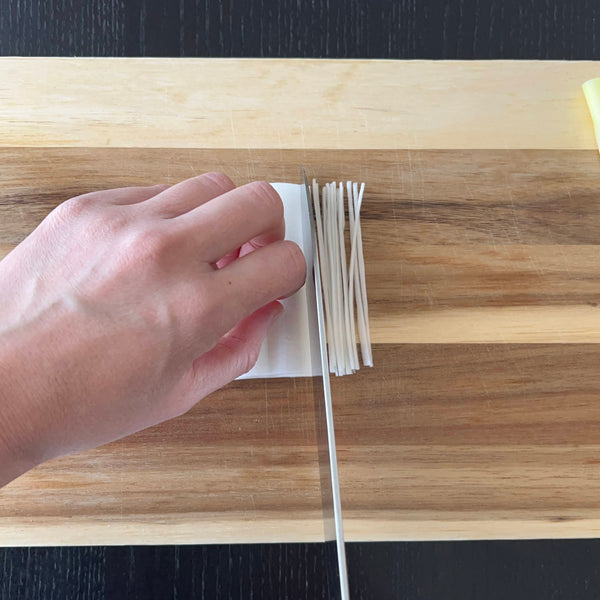
slicing the white part of the leek into thin strips
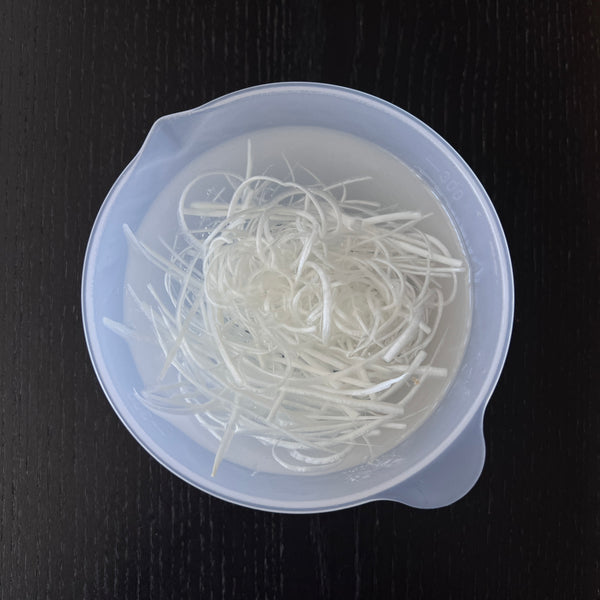
letting the sliced white leek soak in a bowl of water

6) Making 'Shiraga Negi'

This fine strips of Japanese leek are called “Shiraga Negi (Gray-haired Japanese leek)”.

First, make a cut on the surface and remove the inner core. Use the outer parts for Shiraga Negi. Spread the outer parts like sheets and cut them into julienne strips. Soak them in water until just before topping. Drain the water before use.

reducing the buta no kakuni broth
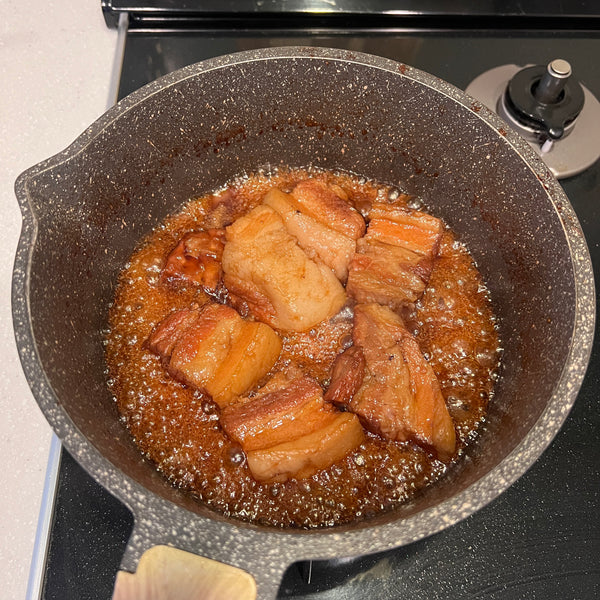
buta no kakuni, after the broth has been reduced

7) Reducing the Buta no Kakuni Broth
After 1 hour, remove the parchment paper and reduce the broth over high heat until it thickens.

finished buta no kakuni

8) Serving the Buta no Kakuni

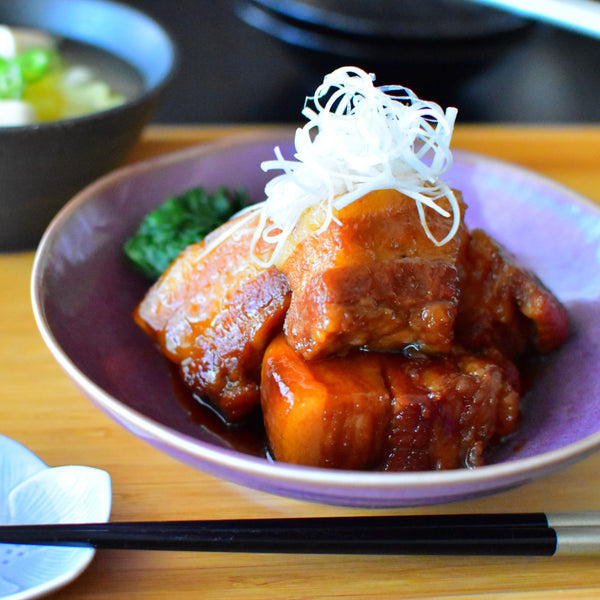
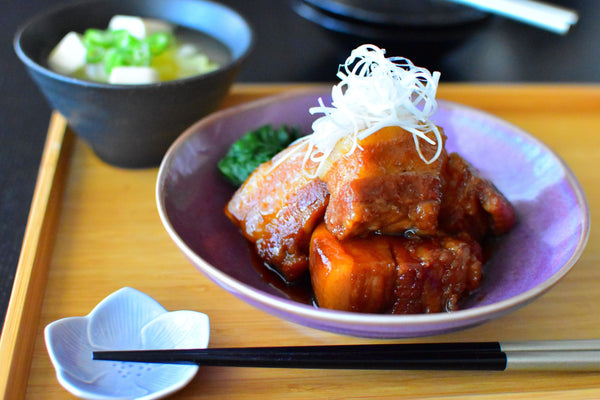
Serve the Buta no Kakuni and sauce on a plate, and garnish with boiled spinach and finely stripped Japanese leek. Enjoy!

Recommended products for this recipe

2 comments

  • Thank you for sharing your experience, Kevin! Browning can indeed take a bit of patience, but it’s worth it for that deep, savory flavor. We’re glad your family enjoyed it! Thank you so much for your support and please feel free to browse our other recipes!

    Japanese Taste,

  • Totemo oishiikatta desu. I was a little worried while browning, because it took a long time. But the end result was great, and my Japanese wife and MiL enjoyed it.

    Kevin,


Leave a comment

Please note, comments must be approved before they are published