
How To Make Sata Andagi From Scratch (Okinawan Donuts Recipe)
“Sata andagi” is an Okinawan traditional donut, and is sometimes referred to as “Okinawan Donuts” in English. Okinawan donuts have a unique crispy exterior and soft, fluffy interior.
Sata andagi was originally brought into Okinawa from China during the Ryukyu Dynasty Era. Therefore it is similar to the Chinese snack “Kaikosho” or “Kaikokyu”. The name “sata andagi” comes from the Okinawan dialect. “Sata” means “sugar”, “anda” means “oil” and “agi” means “to deep fry”, and Sata andagi is sometimes called “Tempura of sugar”.
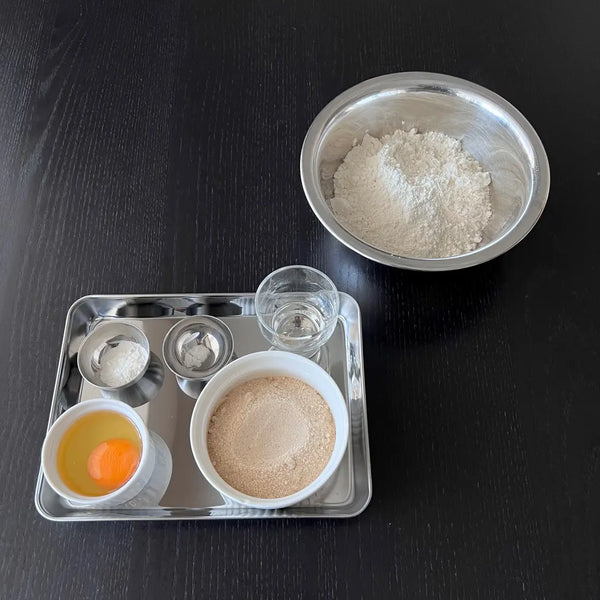
The main ingredients of sata andagi are sugar, eggs, and cake flour. As you can see from the ingredients, sata andagi is quite a simple sweet and is similar to the plain donut. So, what is the difference between sata andagi and plain donuts?
Ingredients-wise, regular donuts require some sort of liquid like milk or water. However, the recipe for sata andagi does not require milk or water.
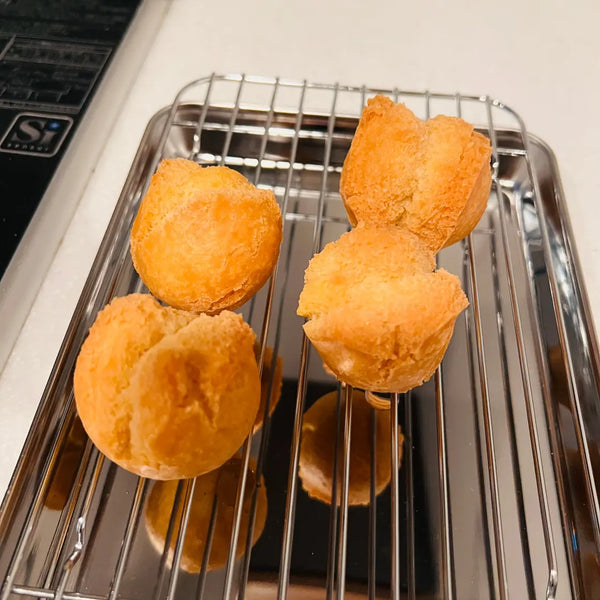
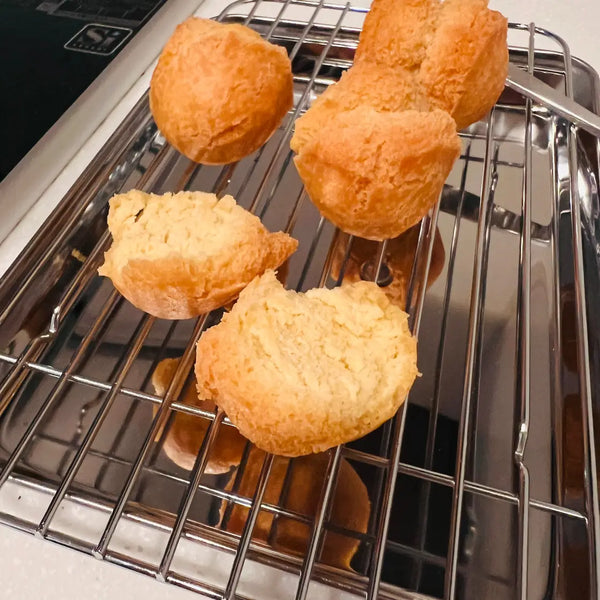
In addition, there is another point that differentiates sata andagi from a plain donut. That is the crack that you will see on the surface of sata andagi. This crack is said to be like a flower and is believed to bring happiness. There is also another story for this. It is also said that this “crack” (ware in Japanese) means “smile” (warai in Japanese). The similarity of these words reminds people of good luck. Thus, Sata andagi is known as a special snack that represents happiness and is given as a gift for happy occasions like weddings and birthdays.
Now, do you want to learn how to make Sata andagi? Here is our recipe for the plain flavored Sata andagi. Once you understand how to make basic Sata andagi, you can try using other ingredients like brown sugar, kabocha squash, sesame, kinako, and purple sweet potato and make your favorite sata andagi! We hope you’ll enjoy our recipe, and let us know if you try it in the comments below.
Overview
Prep time: 20 mins
Cook time: 30 mins
Total time: 50 mins
Total servings: 15
Difficulty: Easy
Ingredients
- 150g Cake Flour
- 1 Tsp Baking Powder
- 1 Egg (about 50g)
- 70g Light Brown Sugar (Granulated Sugar is also OK)
- 1 Tsp Neutral Oil
- 1/8 Tsp Salt
- Neutral Oil as needed, for deep frying
Expert's Tip
Among the various oils, Rice Bran Oil is one of the most ideal for deep frying. Unlike other cooking oils, rice oil does not oxidize easily, and makes the texture of whatever you fry in it light and crispy. In addition, rice bran oil is somewhat nutritious because it contains Vitamin E. You can use rice bran oil both for daily cooking and making snacks as it doesn’t impede the flavors of what you’re making.
Instructions
.jpg?v=1693447563648&transform=inside=600x600)
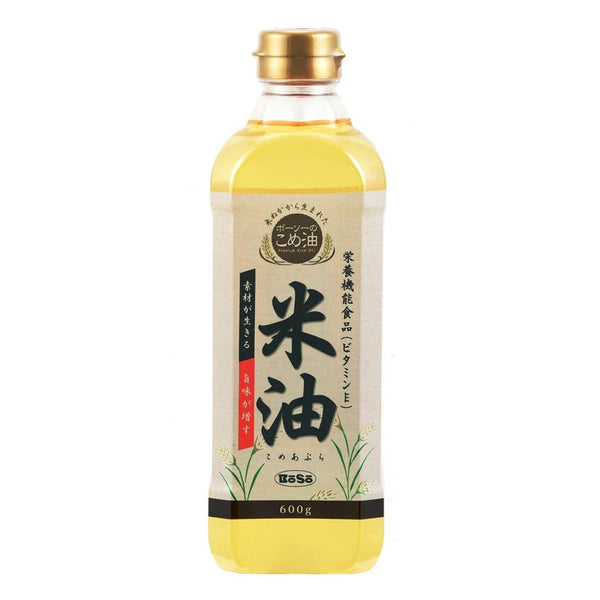
1) Gathering the Ingredients
Gather all the ingredients together.
2) Mixing the Wet Ingredients
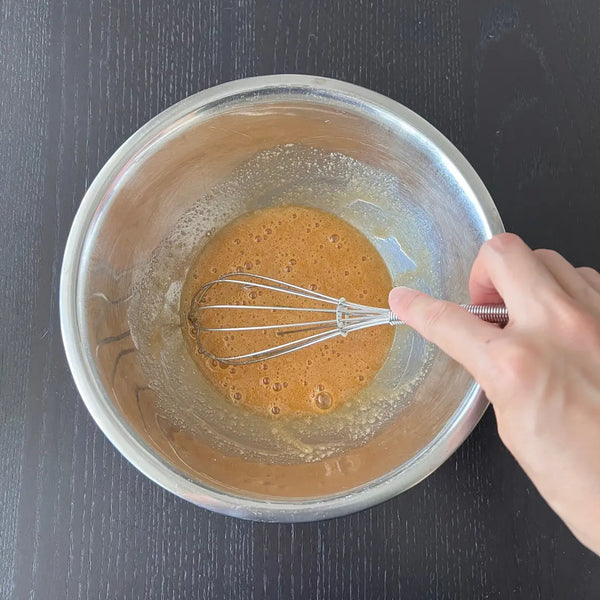
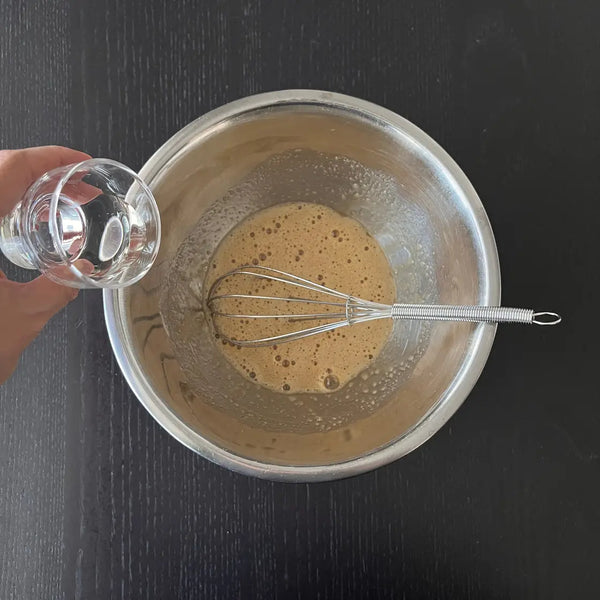
Add the egg and brown sugar into a large bowl and mix them well with a whisk. Then add vegetable oil mix to combine.
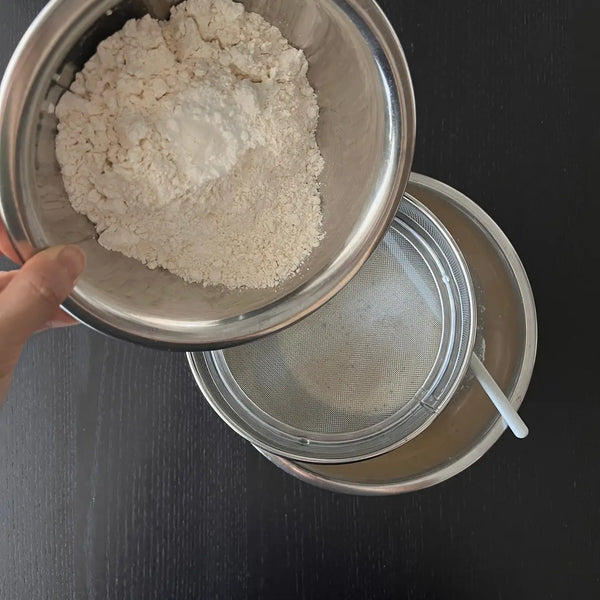
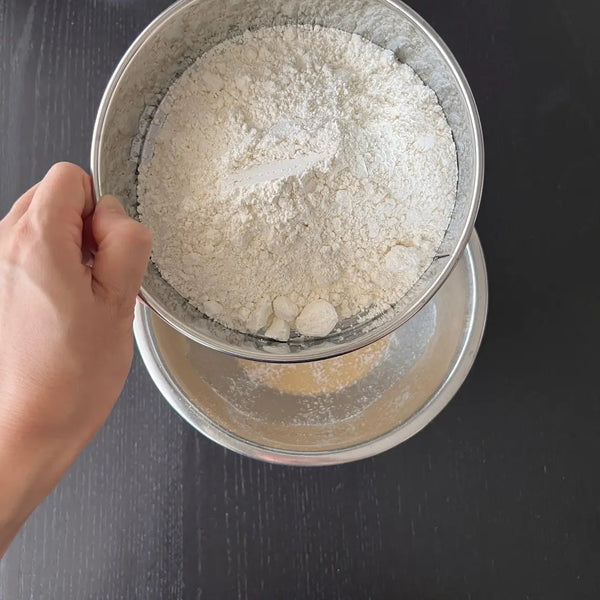
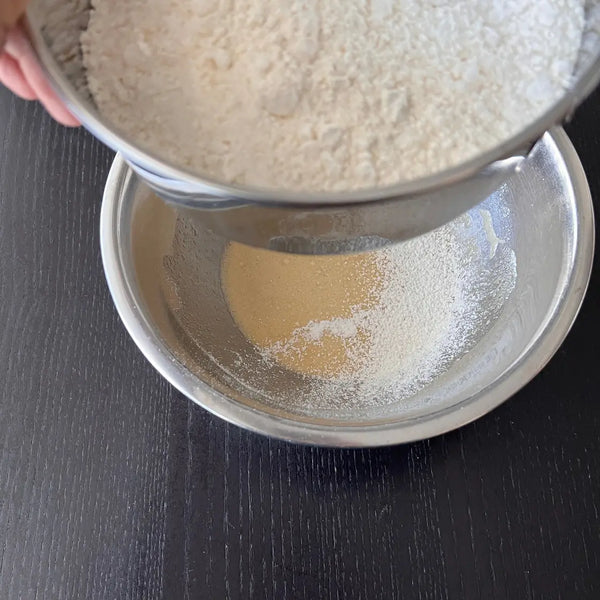
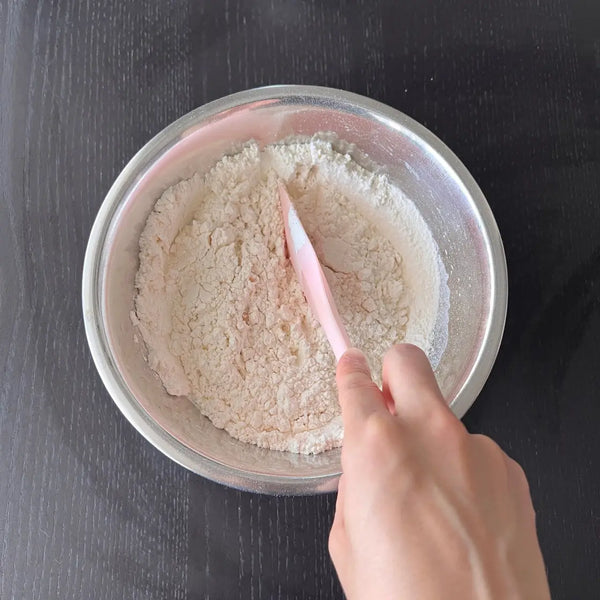
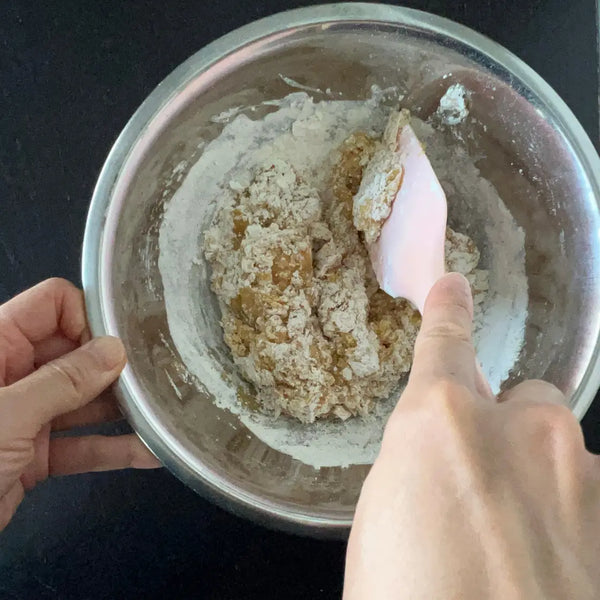
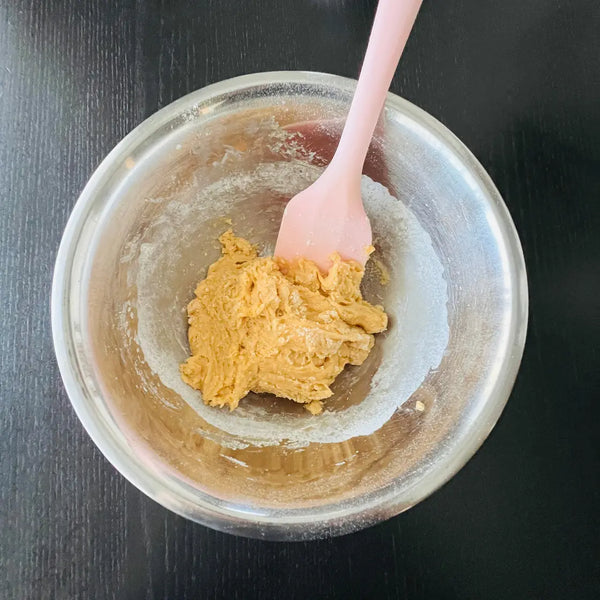
3) Adding the Dry Ingredients to the Wet Ingredients
Sift cake flour, baking powder, and salt directly over the wet mixture. Mix everything together with a rubber spatula.
Tip: Don’t mix the dough too much! Use a cutting motion to mix the dough rather than a mixing motion. If the dough is too soft or sticky, add extra flour little by little.
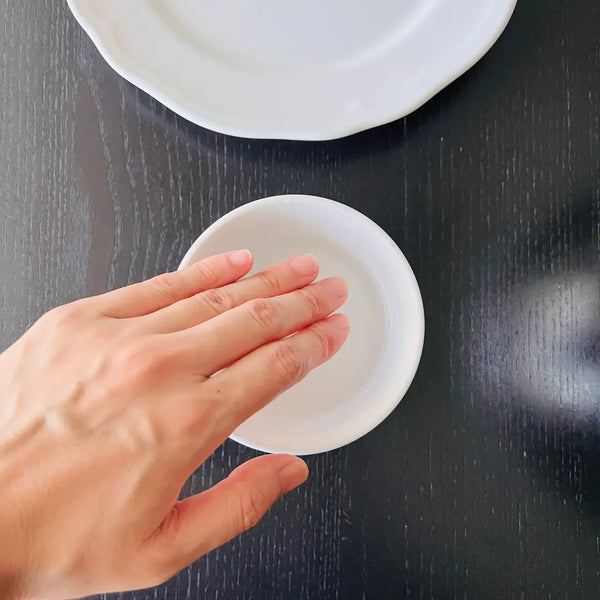
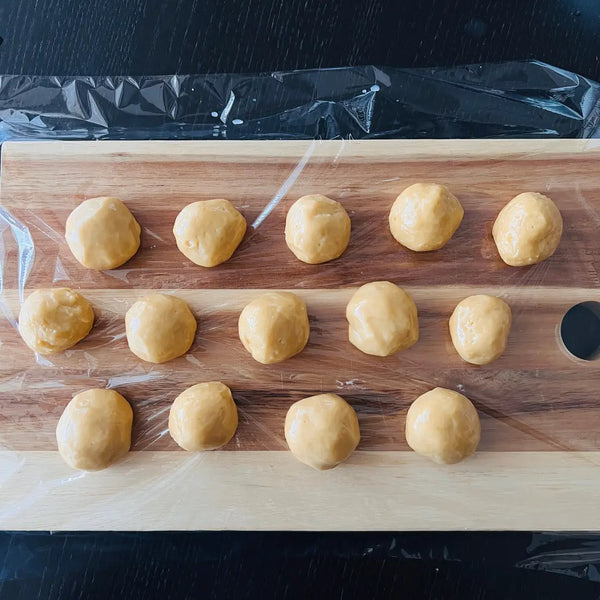
4) Dividing and Shaping the Donut Dough
Place a piece of plastic wrap onto a plate or cutting board.
Prepare a small bowl of water and wet your hands to prevent the dough from sticking to you when you roll the dough.
Divide the dough into 15 portions and then roll each piece into a ball. Each dough ball should be about 3cm in size so that they can cook evenly.
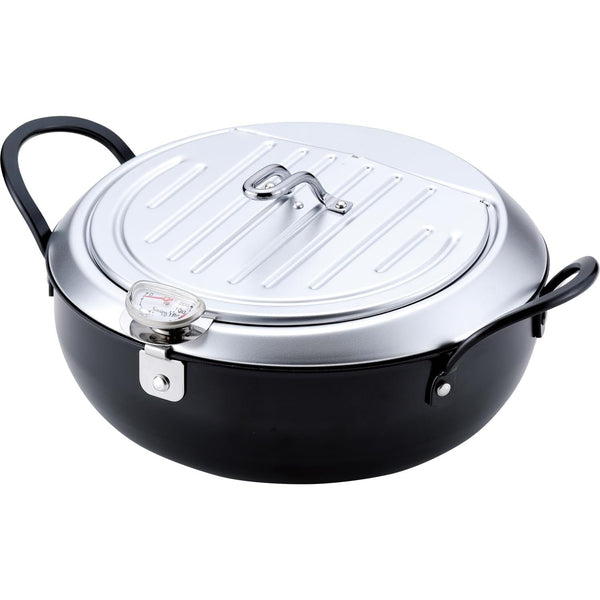
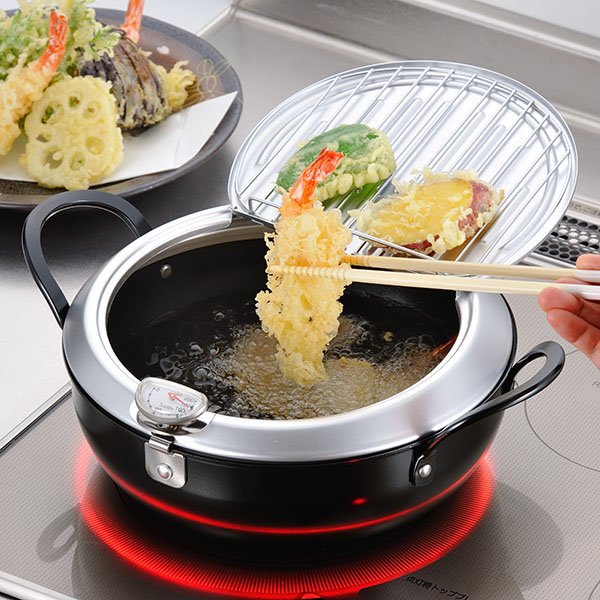
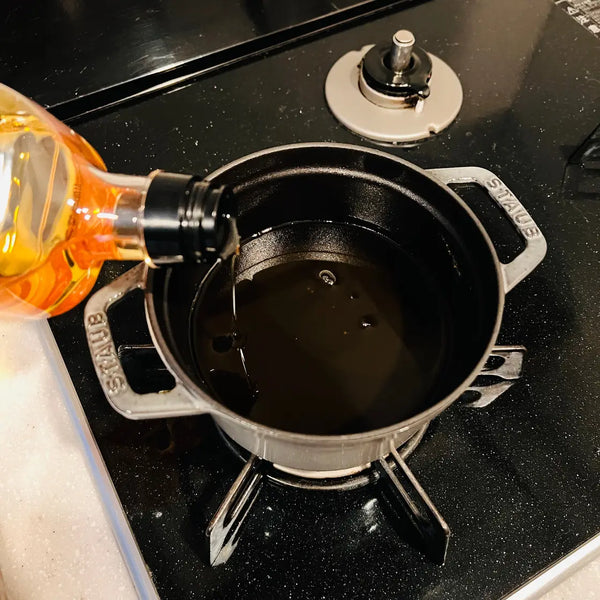
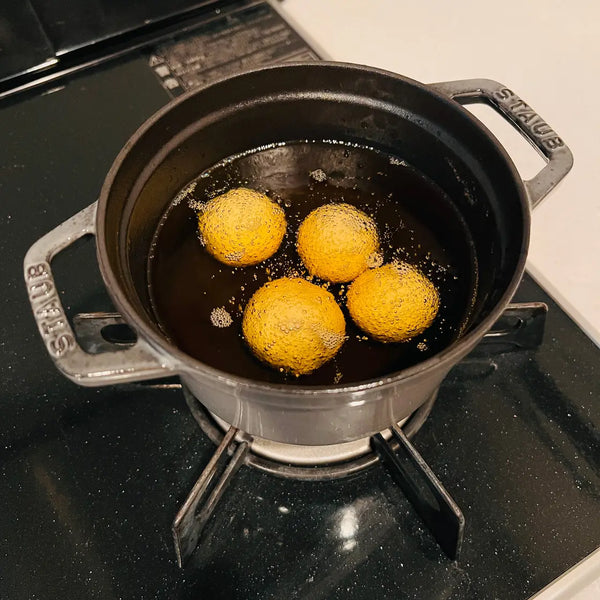
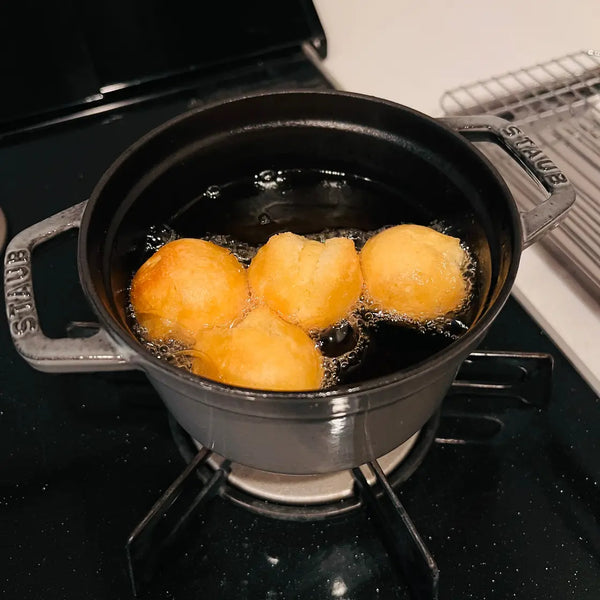
5) Deep Frying Sata Andagi
Bring oil in a deep fryer or pot to 160℃ over medium heat. Make sure the oil temperature does not rise over 160℃.
To check the oil temperature, use a wooden stick or chopsticks. If fine bubbles start forming around the stick, then the oil is hot enough.
Deep fry the sata andagi until golden brown. Turn them with chopsticks a few times to ensure even browning. It will take about 7-10 minutes total to fry the sata andagi.
Tip: Be sure not to overcrowd the pot!
6) Enjoying Sata Andagi
Take the sata andagi out of the oil and drain the excess oil on a wire rack or with paper towels. Enjoy your Sata andagi while they’re still warm!
7) Tips for Storing & Rebaking Sata Andagi
You can store the leftover sata andagi for about 2 days. Keep them in an airtight container or ziplock bag at room temperature
If you want to keep them for a longer period of time, you can tightly wrap them in plastic wrap and freeze them
Defrost them by putting them in the refrigerator and then rebake them in an oven toaster.
0 comments