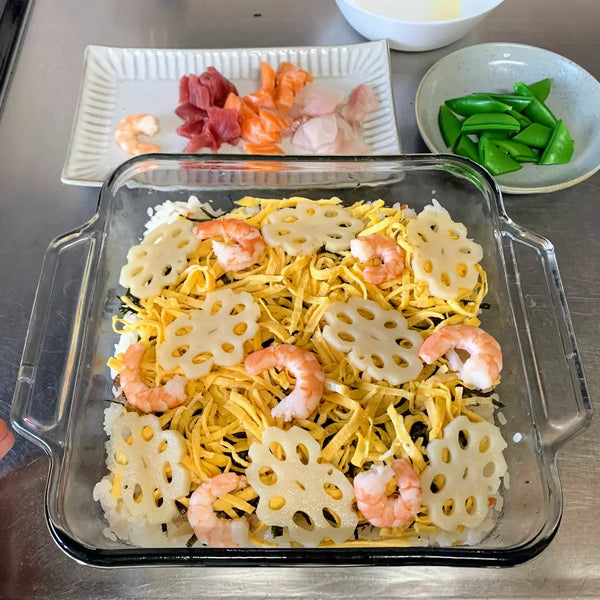
Chirashi sushi, sometimes misspelled chriashi or chirasho, is a vibrant Japanese dish consisting of seasoned rice topped with an array of ingredients such as sashimi, eggs, vegetables, and seafood.
Chirashi definition literally means “scattered,” which reflects the way the toppings are artfully arranged on the rice. Depending on the region, family traditions, or ingredients, chirashi sushi can also be called gomoku chirashi sushi, kaizen chirashi sushi, or bara sushi.
Chirashi sushi originated in the Edo period (1603-1867) but later became more popular after the Meiji period (1868-1912). The ingredients, preparation methods, and even cooking methods changed as this dish spread throughout Japan.
Nowadays, due to its gorgeous appearance, sushi chirashi is often eaten on festive occasions like Hinamatsuri (the Dolls' Festival) on March 3rd, entrance ceremonies, and birthdays.
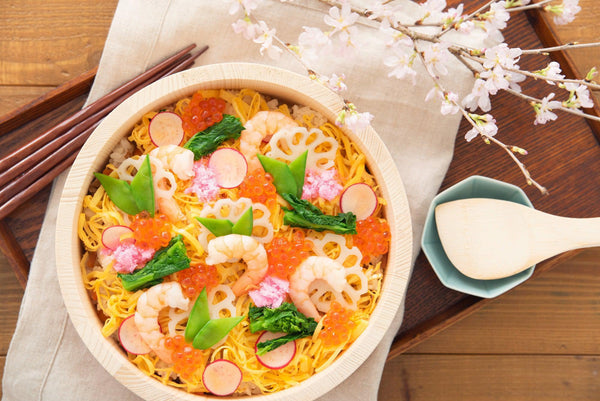
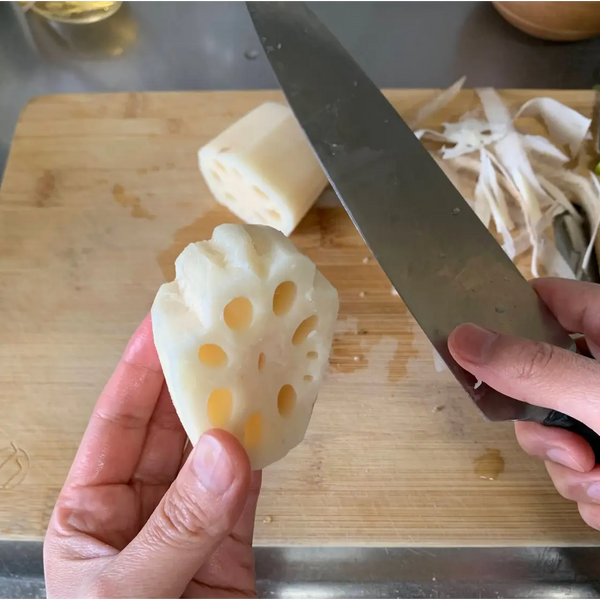
The ingredients used for chirashi sushi have a celebratory meaning. For example, shrimp represent living a long life until your waist bends, lotus root represents being able to see the future well into the distance, and eggs represent gold, silver, and treasure.
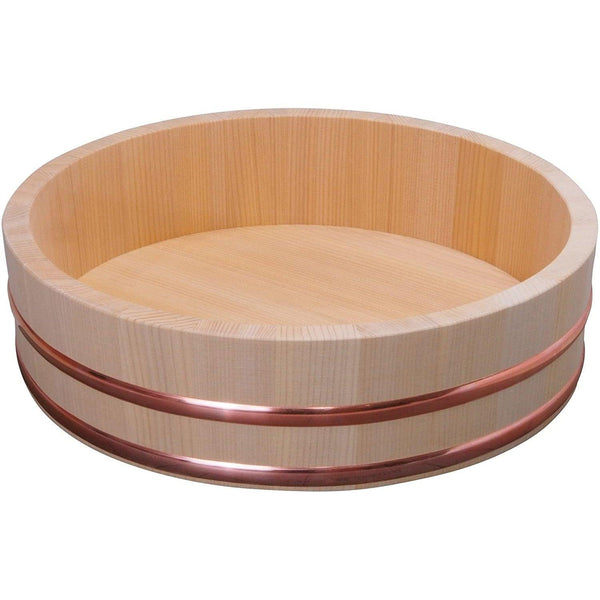
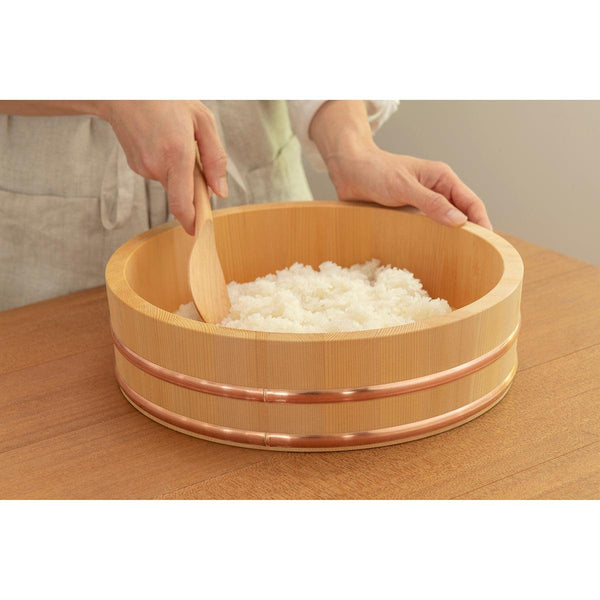
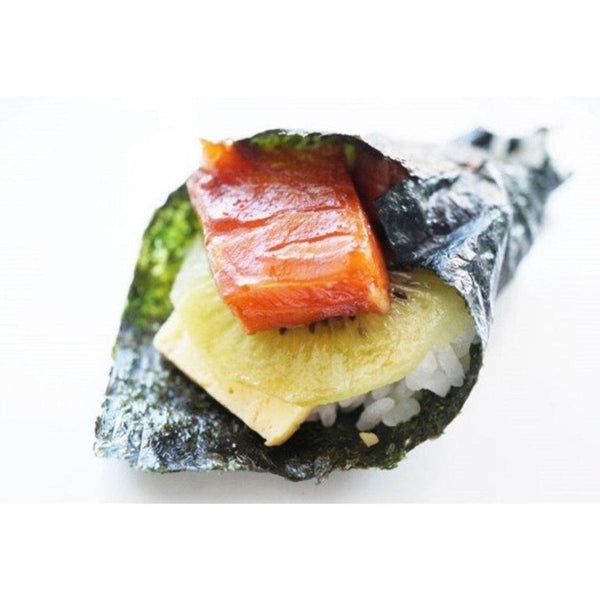
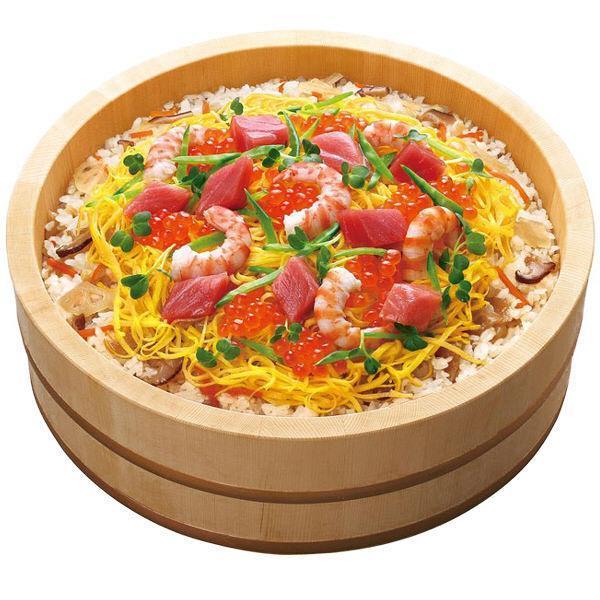
Usually, chirashi sushi is served on a large plate or in a large wooden bowl called a sushi oke. It is then taken and eaten on individual plates using a rice scoop, or shamoji. Chirashi sushi is often served with soup, such as osuimono (clear broth soup) with clams.
Ideally, chirashi sushi should be eaten the same day it is made, but if not, it can be stored in the refrigerator. However, the sashimi components should be tightly wrapped in plastic wrap to prevent them from drying out. They should also be consumed within a day. It is recommended to store the chirashi sushi in the vegetable compartment because the humidity and temperature settings are slightly higher than the other sections of the refrigerator. Sushi rice will harden and lose its flavor when chilled. Therefore, try to consume chirashi sushi as quickly as possible after making it.
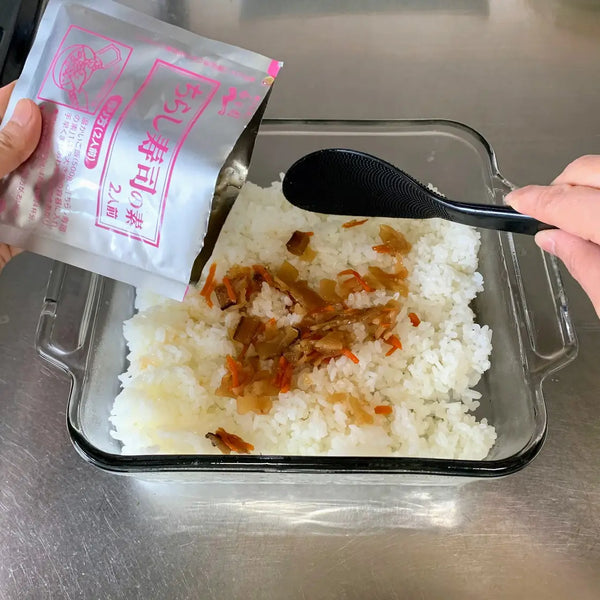
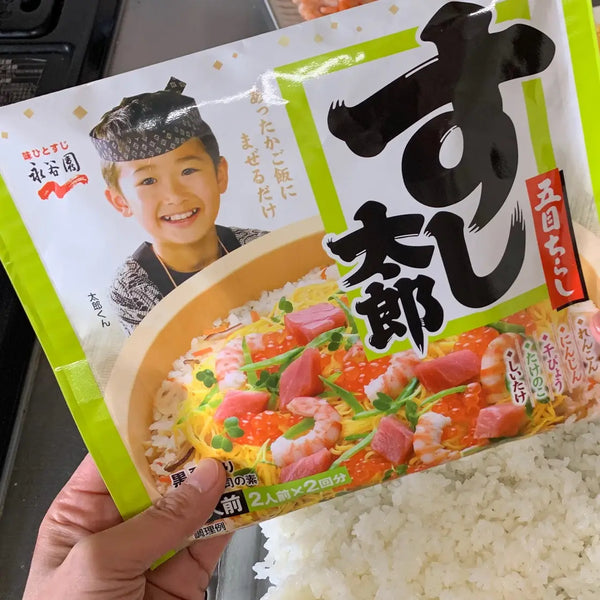
Now, let’s explore a simple and delicious way to enjoy this iconic Japanese dish. Using a chirashi sushi kit, available on our website, you can recreate this colorful meal at home and learn how to garnish it beautifully.
Instructions
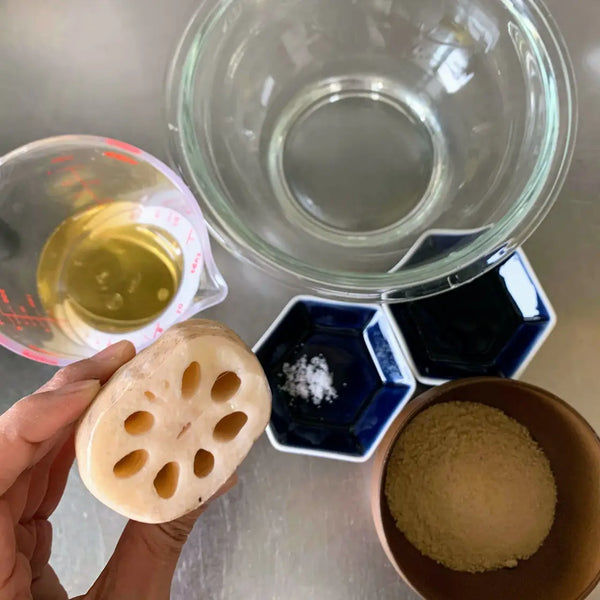
1) Gathering the Ingredients

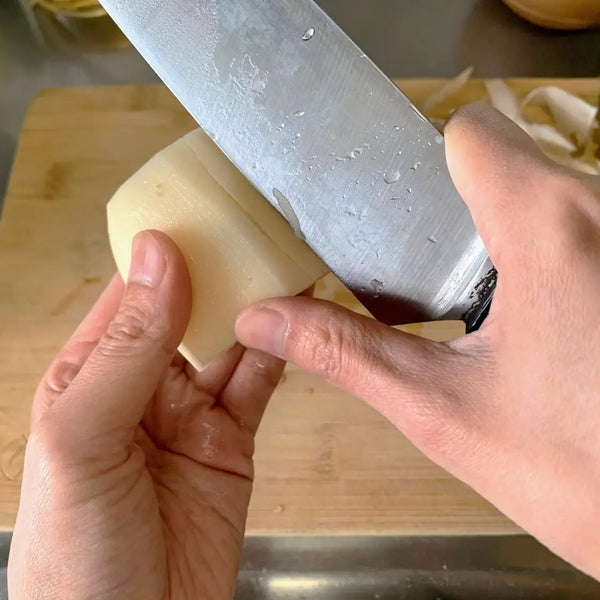
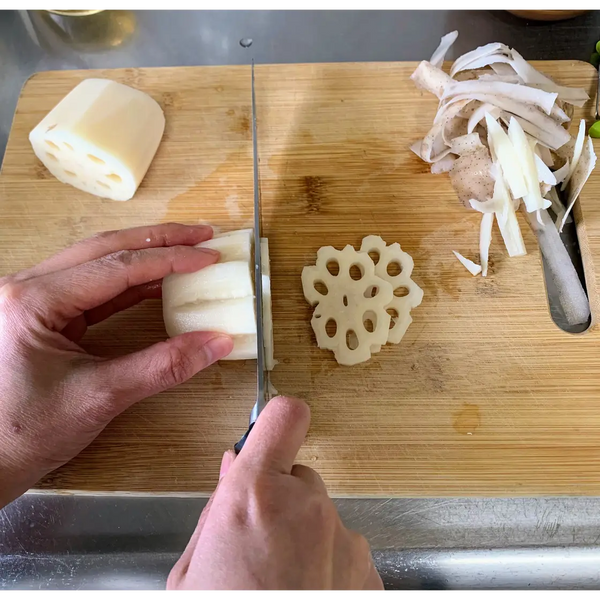
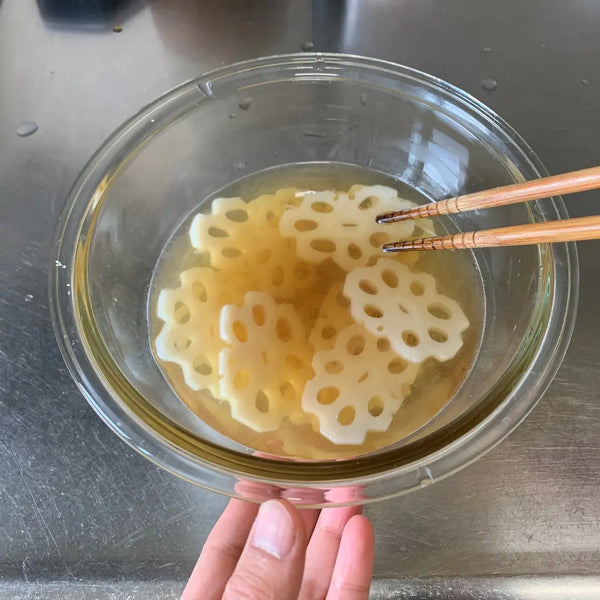
2) Preparing Surenkon (Lotus Root Pickles)
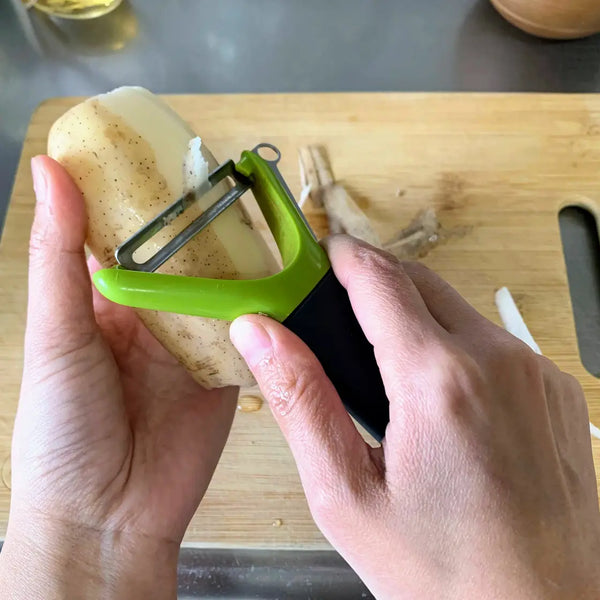
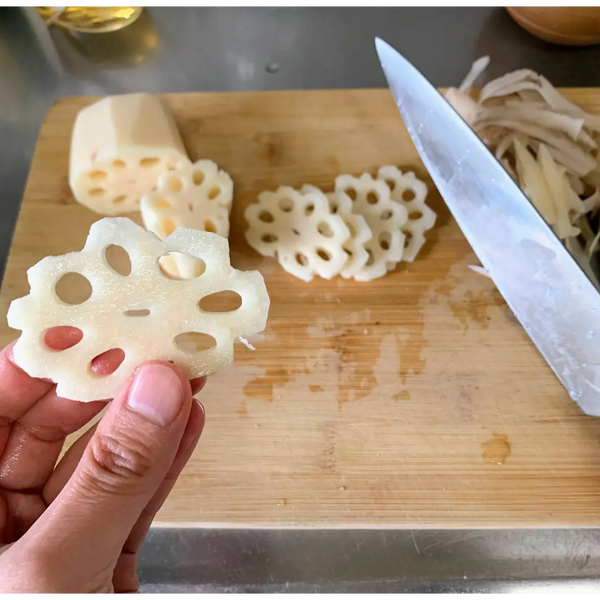
Expert's Tip
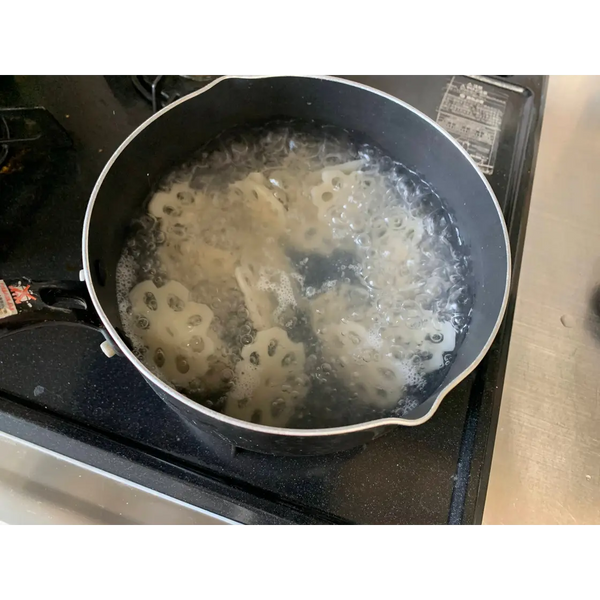
3) Cooking the Lotus Root
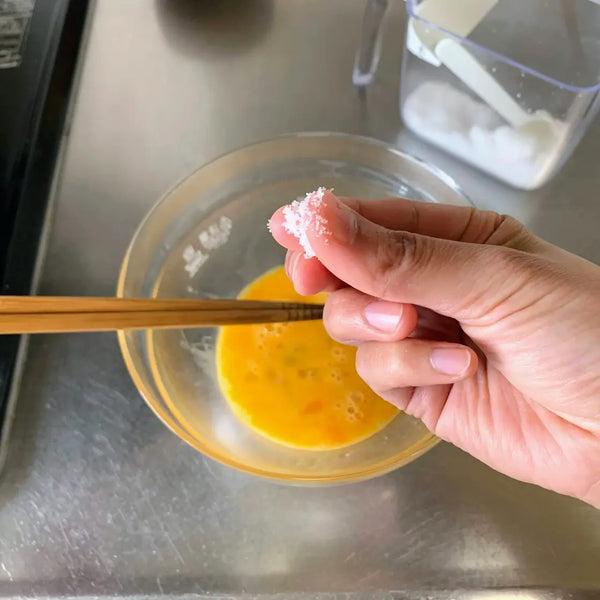
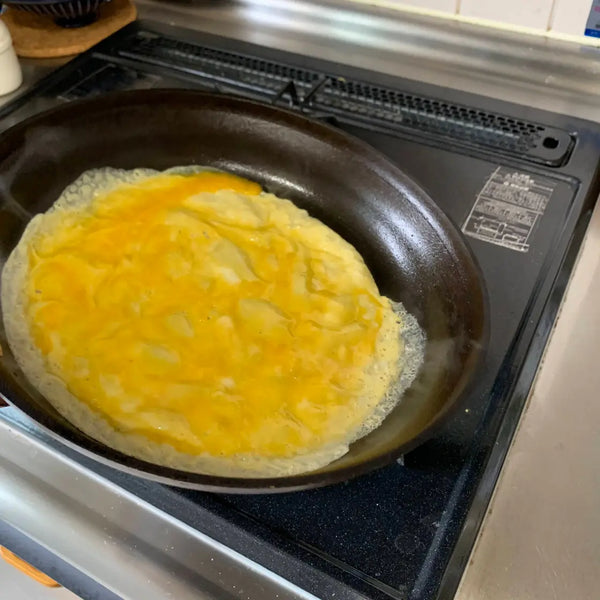
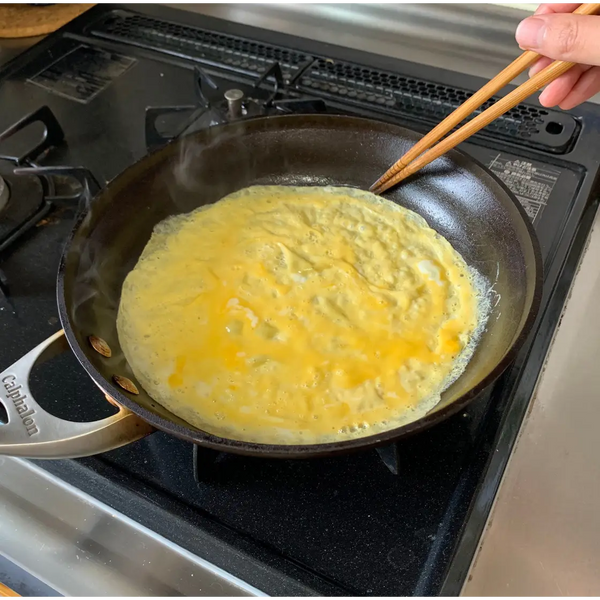
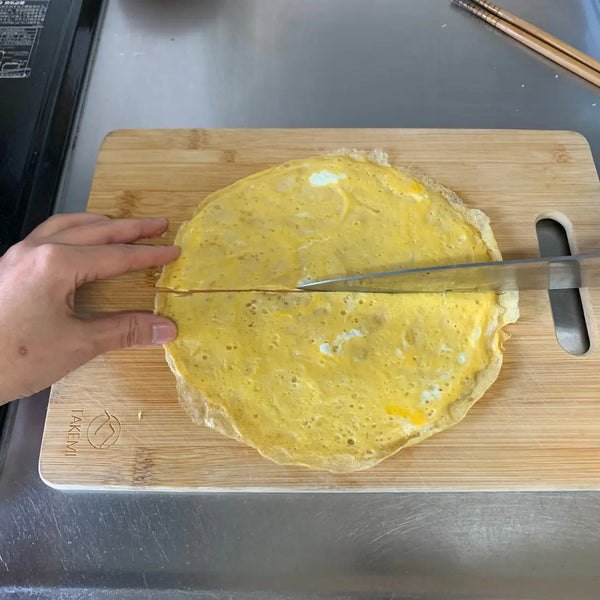
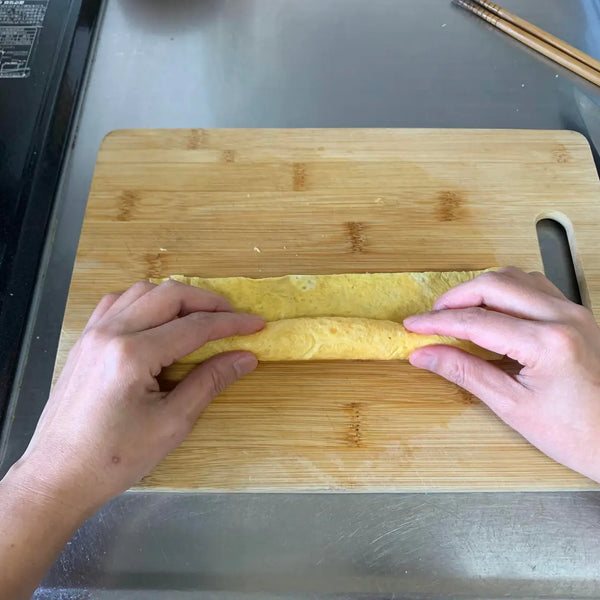
4) Making Kinshi Tamago (Shredded Egg Strips)
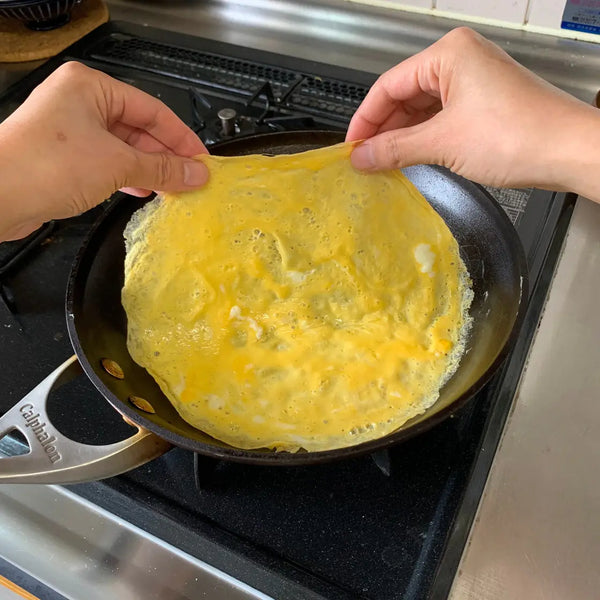
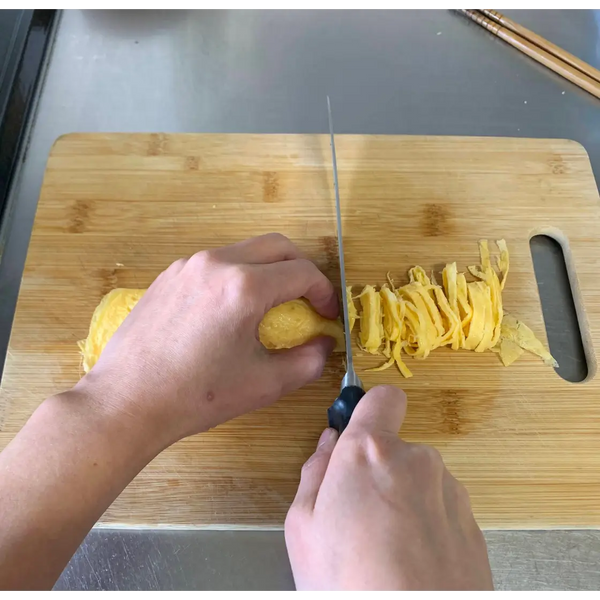
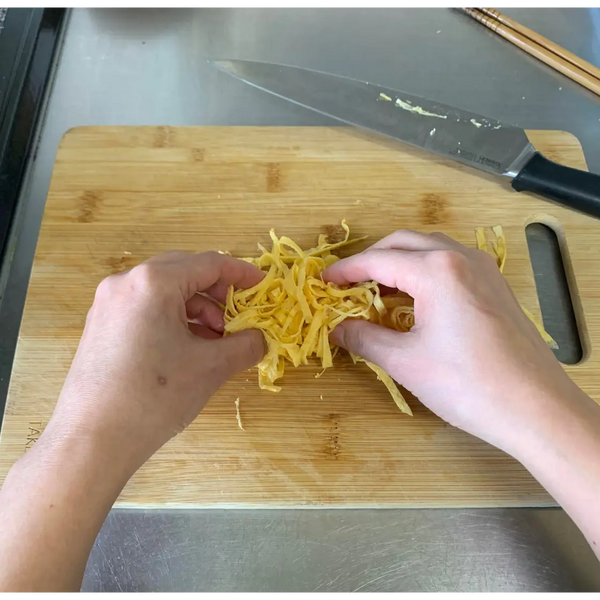
5) Shredding the Eggs
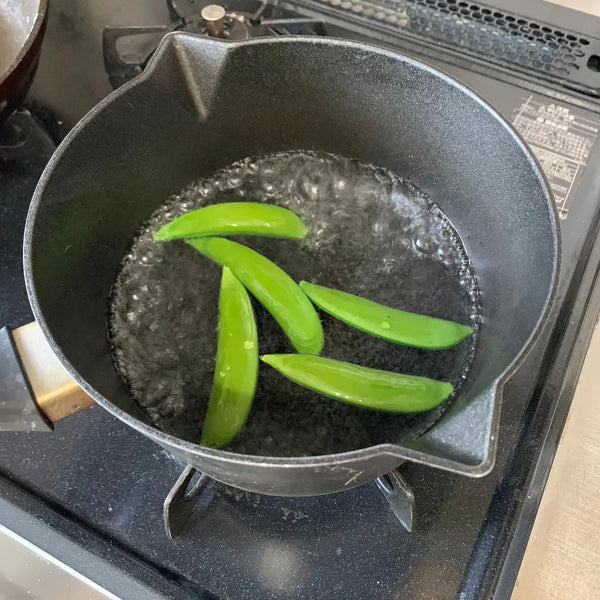
6) Preparing the Snap Peas


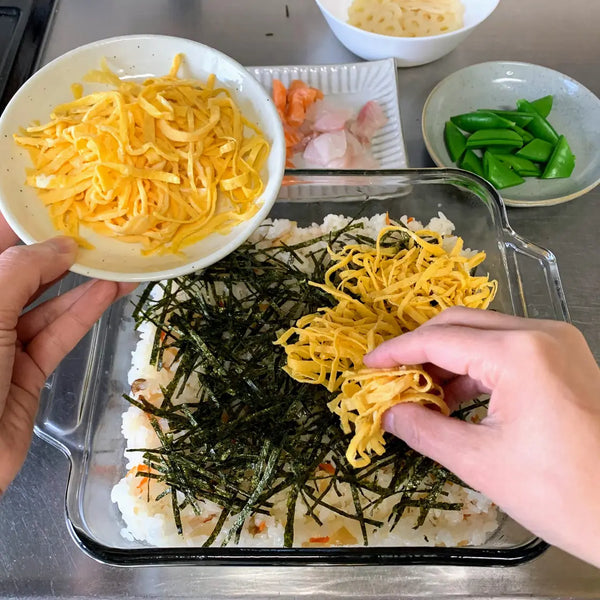
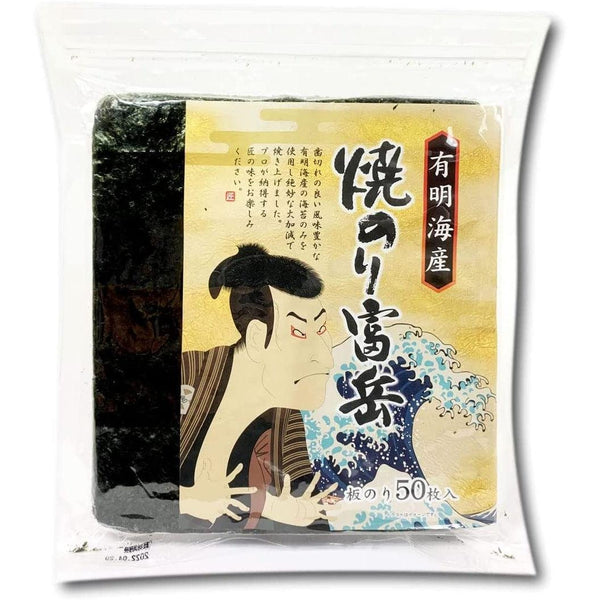
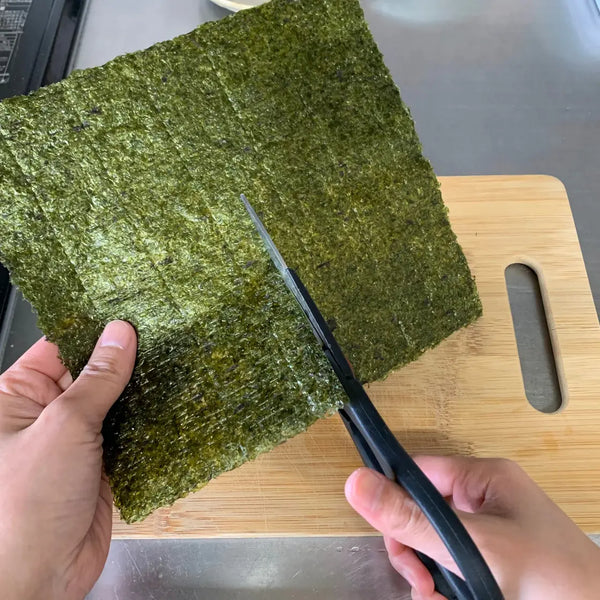
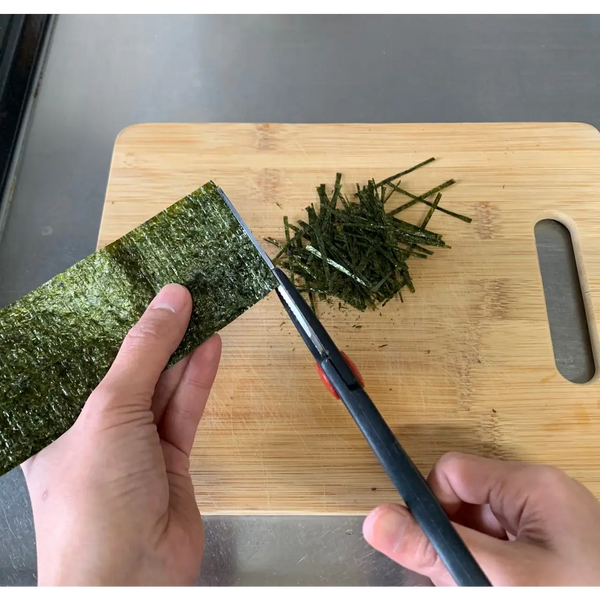
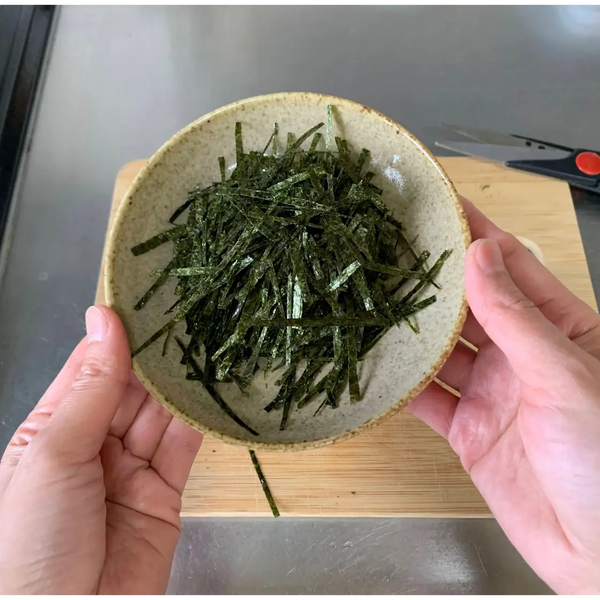
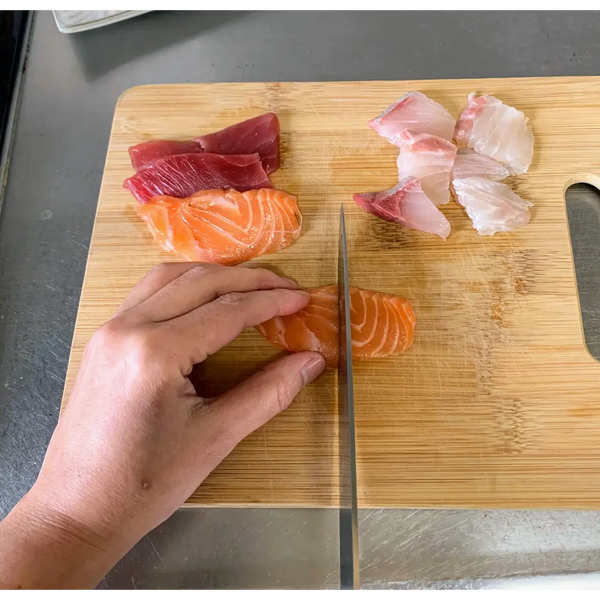
7) Making Kizami Nori (Shredded Seaweed) and Prepping the Sashimi
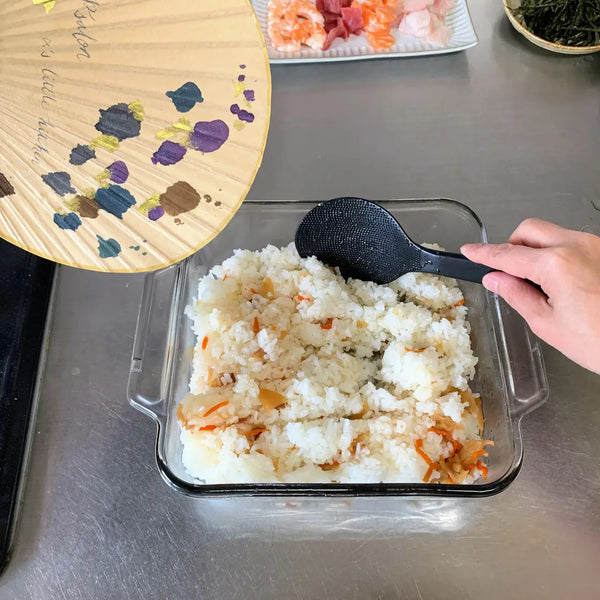
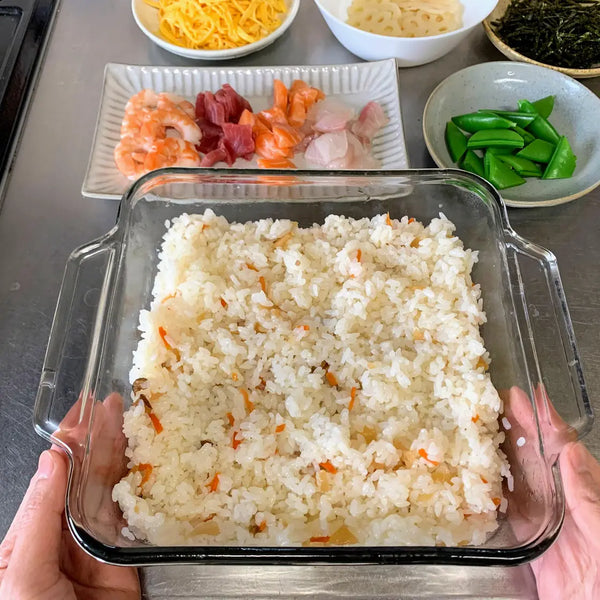
8) Putting Together the Chirashi Sushi