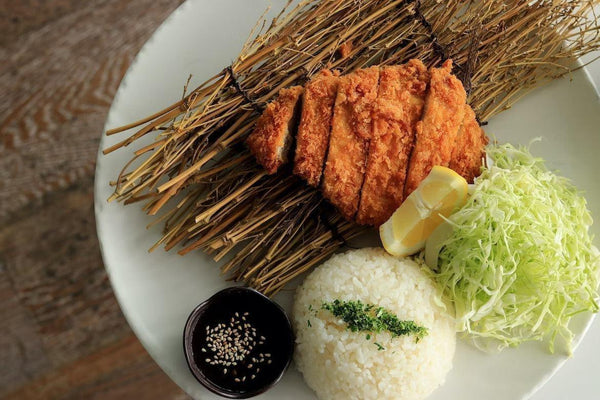
How to Make Chicken Katsu (Crispy Fried Chicken Cutlet)
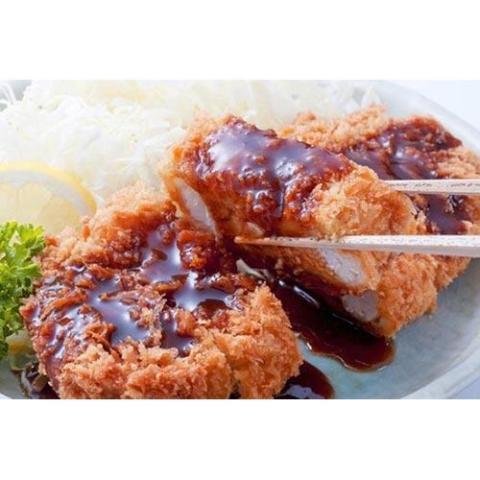
Chicken Katsu, or Japanese fried chicken cutlet, is made of fileted chicken breast coated in flour, egg, and panko breadcrumbs, then fried until crispy and golden brown. It can be served as a main dish with additional garnishes and side dishes, used as a topping for curry rice, or added to sandwiches. It is a versatile food that can be used in many ways.
In the last recipe, we showed you how to make easy and simple Japanese curry, and we topped it with chicken katsu. This time, we would like to show you how to make chicken katsu at home.
Before that, let's talk a little bit more about what chicken katsu actually is and why it's popular. 'Katsu' カツ is short for 'Katsuretsu' カツレツ or cutlet in English. It is a general term used in Japanese cooking for meat or seafood that has been breaded with panko breadcrumbs and fried. The inspiration of katsu is said to come from the German 'Schnitzel', which is thinly sliced meat that is breaded and fried. Chicken katsu is prepared the same way as tonkatsu, the pork version of katsu, but was created to be a slightly healthier alternative to pork.
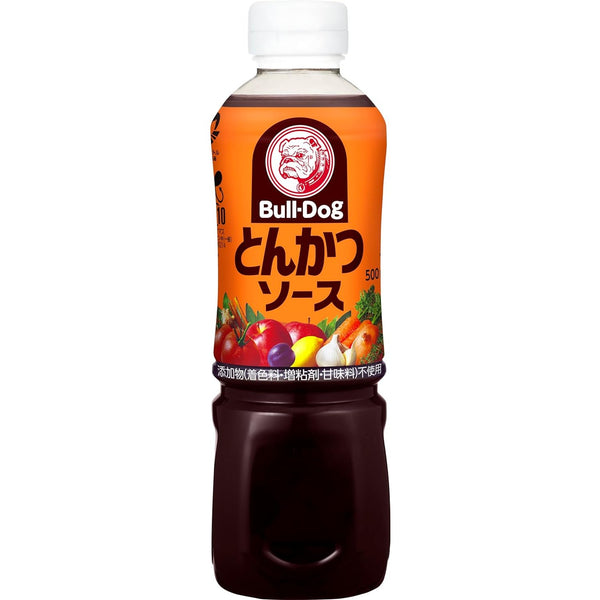
Chicken katsu is as commonly found as tonkatsu in Japan. As mentioned earlier, it is often used as a topping for Japanese curry rice, and many restaurants offer it this way. It is also offered in most set meal restaurants, or teishokuya (定食屋) in Japanese, as a set with rice, miso soup, and Japanese pickles. When you order chicken katsu this way, it will typically come served over a bed of thinly sliced cabbage, tomatoes, and drizzled in tonkatsu sauce. Another way chicken katsu can be found is as a filling for sandwiches sold at convenience stores, or even already prepared and sold as is in supermarkets.
While chicken breast is usually chosen over chicken thigh for chicken katsu because it is lower in calories, you can of course use chicken thigh if you prefer. Just be sure to adjust the cooking time and temperature since it takes longer to cook thigh meat. Now, let's get on with this simple but delicious chicken katsu recipe!
Note: this dish can be made by substituting the flour and panko breadcrumbs for gluten-free alternatives.
Overview
Prep time: 10 mins
Cook time: 5 mins
Total time: 15 mins
Total servings: 2
Difficulty: Easy
Ingredients
- 300g Chicken Breast
- 1/4 tsp Salt
- 1/4 tsp Black Pepper
- 2 tbsp All Purpose Flour (can substitute gluten-free flour)
- 1 Egg
- 5 tbsp Panko Bread Crumbs (can substitute gluten-free panko)
Expert's Tip
Instructions
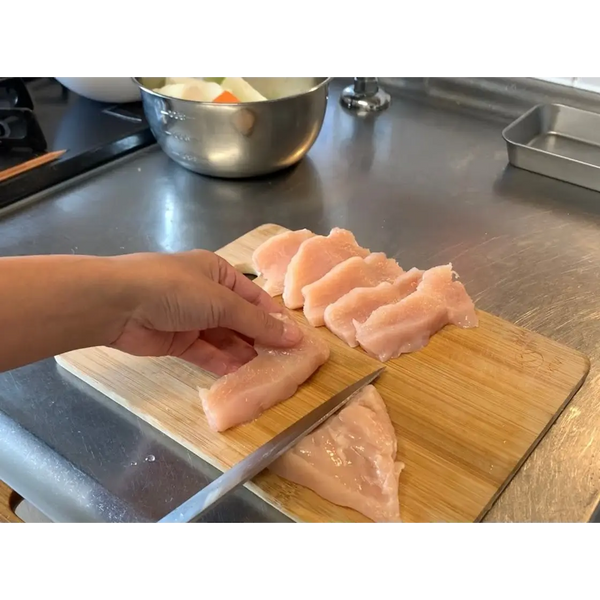
1) Slicing the Chicken
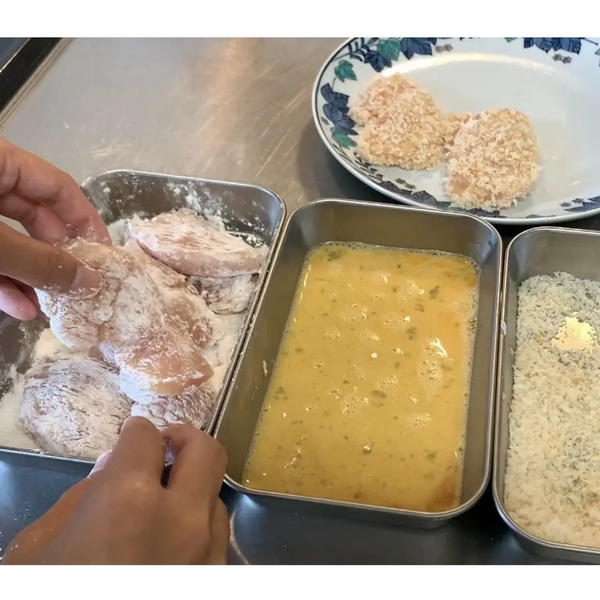
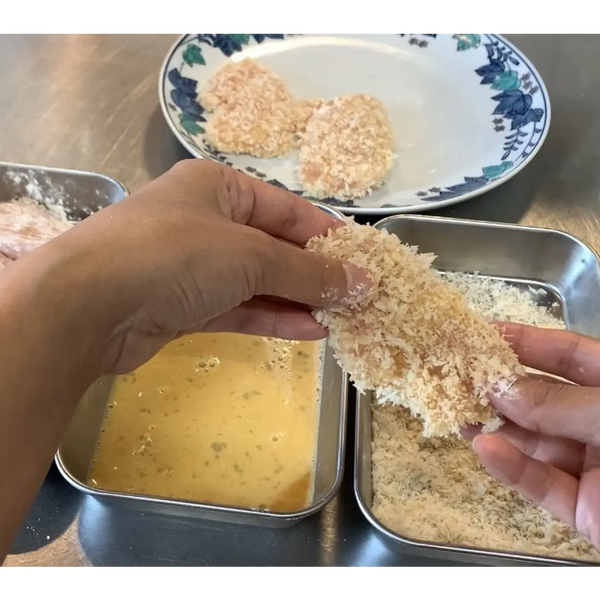
2) Coating the Chicken
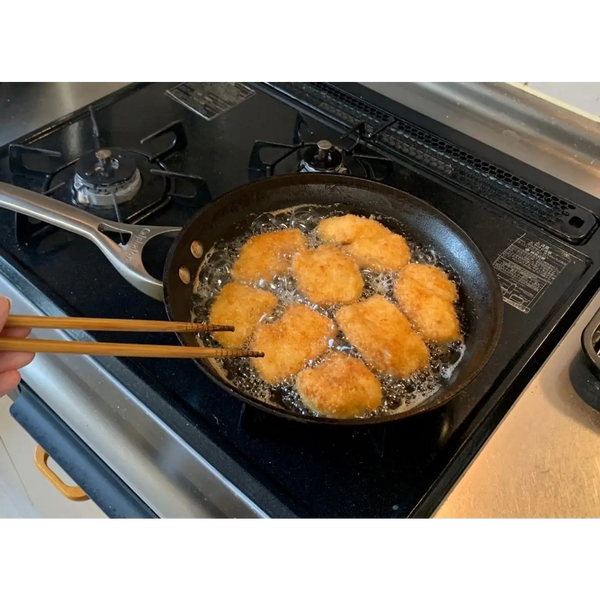
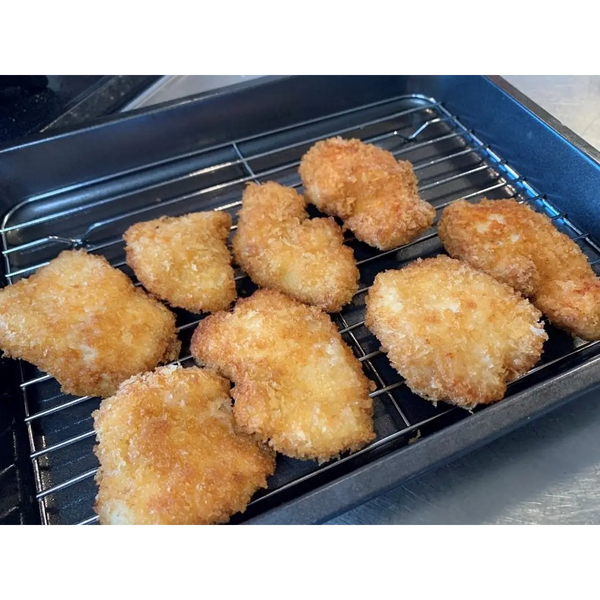
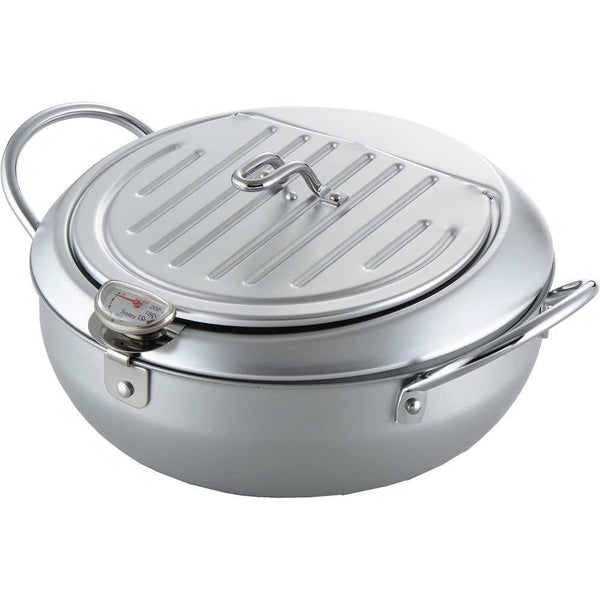
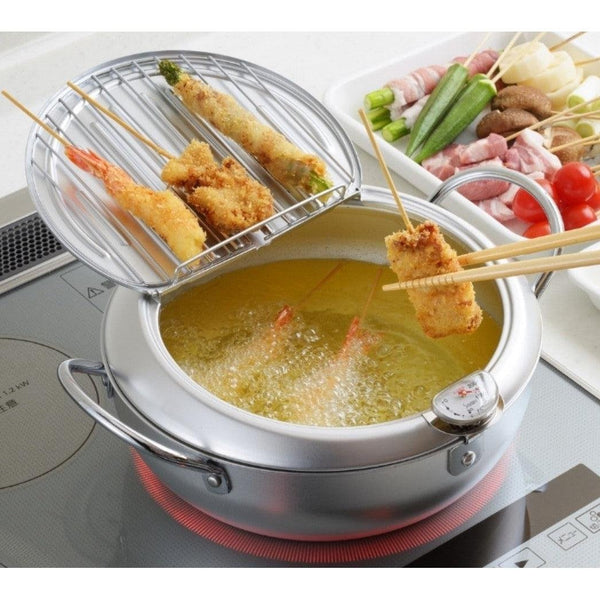
3) Deep Frying the Chicken


2 comments
Hi Patricia, thank you for reading our recipe. We can’t wait to hear about how your chicken katsu turns out!
Japanese Taste ,
Going to try this for the first time Will be back to let you how it came out. Thank you for the recipe ❤️
Patricia Dool,