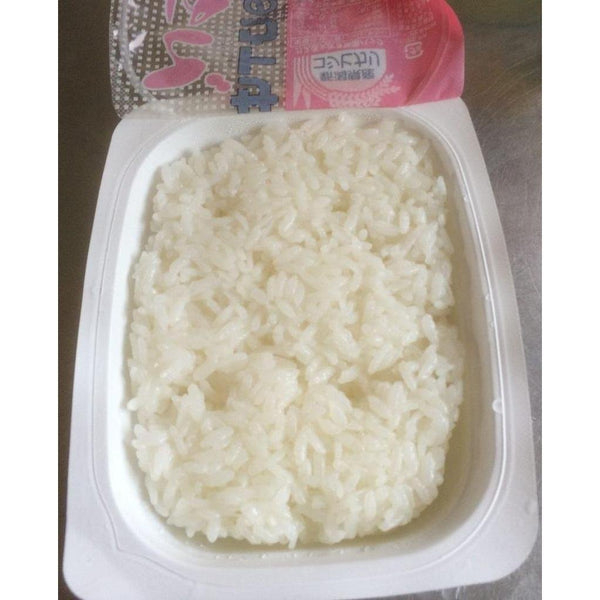
Onigiri is made of freshly cooked rice and is either filled or topped with various different ingredients. It has an incredibly long history in Japan, where rice is a staple food.
In fact, onigiri is believed to have originated in the Yayoi period (300 BC to 300 AD) and has been loved as a soul food since ancient times. Though onigiri is often translated as a “rice ball,” it comes in a variety of shapes, including triangular, cylindrical, and round.
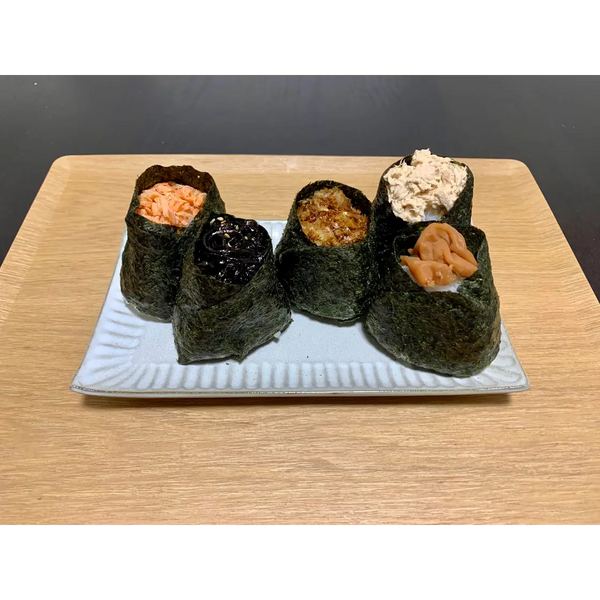
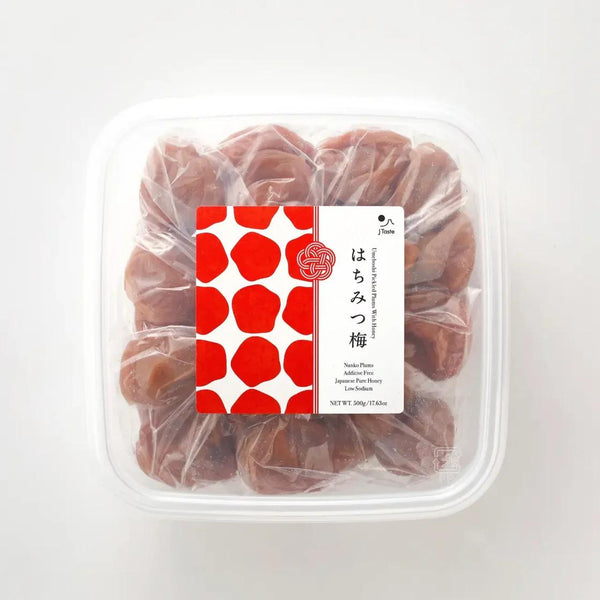
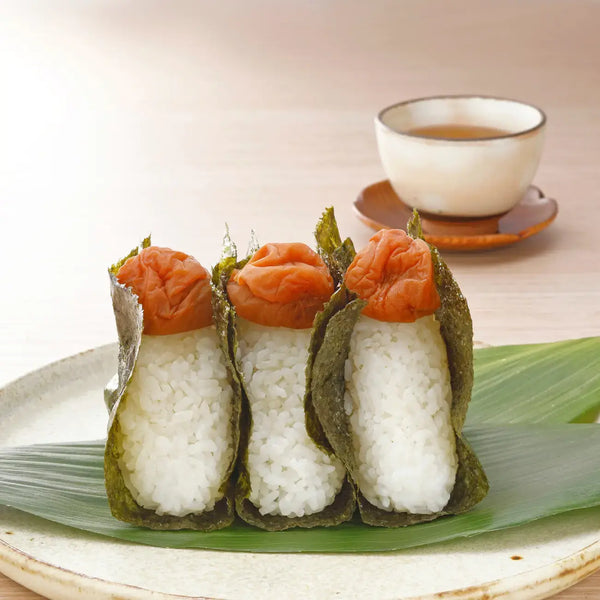
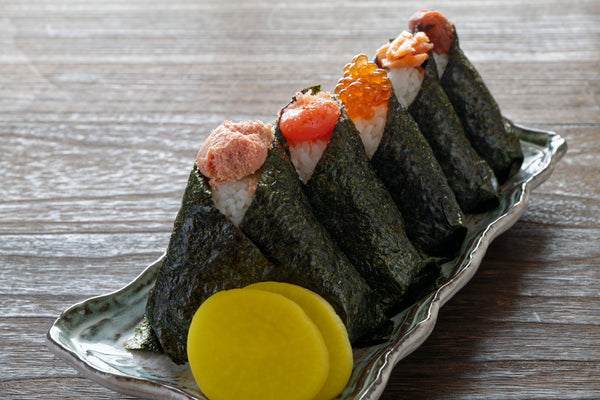
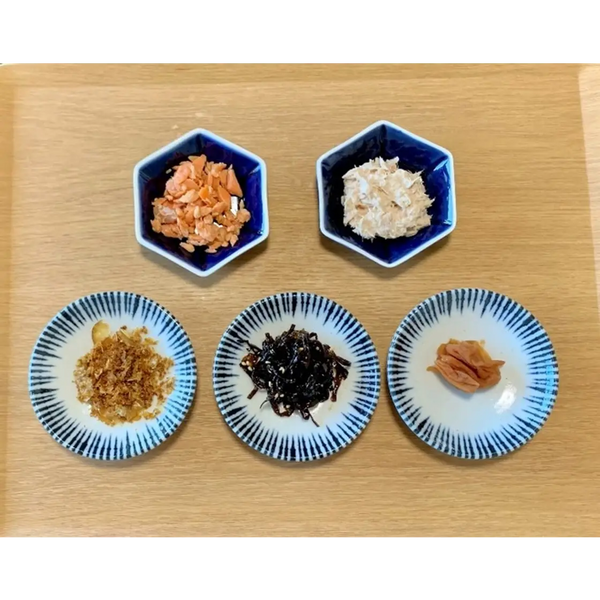
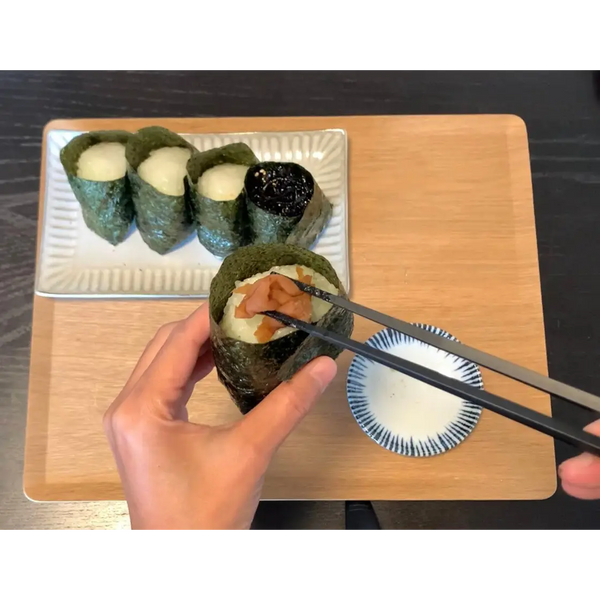
There are countless fillings and toppings used for onigiri, but the most popular types are umeboshi (Japanese pickled plums), kombu (kelp), salmon flakes, okaka (seasoned bonito flakes), and tuna mayonnaise.
Modern versions have also expanded to include creative combinations like spicy mentaiko with butter, teriyaki chicken, shrimp tempura, mixed vegetables, sesame-coated rice, or lightly grilled soy sauce yaki-onigiri.
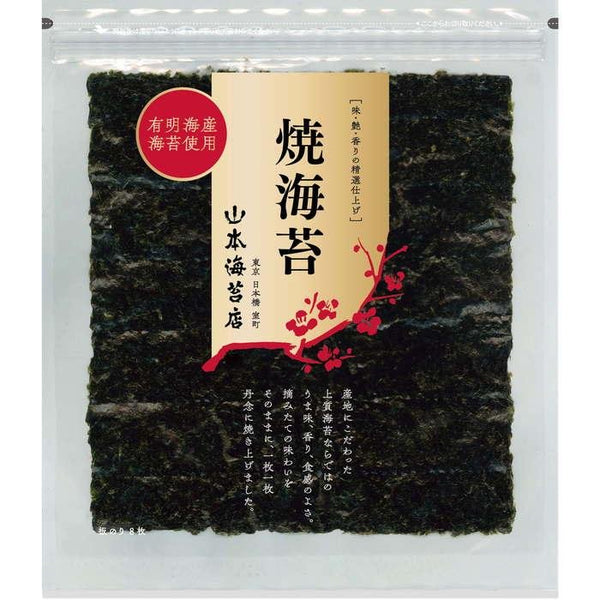
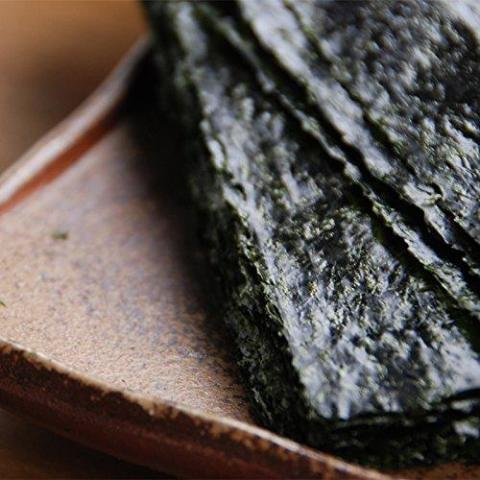
One of the biggest charms of onigiri is its portability. They are tightly hand-formed so they don’t lose their shape, and they still taste delicious even when served cold. Wrapped in nori (seaweed), they are easy to hold and eat without utensils.
Because each onigiri combines both rice and a nutritious filling, they are well-balanced, satisfying, and perfect for school lunches, picnics, sports days, or as quick snacks for children.
Onigiri also hold deep cultural meaning. Many Japanese people associate them with homemade lunches prepared by family members, making them a symbol of warmth and familiarity. During emergencies or natural disasters, onigiri are often distributed as comforting, easily portable food that provides energy and reassurance. Because of this emotional connection, onigiri are widely regarded as one of Japan’s true “soul food.”
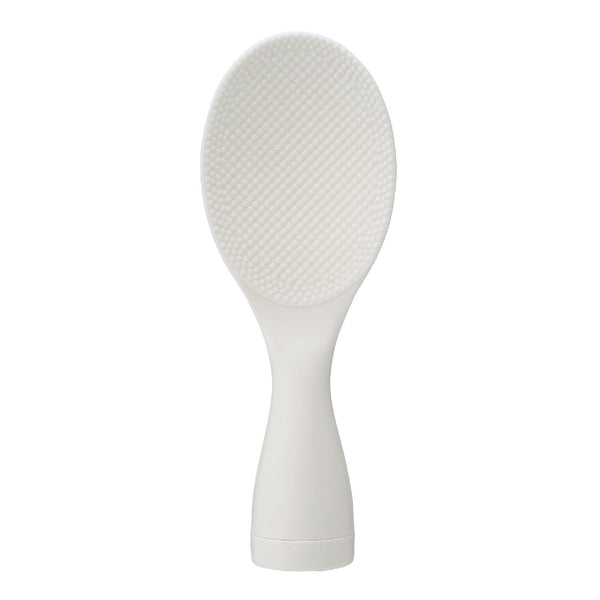
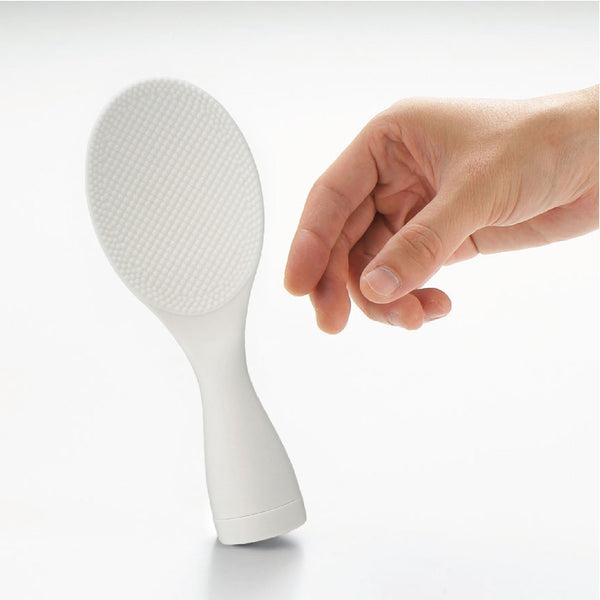
For beginners or anyone who wants perfectly shaped onigiri, onigiri shaper molds have become a handy tool. They’re especially useful when making large batches for picnics or lunch boxes, and they’re popular with families because children can help make rice balls without the mess.
In this recipe, we’ll show you how to make classic onigiri at home, along with the five most popular traditional fillings commonly enjoyed in Japan. Let’s get to shaping!
Instructions
1) Preparing the Onigiri Fillings
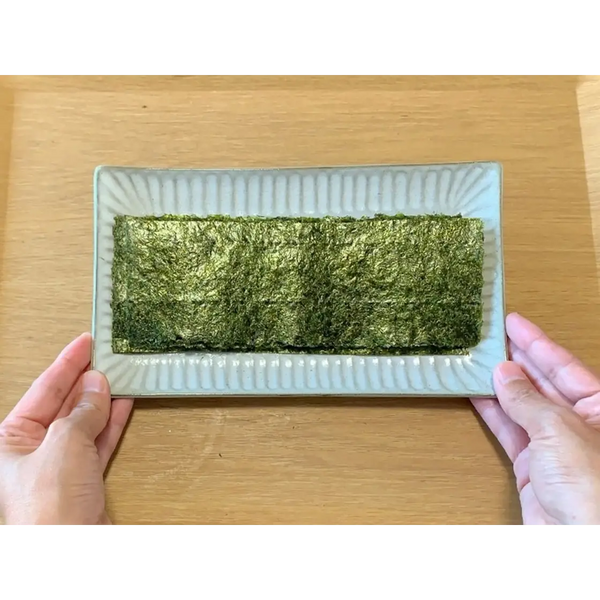
2) Cutting the Seaweed
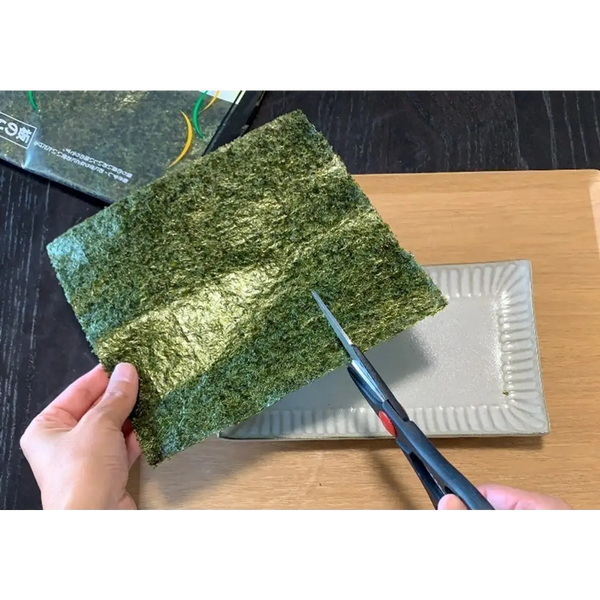
Expert's Tip
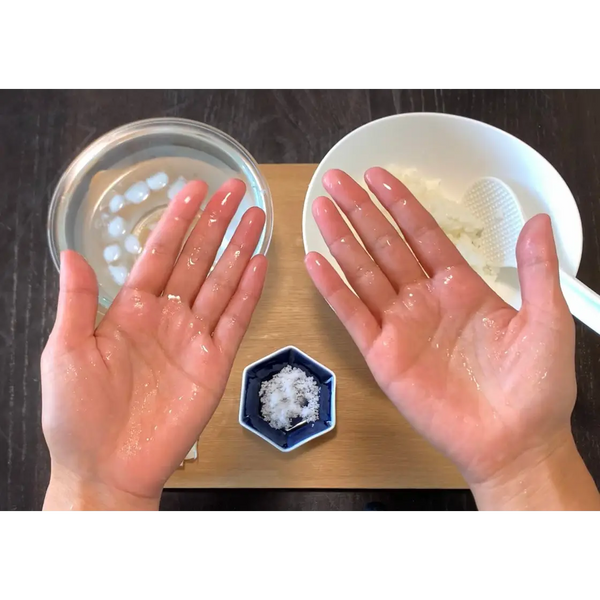
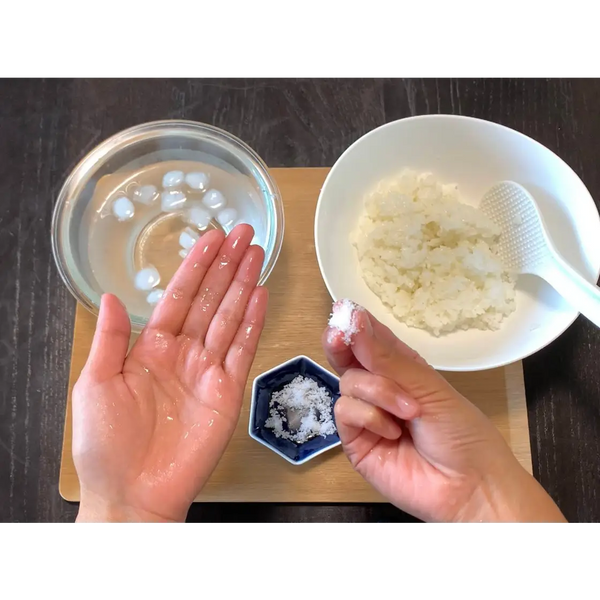
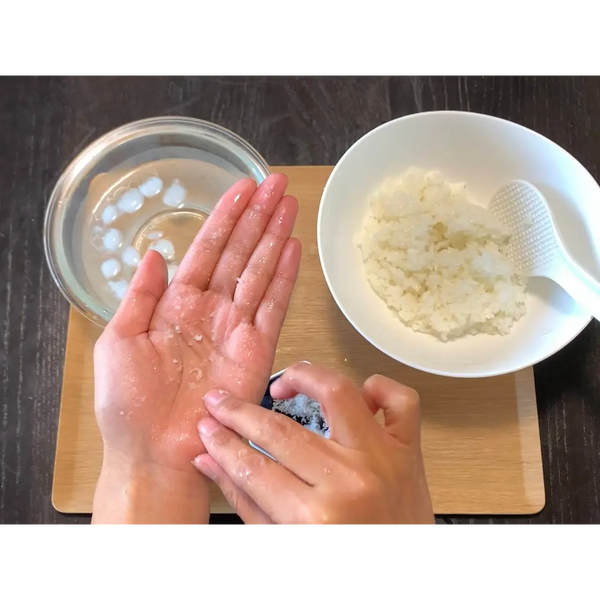
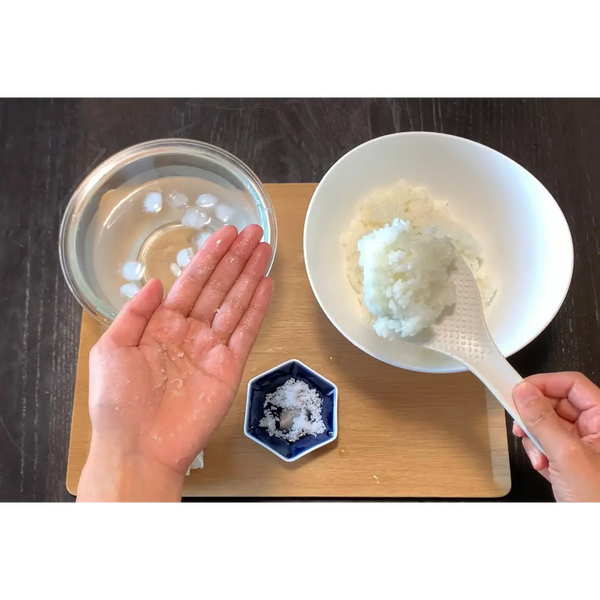
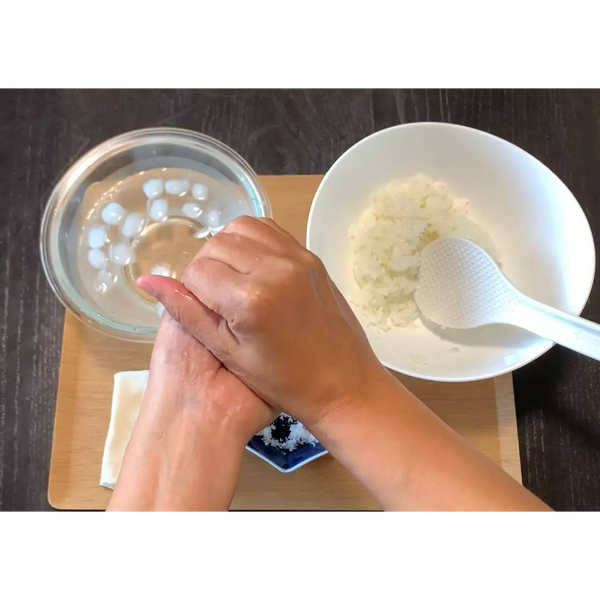
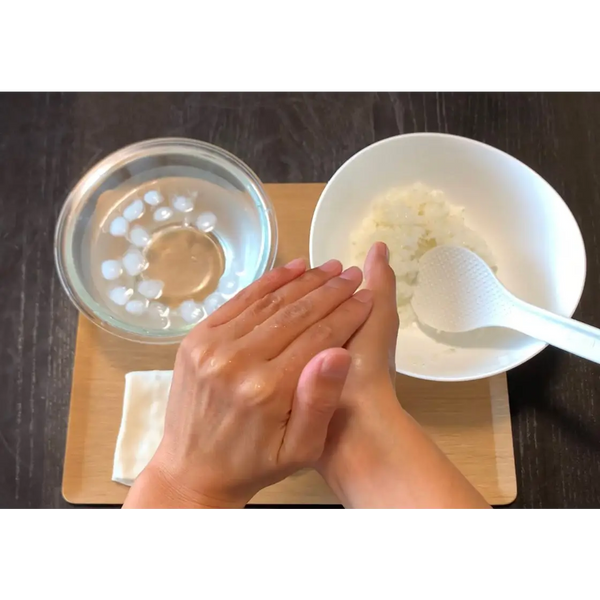
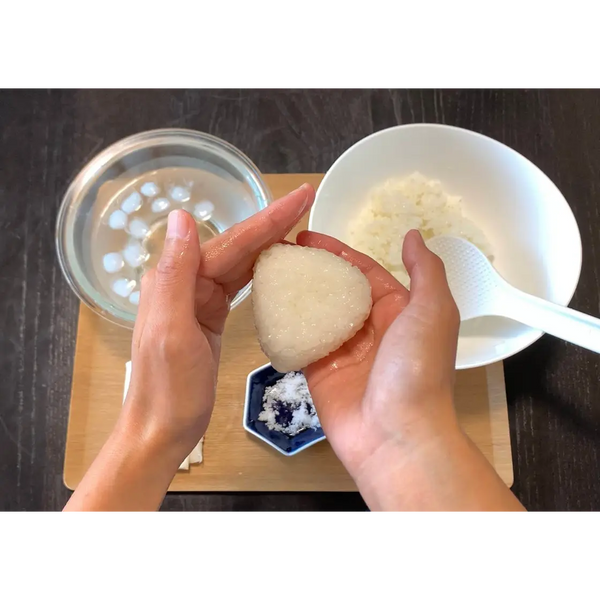
3) Preparing Your Hands to Shape the Onigiri
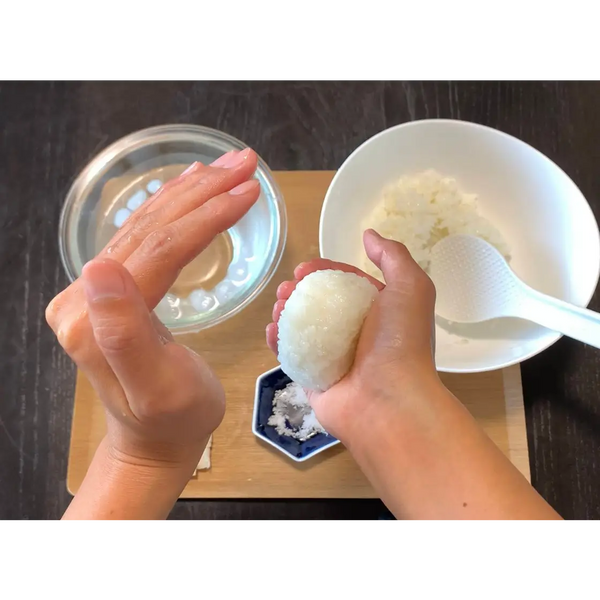
4) Beginning to Shape the Onigiri
5) Perfecting the Shape
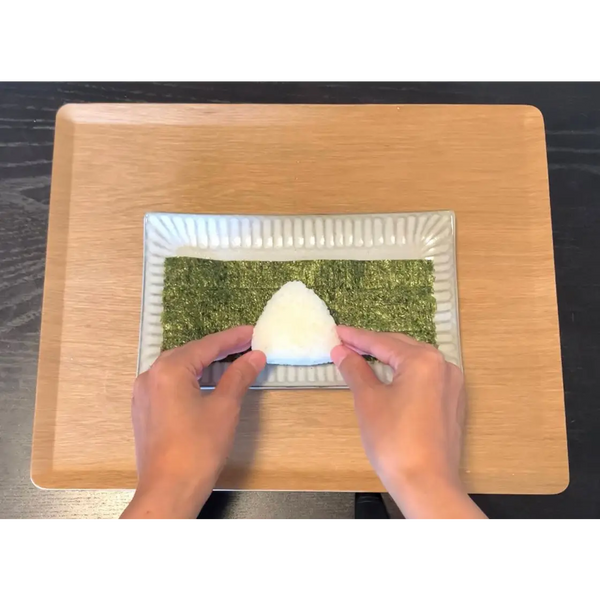
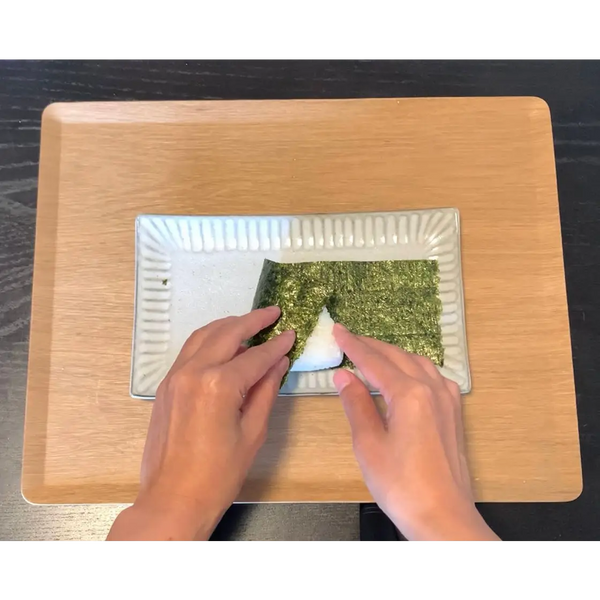
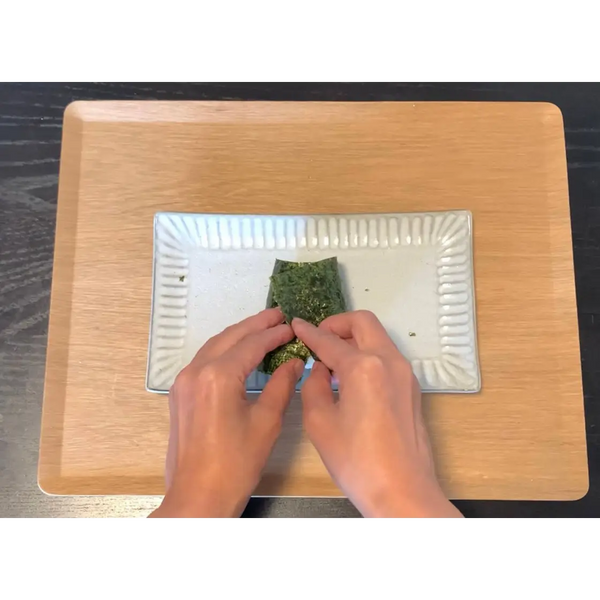
6) Wrapping the Onigiri in Seaweed
7) Adding Your Desired Toppings
8) Enjoying Your Homemade Onigiri