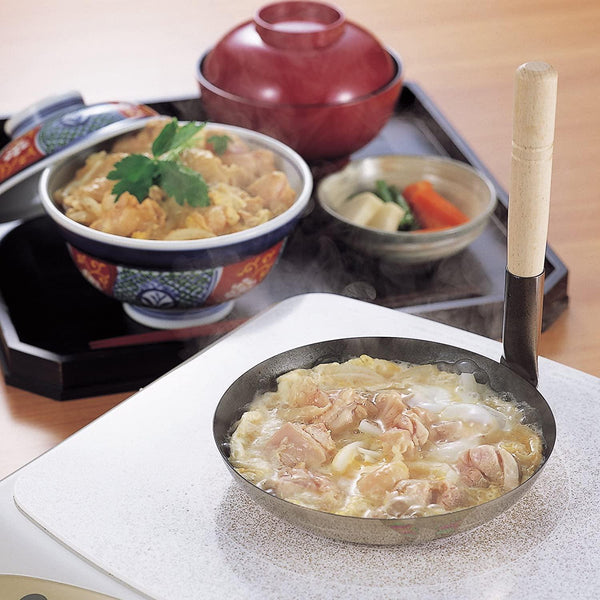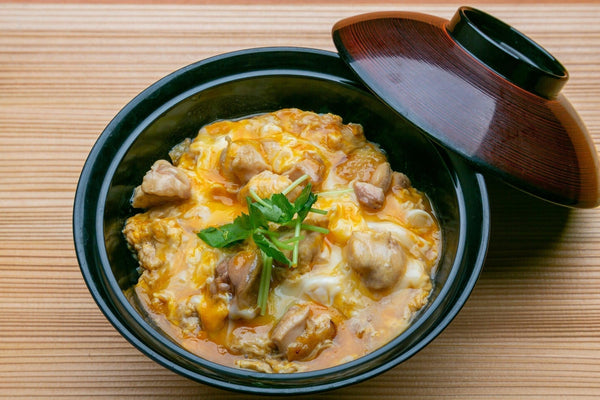
Oyakodon is a donburi, or Japanese rice bowl dish, consisting of chicken cooked in a soy sauce-based sauce with onions and eggs, served over warm rice.
Since one bowl of oyakodon contains meat, vegetables, egg, and rice, it can be considered a full, nutritious meal. It is also easy to prepare at home and can be made with a few simple ingredients. That’s why oyakodon is popular and frequently cooked in Japanese households.
Let’s learn about the origins of oyakodon’s name. In Japanese, “oyako” means “parent and child” because it is made of chicken (parent) and egg (child). Also, “don" comes from the word "donburi," which is a large, deep bowl.
In Japan, there are many donburi dishes in which warm rice forms the base of the bowl, topped with various ingredients. These kinds of dishes are called donburi. In addition to oyakodon, there is also katsudon, with pork cutlet (tonkatsu), gyudon, with beef (gyu), and kaisendon, with assorted seafood slices (kaisen).
Oyakodon is said to have originated in a long-established chicken restaurant during the Meiji Era (1868-1912). The idea of oyakodon was inspired by a customer who ate their leftover chicken by flavoring it with soy sauce, adding eggs, and placing it over rice. The dish was so delicious that it spread nationwide and became a favorite for children and adults.
Today, outside of the home, oyakodon can be found at udon or soba noodle restaurants and in the bento corner of supermarkets and convenience stores. Since raw or soft-boiled eggs are preferred in Japan, the tenderly cooked egg is key to a delicious oyakodon. The harmony of half-cooked egg, well-seasoned chicken, and white rice together is superb.
Let’s cook this simple and yummy dish together and enjoy the authentic taste of Japan!
Instructions
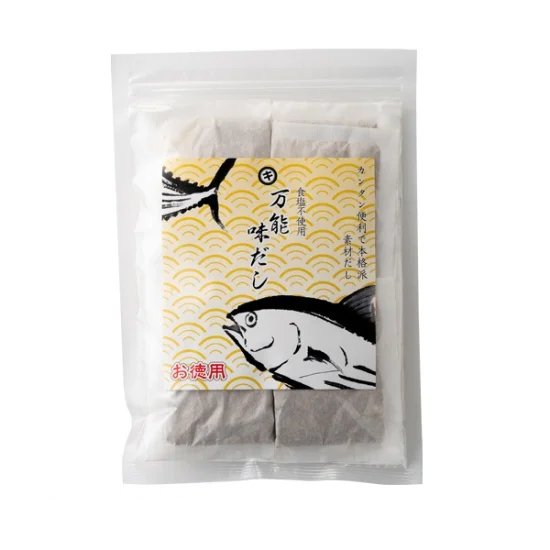
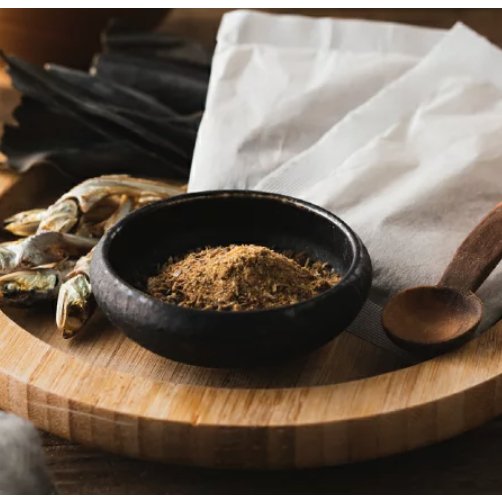
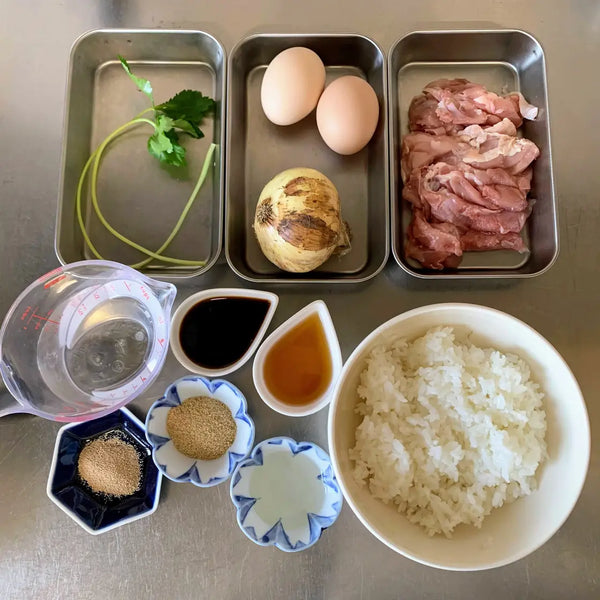
1) Gathering the Ingredients
2) Cutting the Chicken
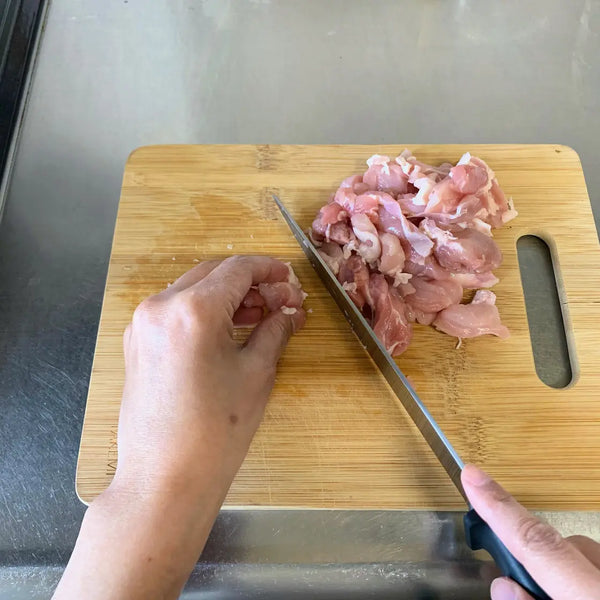
Expert's Tip

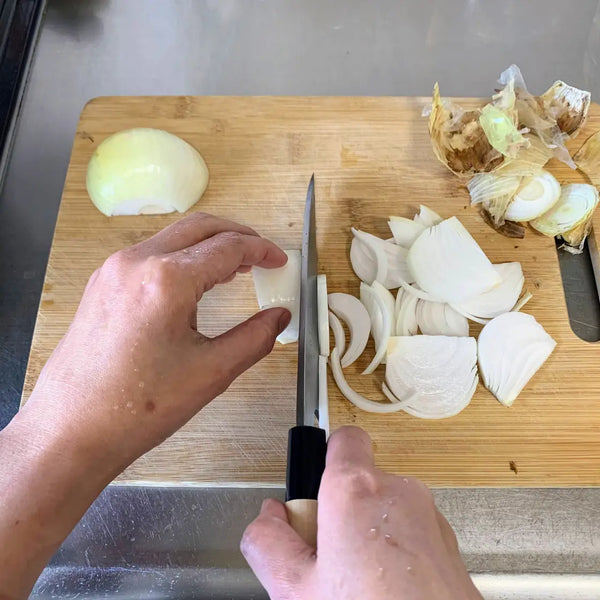
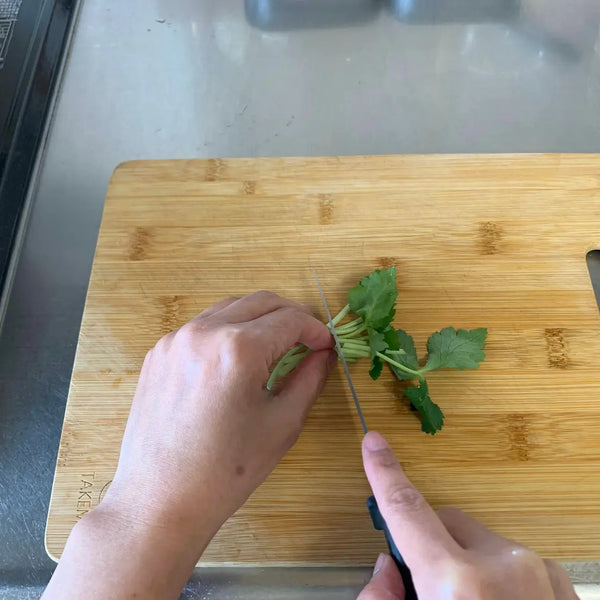
3) Slicing the Vegetables
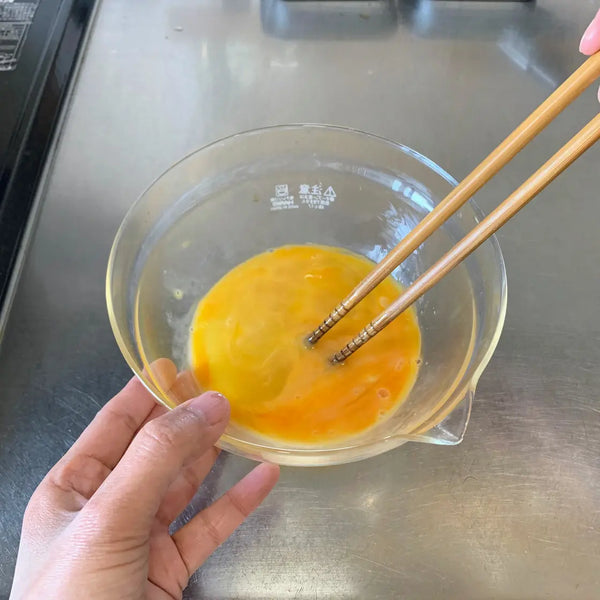
4) Beating the Eggs
5) Cooking the Chicken and Onions

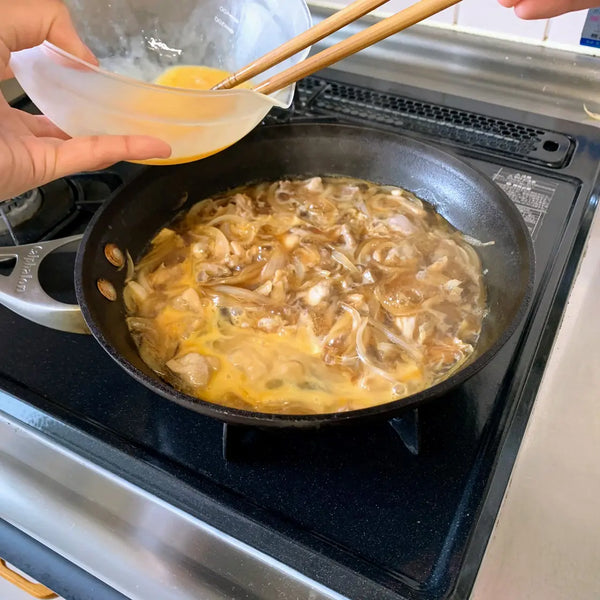
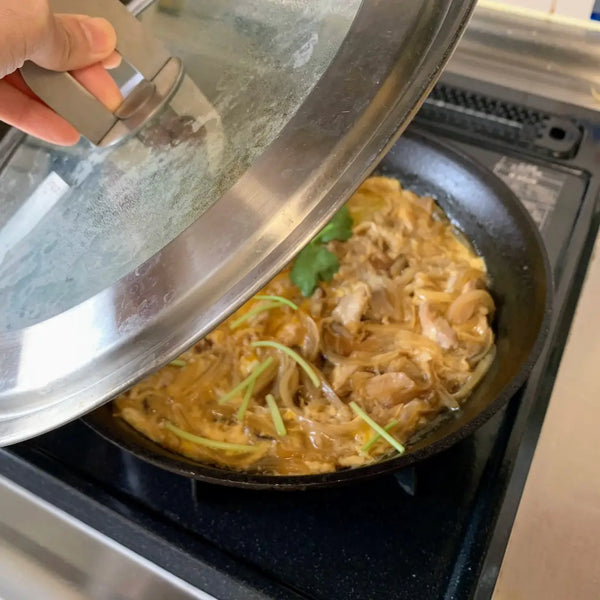
6) Pouring the Eggs into the Pan
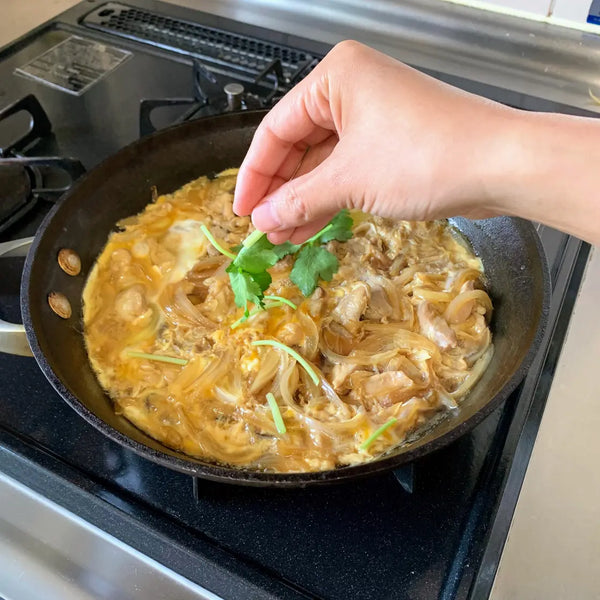
7) Serving the Oyakodon