How to Make Tonkatsu (Japanese Deep-Fried Pork Cutlet) At Home-Japanese Taste

How to Make Tonkatsu (Japanese Deep-Fried Pork Cutlet) At Home

by Ayumi Matsuo

Main Pork Deep-fried Yoshoku Easy Weeknight Meal

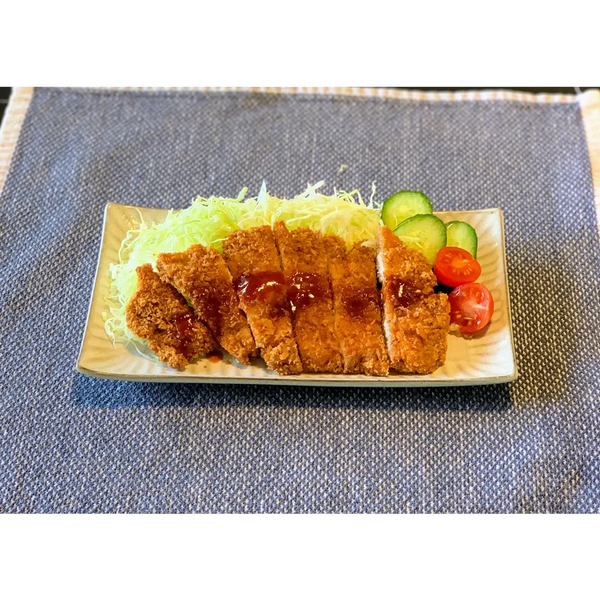
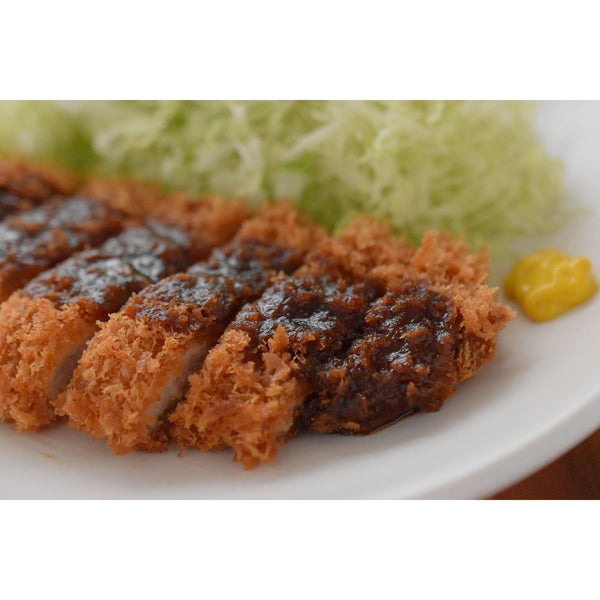
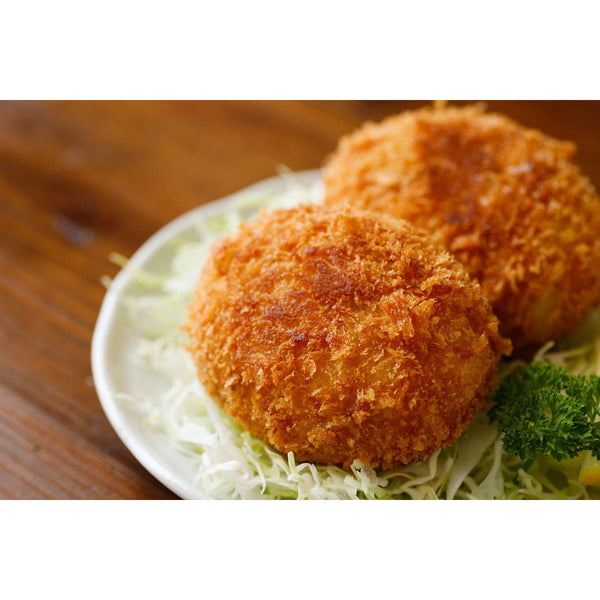
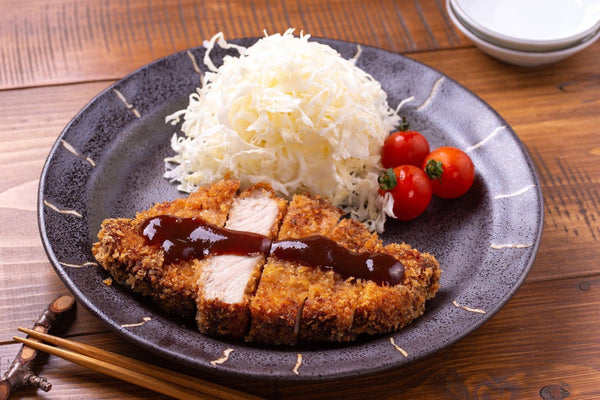
Tonkatsu is a Japanese home-style dish made of thick pieces of pork loin or fillet, coated in egg and flour, and wrapped in panko bread crumbs. It is then deep-fried and finished by being topped with tonkatsu sauce and served with vegetables such as shredded cabbage or tomatoes. Tonkatsu is often accompanied by miso soup and white rice.

The roots of Tonkatsu come from the Western-style "cutlet" dish that was popularized in Japan during the Meiji period (1868-1912). Originally, beef was used to make the cutlet, but later on, pork became popular among the Japanese as it is cheaper than beef.

Today, tonkatsu consistently ranks high in Japanese home cooking, as everyone loves its crispy texture and savory flavor. As fried food can be challenging to prepare at home, many Japanese families eagerly anticipate the opportunity to enjoy Tonkatsu for dinner.

'Katsu' also has a double meaning in Japanese. 'Katsu' in tonkatsu is pronounced the same as 'katsu = victory' in Japanese, so tonkatsu is eaten as a good luck charm when there is an important exam or game, with the hope of winning.

Outside of the home, you can find tonkatsu at Japanese restaurants and in the prepared food section of supermarkets across the country.

Tonkatsu is also served in various styles and arrangements across Japan. For example, there is 'Katsu curry', which is curry served with a piece of tonkatsu on top. There is also 'Katsu sando', which is a sandwich consisting of shokupan, a thick piece of tonkatsu, tonkatsu sauce, and shredded cabbage.

In this recipe, we’re going to show you how you can easily make Japanese tonkatsu at home with only a few ingredients. Instructions will follow, and we hope you'll enjoy making tonkatsu for your family and friends!
Overview

Prep time: 20 mins

Cook time: 10 mins

Total time: 30 mins

Total servings: 2

Difficulty: Easy

Ingredients
  • 2 Boneless Pork Loin Chops (about 1/2 inch or 1cm thick)
  • 1/2 tsp Salt
  • 1/2 tsp Pepper
  • 2 Tbsp All Purpose Flour
  • 1 Egg
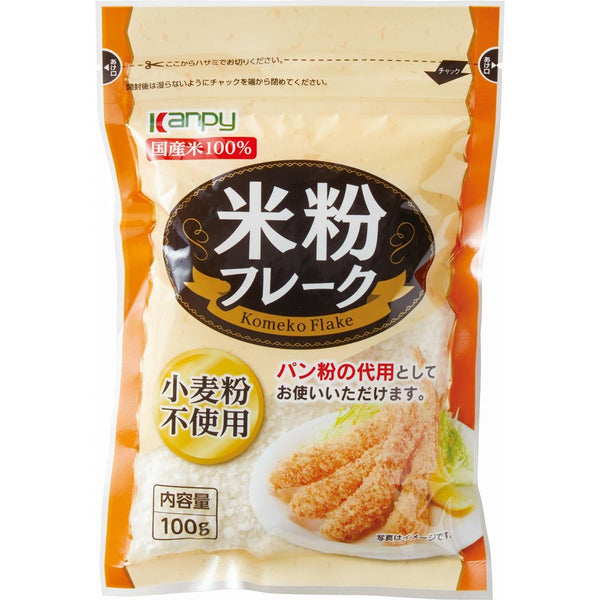
  • 2 Tbsp Panko Bread Crumbs
  • 3 Cups Canola Oil (should fill 2-3cm from the bottom of the pot)
  • Shredded Cabbage for serving (as much as you like)
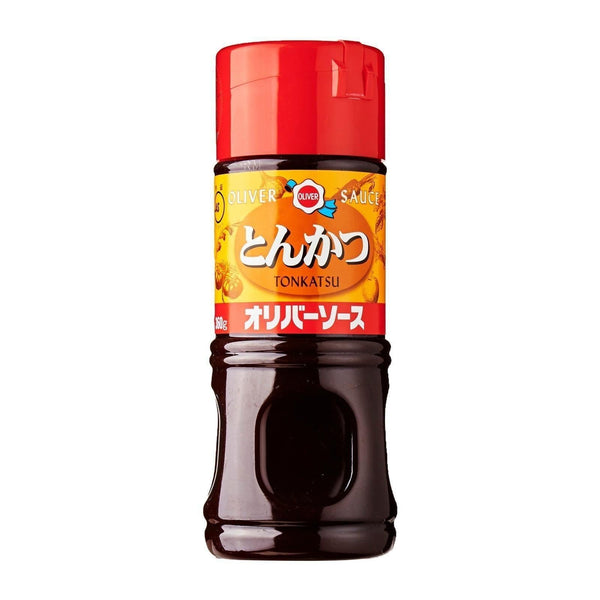
  • Tonkatsu Sauce (as much as you like)

Expert's Tip

How to Make Tonkatsu (Japanese Deep-Fried Pork Cutlet) At Home

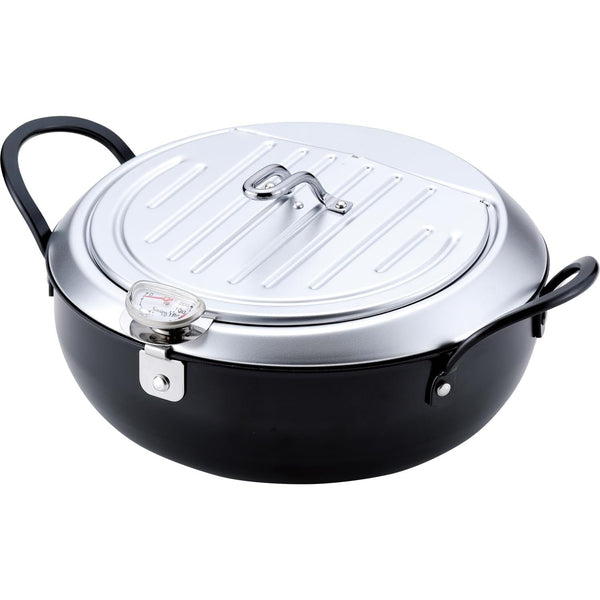
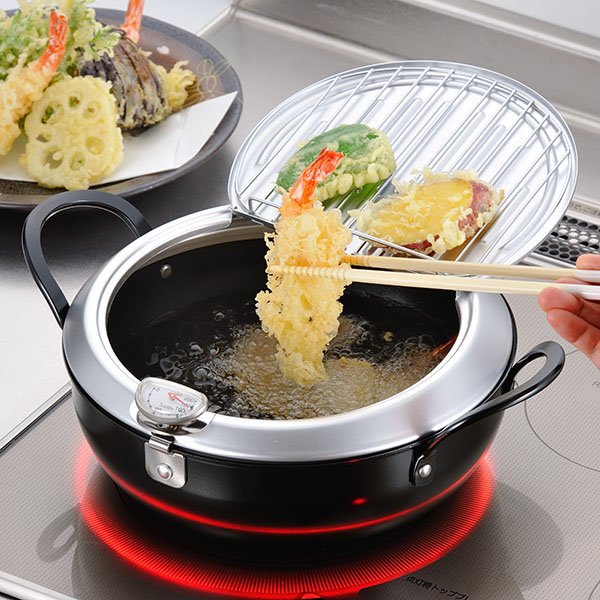
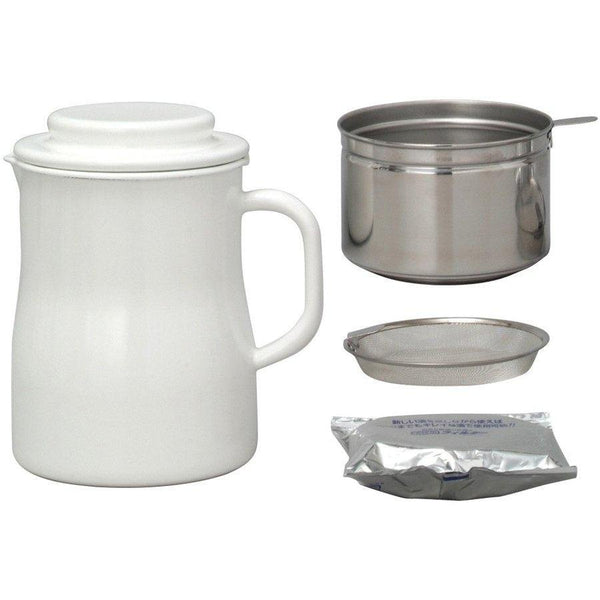
The choice of pot is very important to successfully deep-fry foods. The key to choosing the right pot is its depth to hold the right amount of oil, and its heat retention properties to maintain the right temperature for deep frying. It is also important to control the temperature properly during cooking and to drain excess oil from the batter to avoid failure. This pot from Yoshikawa has all of the above functions in one and is specially designed for deep frying.

Instructions

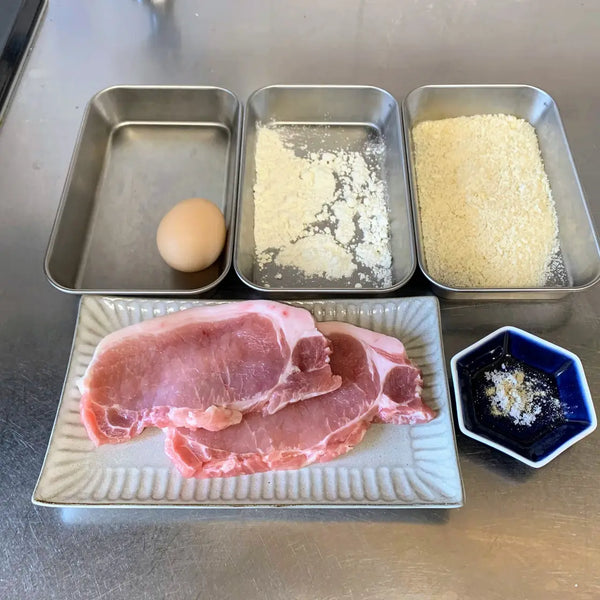
1) Gathering the Ingredients

Gather the ingredients together. 

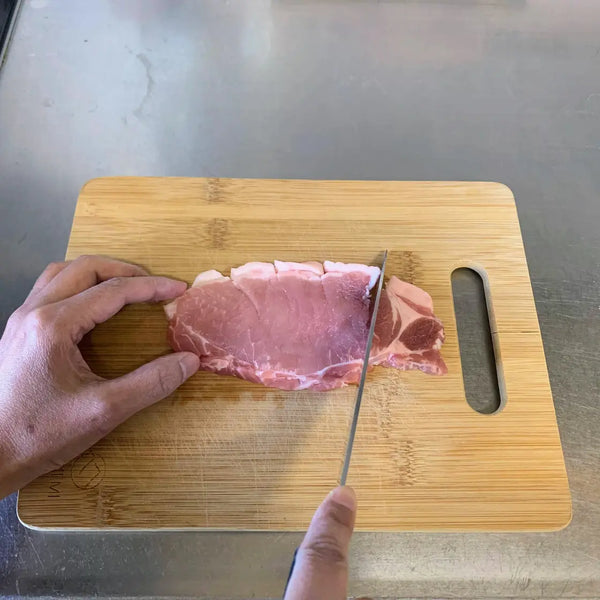
2) Preparing the Pork

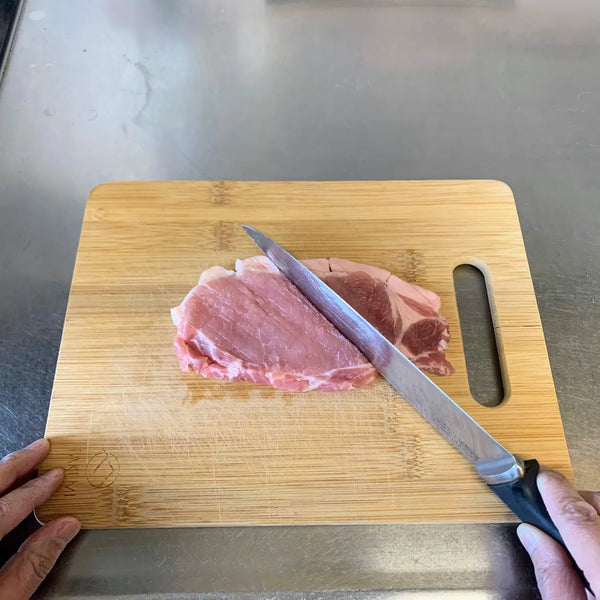
Cut the connective tissue located between the fat and meat with a knife. This helps prevent the meat from shrinking during frying. Tenderize the meat by gently pounding it with the back of a knife, then shape it with your hands. Finally, sprinkle it with salt and pepper.

3) Breading the Pork

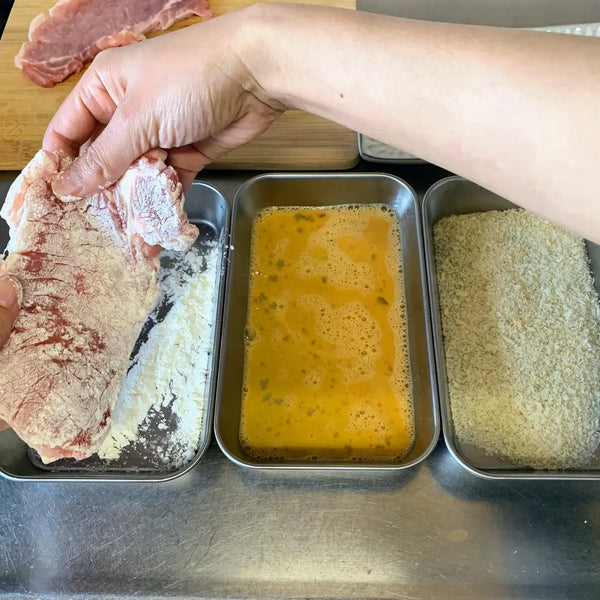
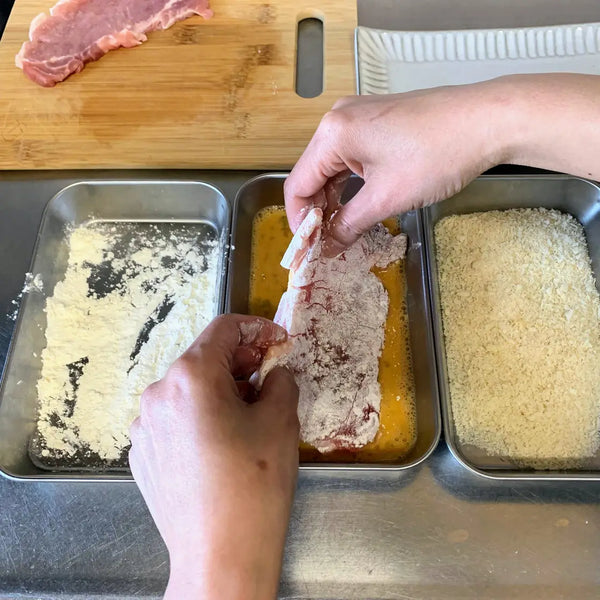
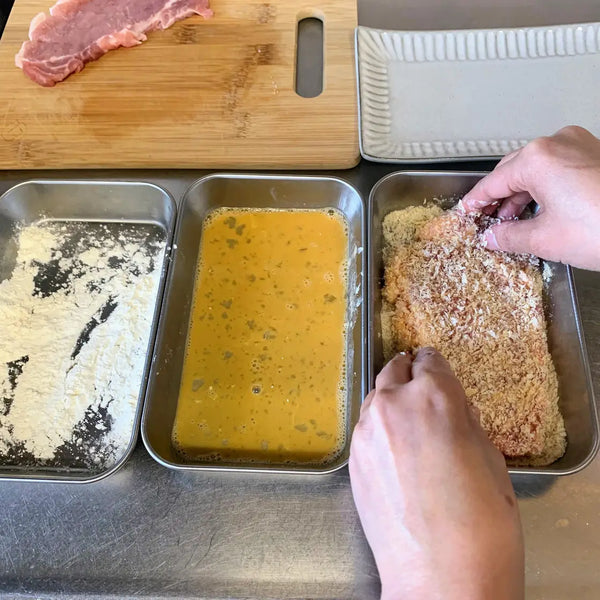
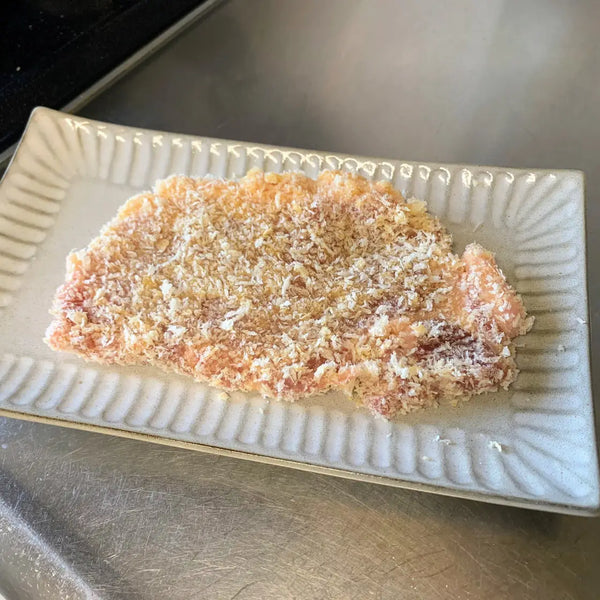
Dredge the pork in the flour, then dip it into the beaten egg, and finally coat it with panko breadcrumbs in that order. Ensure that all surfaces of the pork are thoroughly coated.

4) Frying the Tonkatsu

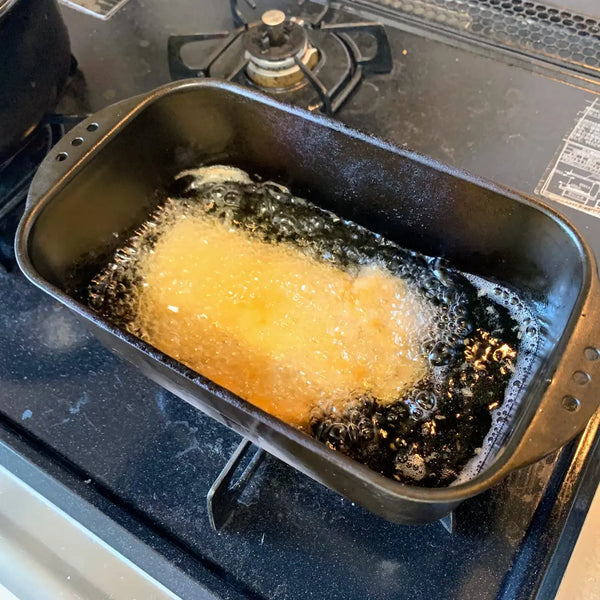
Heat the oil to 170-180°C (340-350°F) and carefully add the tonkatsu to the pot. After about 3 to 4 minutes of frying, you'll notice the sound of the oil becoming lighter, indicating that the tonkatsu is ready to be flipped. Turn it over to allow the other side to cook evenly.

5) Cutting and Serving the Tonkatsu

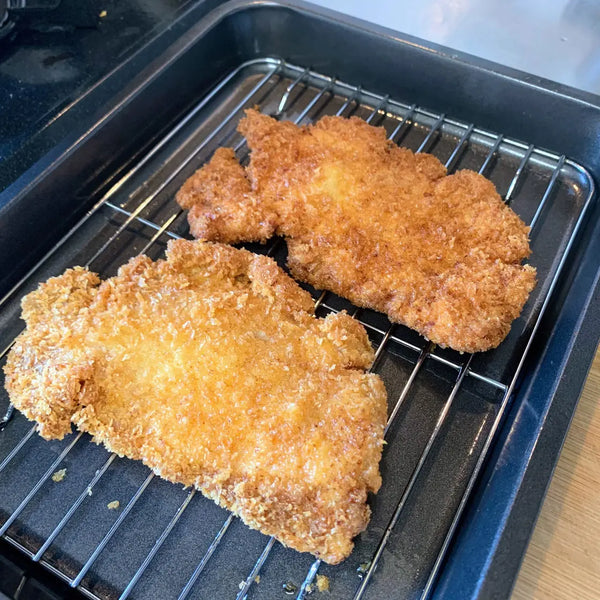
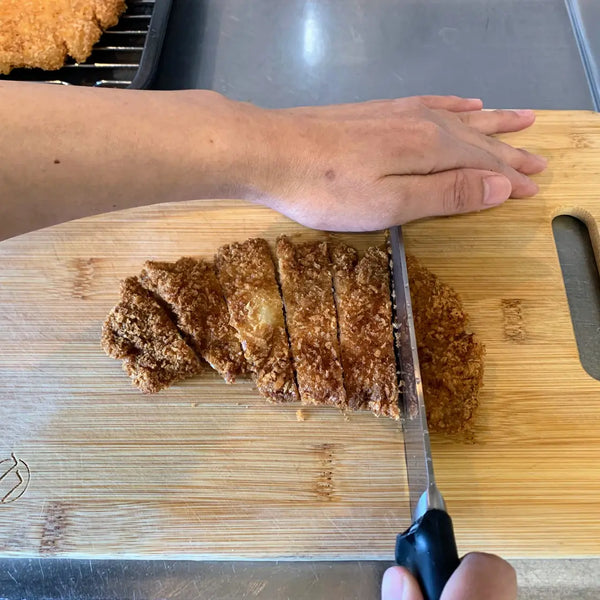
Once both sides are golden brown and the pork is cooked through, it's done! Serve the tonkatsu with shredded cabbage, tomatoes, or your other favorite vegetables, and drizzle with tonkatsu sauce for a delicious meal. Enjoy!

Recommended products for this recipe

0 comments


Leave a comment

Please note, comments must be approved before they are published