Free shipping to the US on orders over $150

Subscribe to our mailing list to unlock exclusive offers

You're now shopping in
United States
United States
USD $
    How to Make Soufflé Cheesecake (Japanese Fluffy Cheesecake) At Home-Japanese Taste

    How to Make Soufflé Cheesecake (Japanese Fluffy Cheesecake) At Home

    by Ayako Kidokoro

    Dessert Cake Dairy Egg Party Food

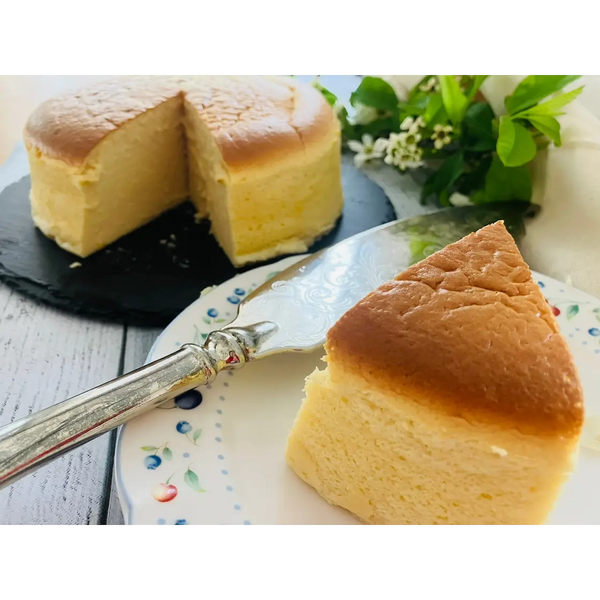
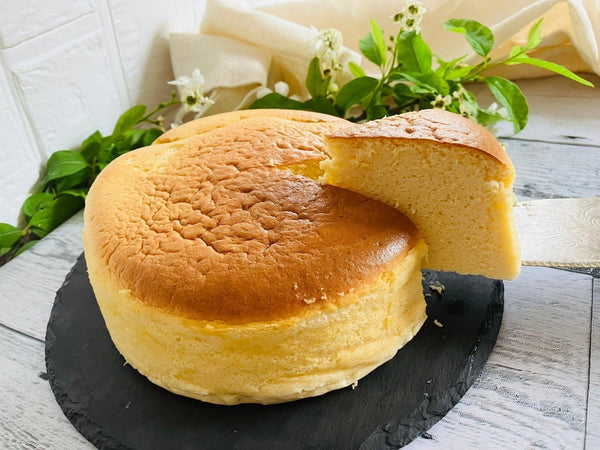
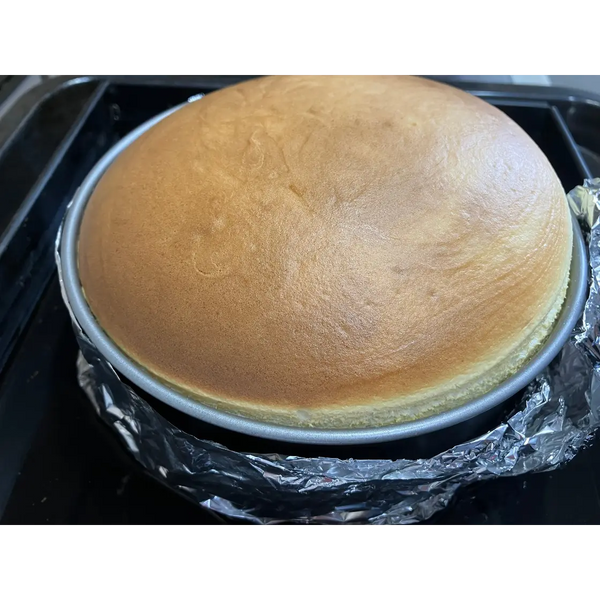
    When you hear the word Soufflé Cheesecake, it may remind you of France. However, it actually originates in Japan. It is also called cotton cheesecake in Japan and is well known for having a nice golden-brown top and jiggly texture.

    Souffle cheesecake is much lighter compared to other cheesecakes such as New York cheesecake. It has a fluffy and airy texture, making it more like a sponge cake. However, it still has a rich and creamy taste.

    Japanese cake shops started selling fluffy cheesecakes in the late 1960s. Souffle Cheesecake was created by Juichi Yasui, a pastry chef at what was known as the Plaza Hotel in Osaka. It was said that he wanted to create an original cake, or a cake that had “never been seen before”.

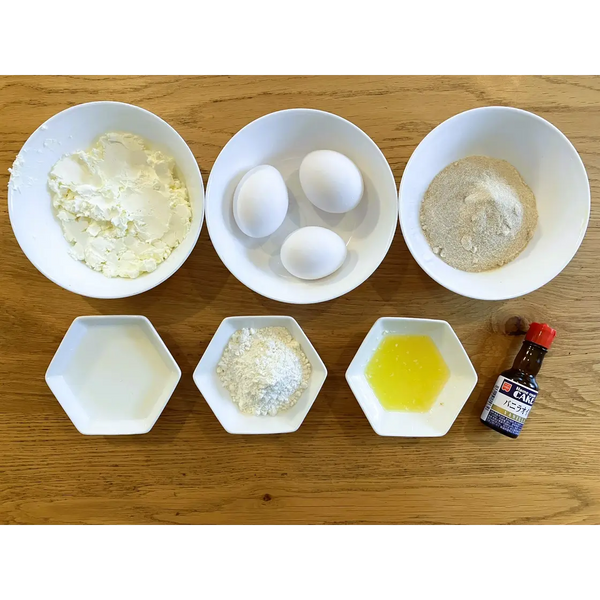
    The ingredients for souffle are quite simple and easy to find. One of the biggest differences that sets this Japanese cheesecake apart from other cheesecakes is that it is made with whipped egg whites. This is the reason why souffle cheesecake is so fluffy. This cheesecake is also baked using the bain-marie, or water bath method. By using this method, you end up with a cheesecake that is moist and fluffy on the inside.

    The top of the cheesecake cracking is a common occurrence that happens when baking cheesecake, and the same applies to souffle cheesecake as well. In order to avoid the top cracking, there are three points to be careful about:

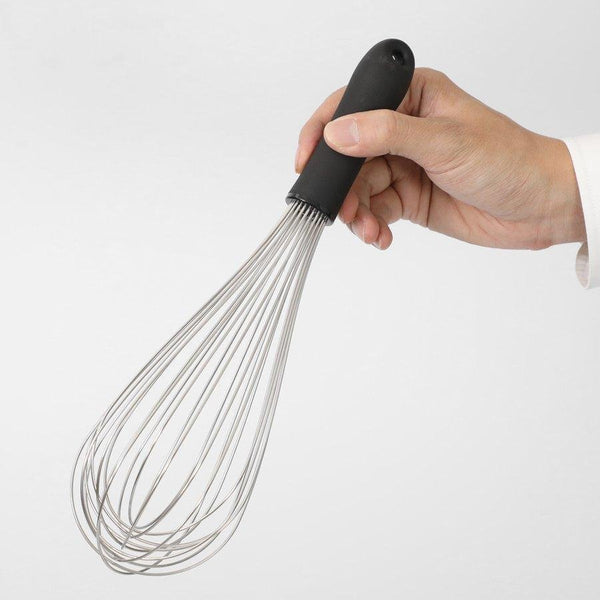
    1. Don’t overbeat the egg whites.

    2. Coat the springform pan with a layer of butter and powdered sugar before adding in the cheesecake batter.

    3. Add enough water into the water bath, so that it does not all evaporate during the baking time.

    If you follow these three steps, you should be able to create a crack-free and delicious souffle cheesecake! 

    This Japanese souffle cheesecake is will make the perfect dessert or afternoon snack. We hope that you’ll enjoy making this yummy and fluffy Japanese cheesecake at home! 

    Overview

    Prep time: 10 mins

    Cook time: 1hr 15mins

    Total time: 1hr 25mins

    Total servings: 6

    Difficulty: Medium

    Ingredients
    • 150g Cream Cheese
    • 60g Whole Milk
    • 20g Butter (melted)
    • 3 Eggs
    • 70g Cane Sugar
    • 30g All-Purpose Flour
    • Vanilla Essence

    Expert's Tip

    Sori Yanagi Stainless Steel Balloon Whisk 30cm

    In this recipe, it is important to blend the cream cheese very smoothly in order to achieve a souffle cheesecake with the perfect texture. You can whisk the thick cream cheese so easily with this stainless steel whisk. It is easy to grip and comfortable to use, so you won’t get tired when whisking something.

    Instructions

    Gathering the Ingredients
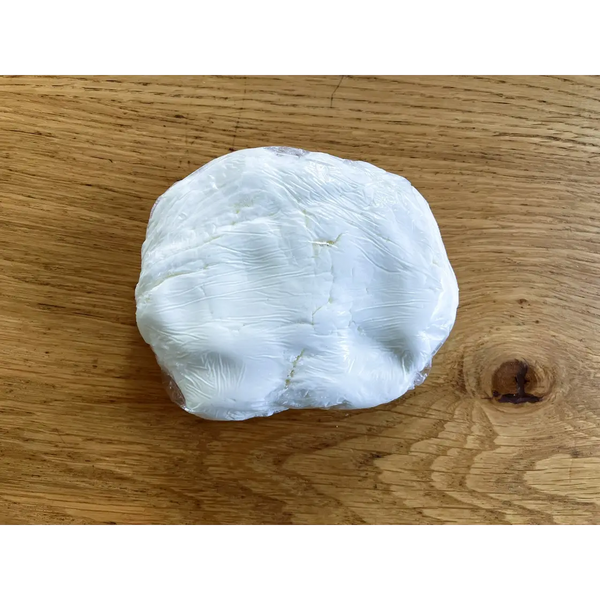
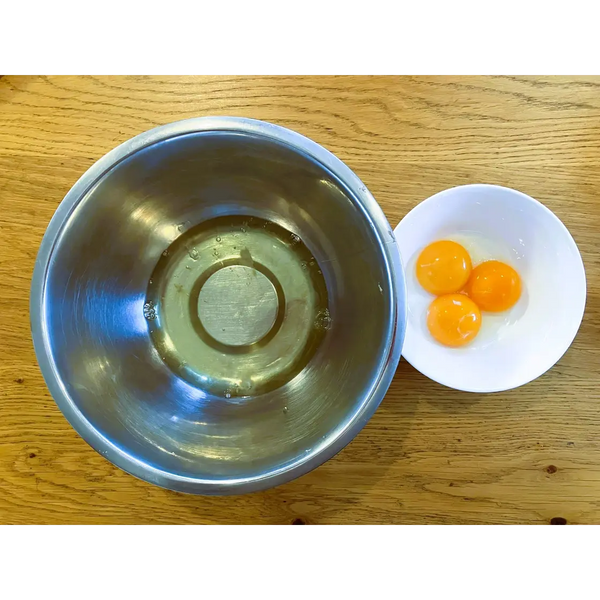
    1) Gathering the Ingredients

    Assemble the ingredients together.

    Prepared cake mold Prepared cream cheese Separated egg whites and yolks
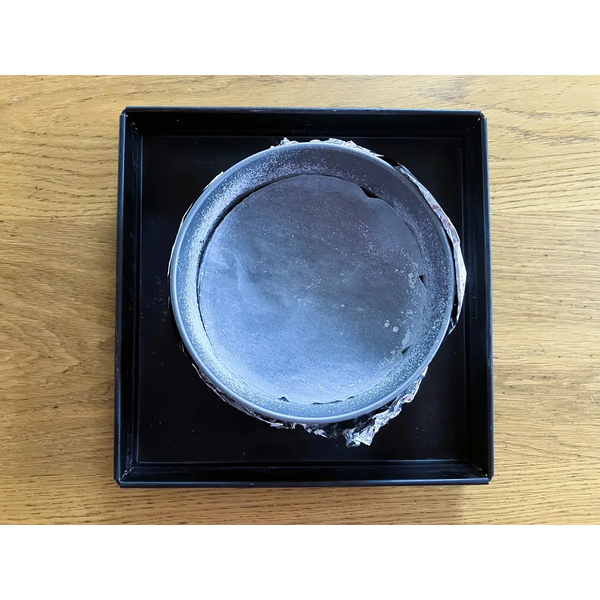
    2) Preparing the Ingredients & Cake Mold

    Mold: Place a rounded piece of parchment paper onto the bottom of the cake pan. Grease the sides of the pan with butter and then sprinkle a layer of powdered sugar over it. (Note: these ingredients are not included in the recipe.) 

    Note: If you are a cake pan with a removable bottom, wrap it with a double layer of aluminum foil to prevent water from seeping into the cake.  

    Cream Cheese: Soften Cream Cheese with microwave at 200w for 3-4 minutes.

    Eggs: Bring the eggs up to room temperature and then separate the yolks from the whites.

    Note: It is recommended to use a spring-form pan or a pan with a removable bottom for making this cheesecake.

    Adding the egg yolks to the cream cheese mixture Sifting the flour into the cheesecake batter Mixing the ingredients together
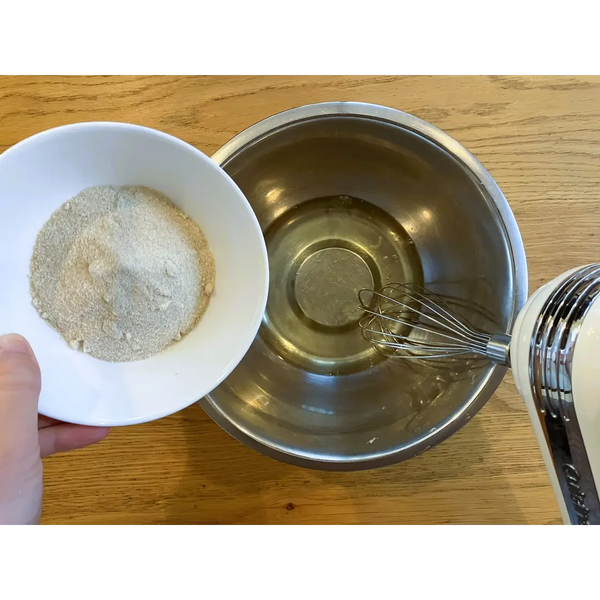
    3) Making the Cheesecake Batter

    In a large bowl, gently whisk the cream cheese until it becomes smooth and there are no lumps. Then add the egg yolks, whole milk, butter, and vanilla essence into the bowl. Mix these ingredients until they are well incorporated, then sift the all-purpose flour into the batter. Blend it gently using a balloon whisk. The batter should be smooth. 

    Adding the sugar into the egg whites Egg whites after they reached stiff peaks
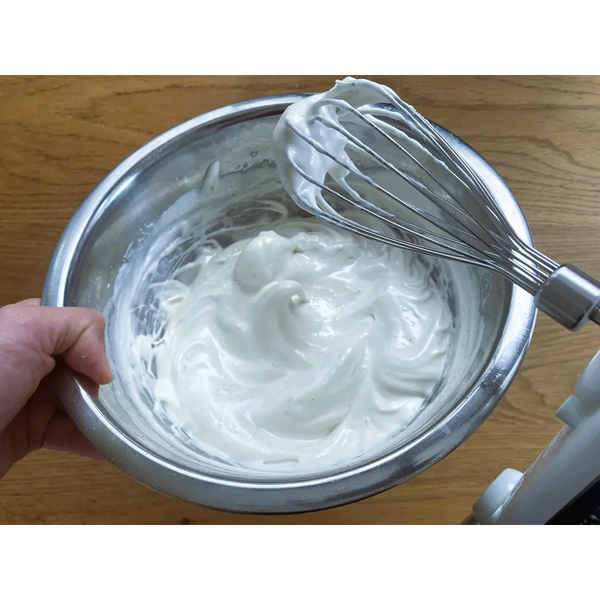
    4) Beating the Egg Whites
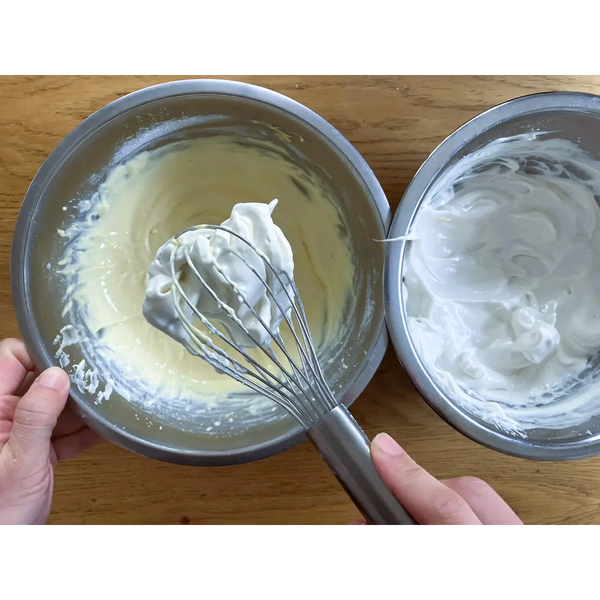
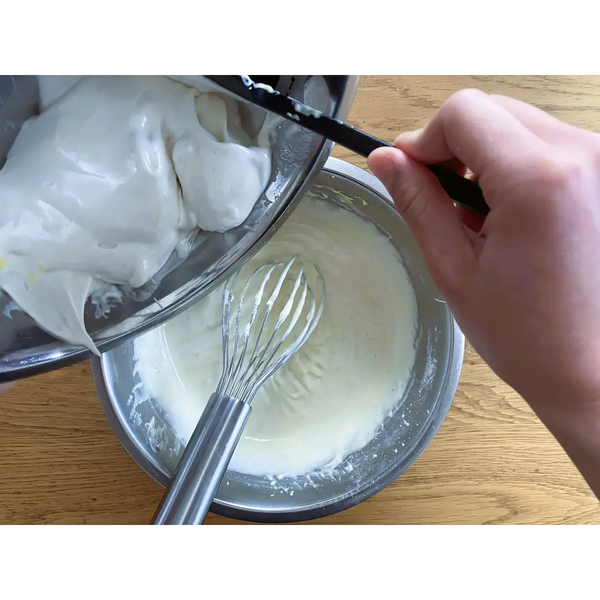
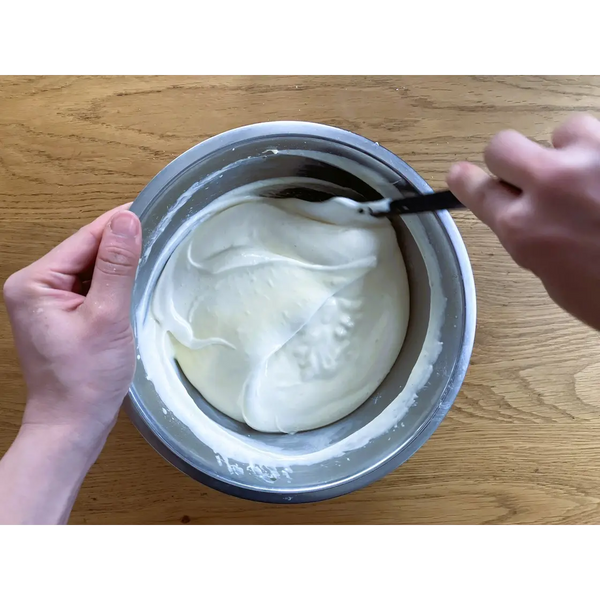
    In a different large bowl, add sugar and egg whites. Beat them using an electric mixer until they reach soft peaks. This will take 6 to 7 minutes if using an electric beater and up to 15 minutes if manually whisking with a whisk. 

    Adding the egg whites into the cheesecake batter Adding the egg whites into the cheese cake batter, the second time Finishing mixing the batter using a rubber whisk
    5) Combining the Batter and the Egg Whites

    Add 1/3 of the beaten egg white into the batter and mix well. Repeat this process two more times until the egg whites are fully incorporated into the batter. Then, using a rubber spatula, mix the batter a final time to make sure the ingredients are all evenly distributed. Using a rubber spatula is important to ensure that the egg whites do not deflate.

    Preparing the Water Bath
    6) Preparing the Water Bath

    Pour the cake batter into the prepared cake mold, and then place it inside of another heat-safe baking dish. Then add plenty of hot water the baking dish. 

    Finished cheesecake Crackless cheesecake
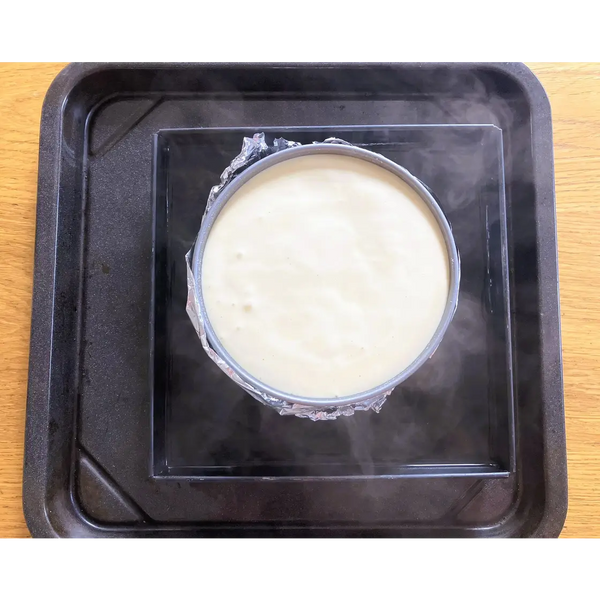
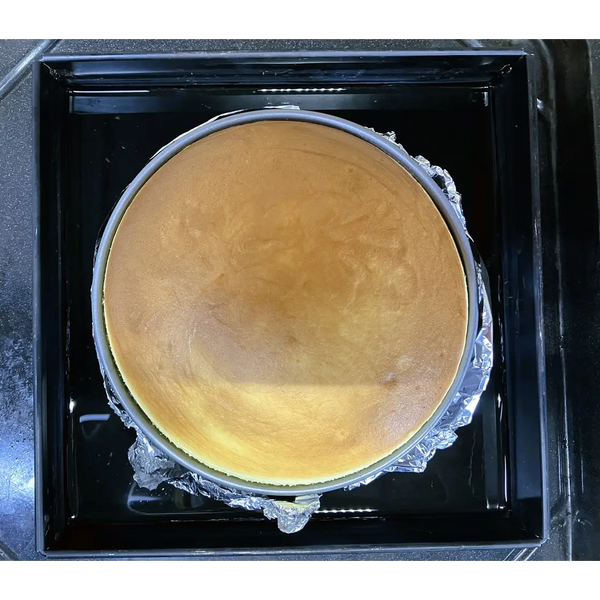
    7) Baking the Cheesecake

    Bake the cheesecake at 200C (392F) for 15 minutes. Then, open the oven for 10 seconds to decrease the temperature. Bake again at 120C (248F) for 45-50 minutes. When it is done, open the oven and allow it to rest inside for 10 minutes before removing it.

    Enjoying the Cheesecake
    8) Enjoying the Cheesecake

    You can either enjoy this cheesecake while it’s still warm or allow it to cool, it is delicious either way! 

    It is recommended to enjoy it within 3 days (including the day that you make it.) To keep it fresh, wrap it tightly in plastic wrap and stored in the refrigerator. 

    You can also freeze it for a week after wrapping it tightly with plastic wrap. 


    Recommended products for this recipe

    0 comments


    Leave a comment

    Please note, comments must be approved before they are published