How to Make Korone (Japanese Chocolate and Custard Cornets Recipe)

How to Make Korone (Japanese Chocolate and Custard Cornets Recipe)

by Ayako Kidokoro

Cornet Bread Pastry Sweets Good for Sharing

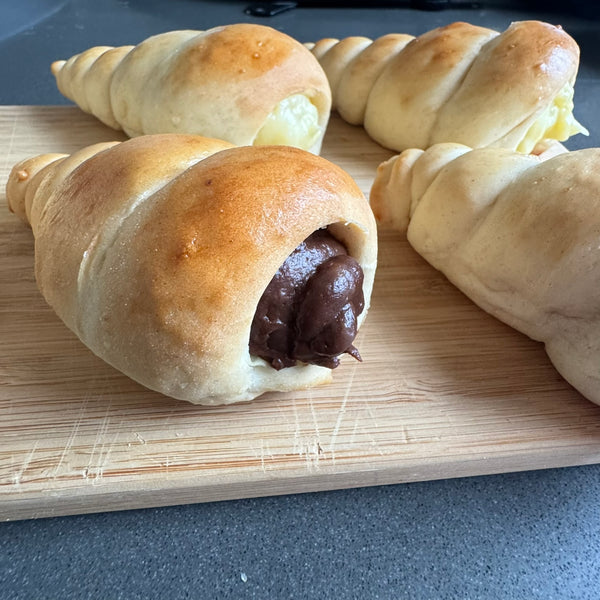
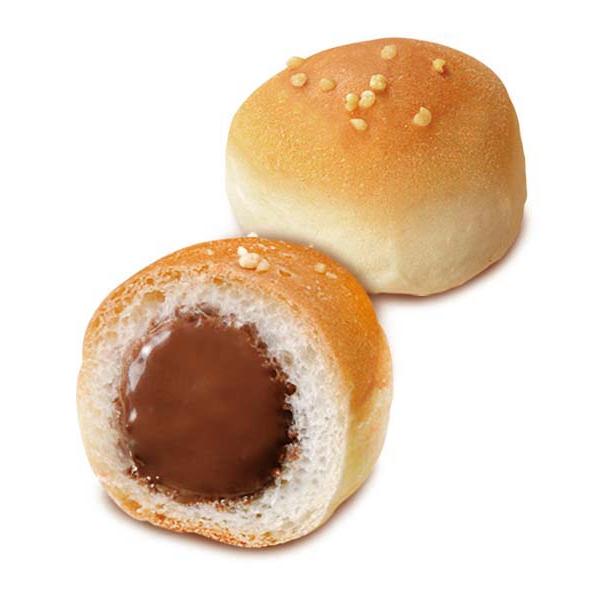
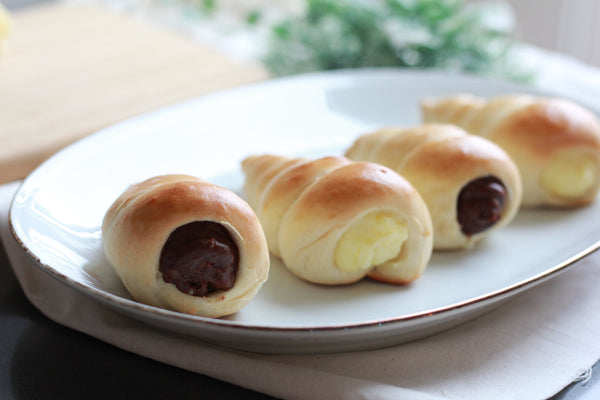
Japanese coronets, also known as korone or coronet pastries, are a beloved bread shaped like a cone and typically filled with custard or chocolate cream. They are a staple in Japanese bakeries.

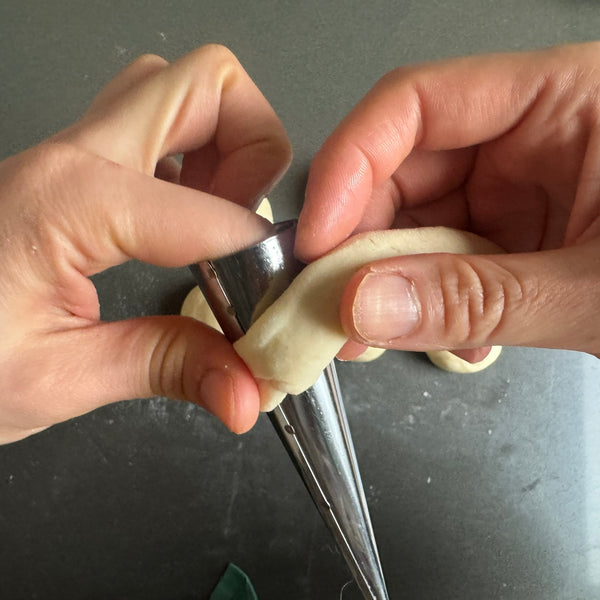
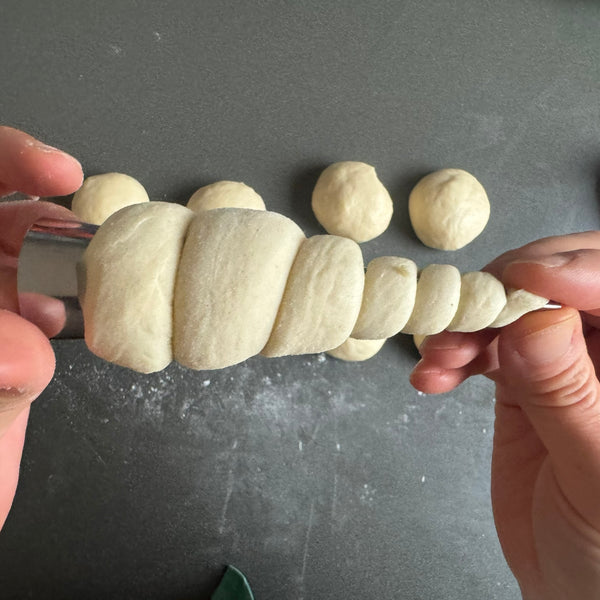
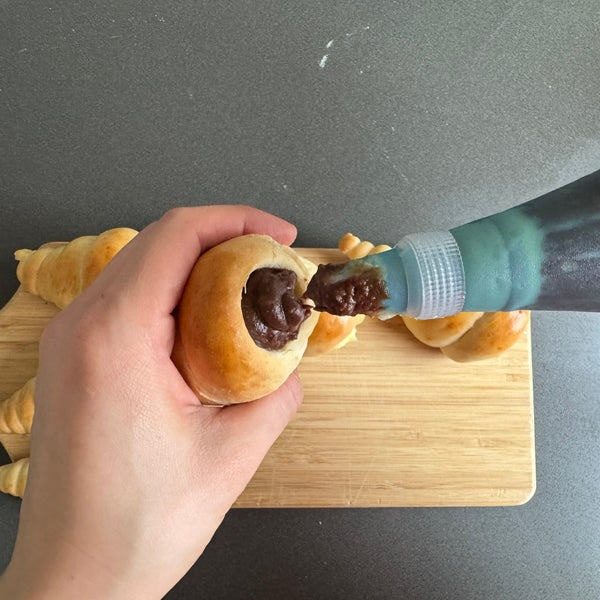
The unique spiral shape is achieved by wrapping dough around a conical mold before baking, creating a hollow space perfect for creamy fillings.

The bread has a soft, fluffy texture, similar to other Japanese pastries, while the filling is smooth and creamy. Some bakeries also offer savory versions with fillings like cheese or custard mixed with sweet bean paste. The contrast between the airy pastry and velvety filling makes it a treat enjoyed by all generations.

Though influenced by European pastries, cornets have been adapted to suit Japanese tastes. Their origins likely trace back to French or Italian pastries, but Japan has added its own twist by making the bread softer and slightly sweeter. Cornets gained popularity in the late 20th century and are now a common sight in Japanese bakeries, often sold alongside classics like melon pan.

Baking cornets requires some experience, particularly in shaping the dough around the molds and achieving the perfect texture. However, with attention to detail, great results can be achieved.

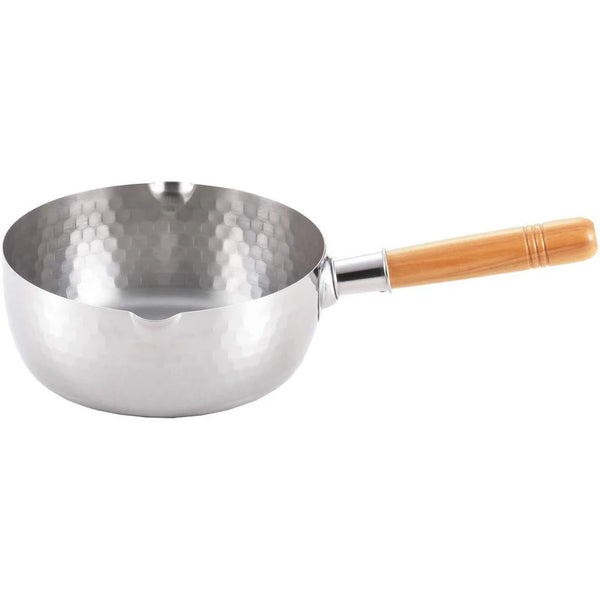
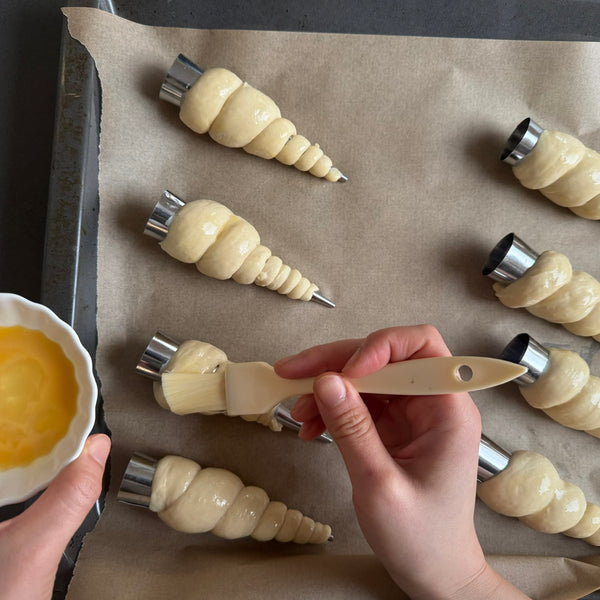
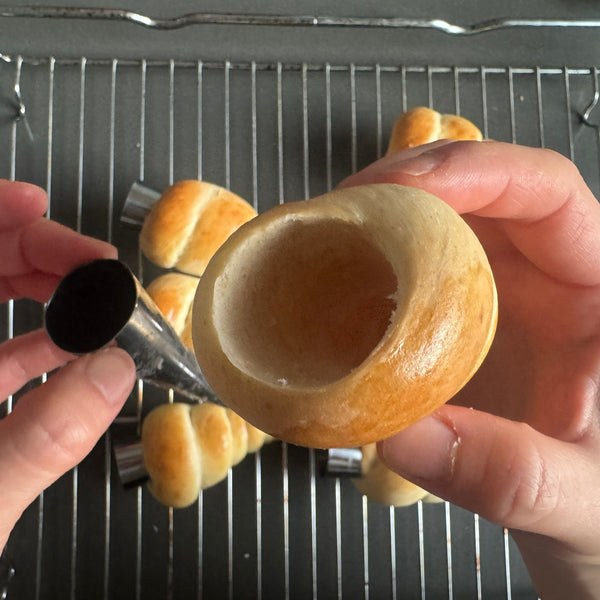
To make cornets, a conical mold is essential. Greasing the metal cone ensures the dough holds its shape. Allowing the dough to rise properly is key to achieving a fluffy texture. Additionally, always add the custard or chocolate filling after the bread has cooled to prevent fogginess.

Japanese cornets pair wonderfully with beverages such as tea, coffee, or even a glass of milk. A matcha latte enhances their sweetness, while black coffee provides a bold contrast to the rich custard.

Now that you know how to make coronet pastries, give this recipe a try and enjoy the delicious combination of fluffy bread and creamy filling!

Overview

Prep time: 45 mins

Cook time: 25 mins

Total time: 1hr 10mins

Total servings: 8

Difficulty: Medium

Ingredients
  • 200g bread flour
  • 4g dry yeast
  • 100cc warm water
  • 3g salt
  • 20g sugar
  • 20g butter
  • 20g egg
  • Egg wash (for coating)
  • 2 egg yolks (for filling)
  • 50g sugar (for filling)
  • 30g cornstarch (for filling)
  • 250cc milk (for filling)
  • 60g chocolate (for filling)
  • Vanilla extract (for filling; to taste)

Expert's Tip

How to Make Korone (Japanese Chocolate and Custard Cornets Recipe)

For perfect custard cream, this saucepan stainless steel saucepan is a game-changer. It ensures even heat distribution, preventing scorching while allowing precise control over the thickening process. A must-have for both home bakers and professionals aiming for consistency and perfection in their pastry fillings.

Instructions

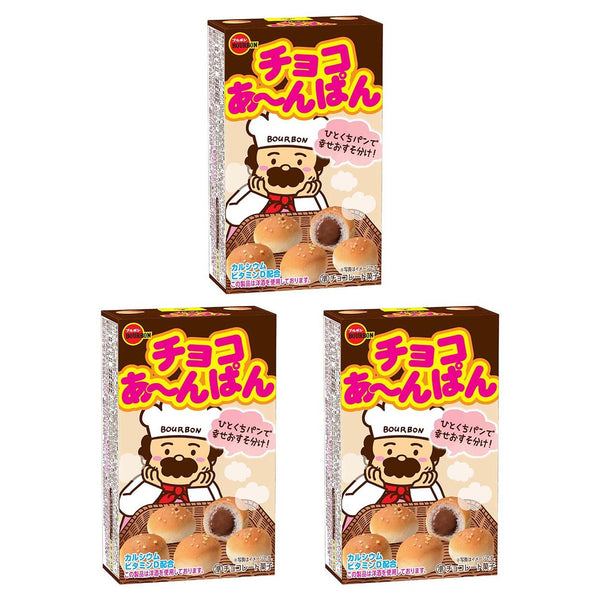
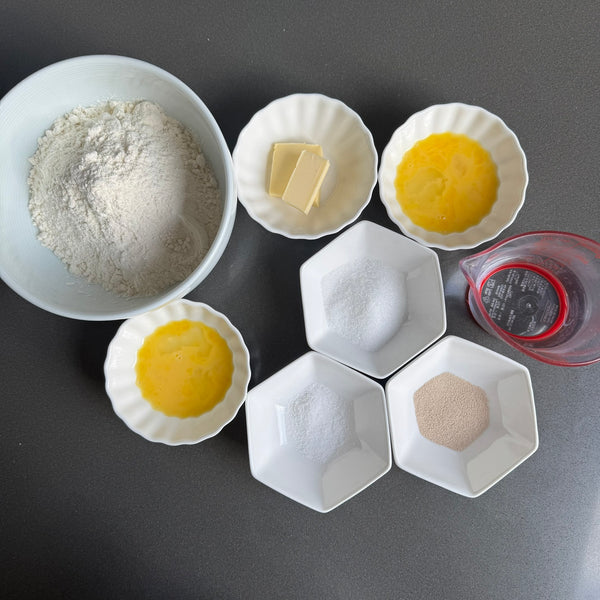
1) Gather the Ingredients

Collect all the necessary ingredients for the pastry: bread flour, dry yeast, warm water, salt, sugar, butter, and eggs. Then, grease the mold.

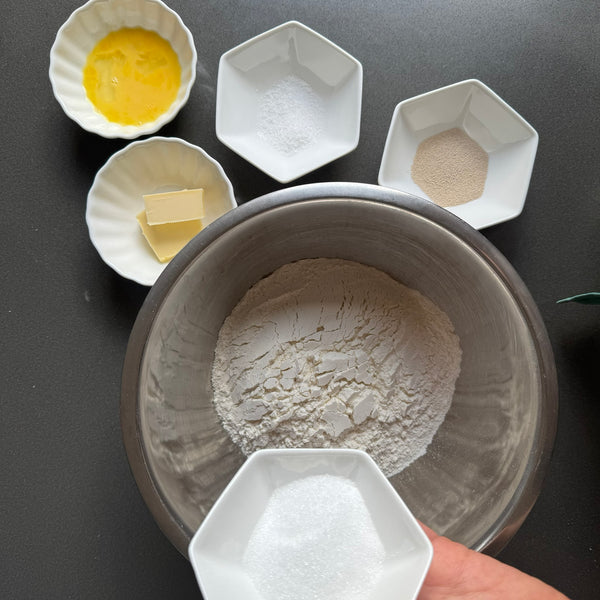
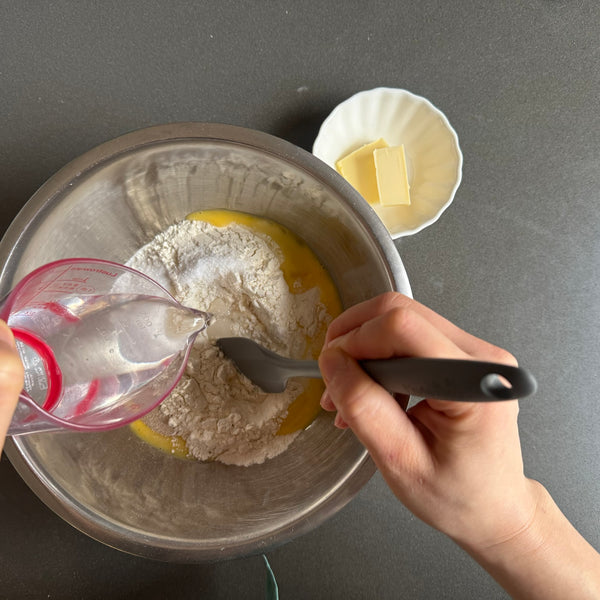
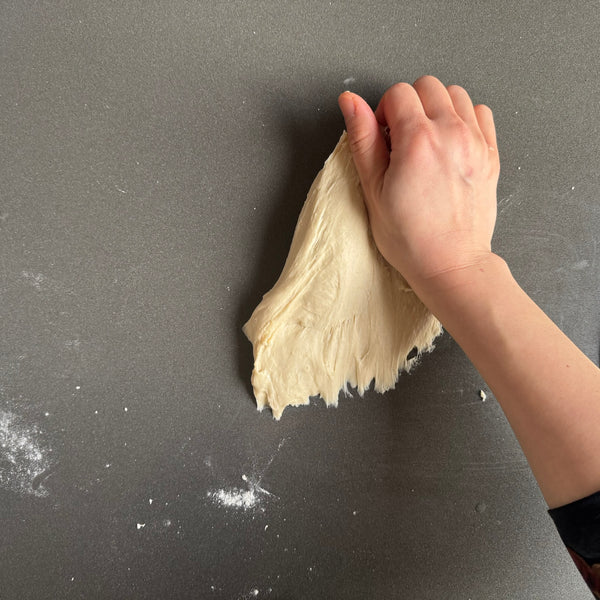
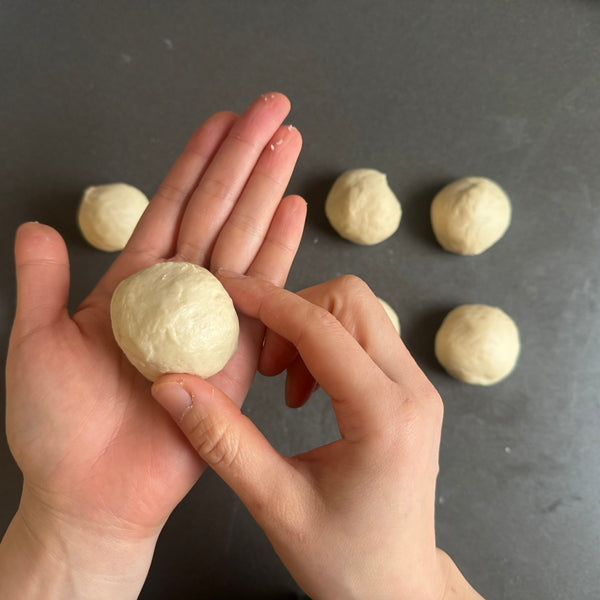
2) Knead the Bread Dough

In a large bowl, add the bread flour, instant dry yeast, sugar, egg yolks, yeast, and salt. Pour the warm water and mix the dough thoroughly with a spatula until it becomes smooth.

Once smooth, add butter. Then continue mixing the dough. When the dough is no longer powdery, transfer it to a clean work surface. Use the palms of your hands to push and knead the dough.

This dough is quite sticky, but once the butter has fully absorbed into the dough, it will eventually become very smooth. (It can take up to 10 minutes to reach this point.) When the dough is smooth, stretch it out to see if the gluten has developed enough. If you don’t know how to check, basically, the dough should not tear when stretched.

Note: If you are using a stand mixer, follow the instructions according to your machine.

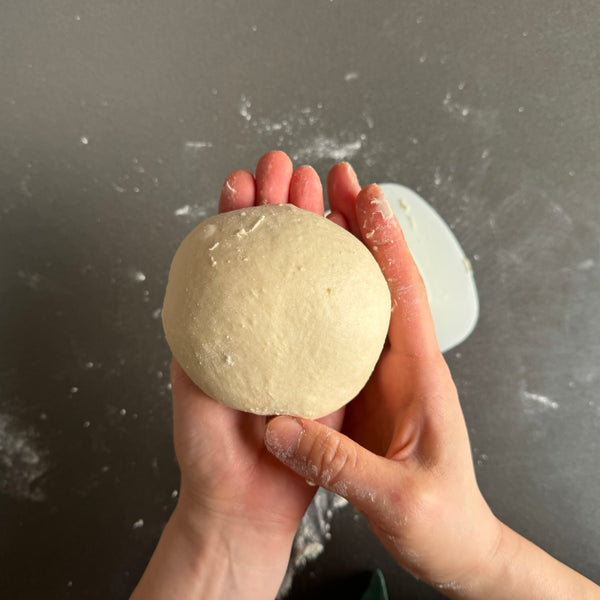
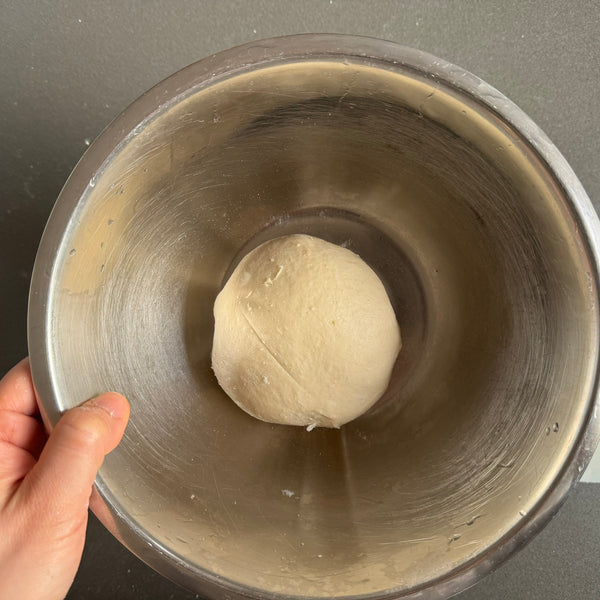
3) Rest the Bread Dough

Shape the dough into a ball and place it in a bowl. Cover and put the dough in a warm place (at around 40°C or 104°F) for 25-35 minutes, or until the dough has doubled in size.

After the bread dough has rested, dust your index finger with flour and poke the center of the dough. If the hole does not spring back, the dough is ready.

Punch the dough to release the built-up gas that was created while it was resting.

Remove the dough from the bowl and place it onto a work surface. Measure the weight of the dough (it should be around 350g) and cut the dough with a dough scraper into 8 equal pieces (each should be 40-45g).

Knead each piece nicely and shape them into evenly round and smooth balls.

Cover the dough and let it rest for an additional 15 minutes at room temperature.

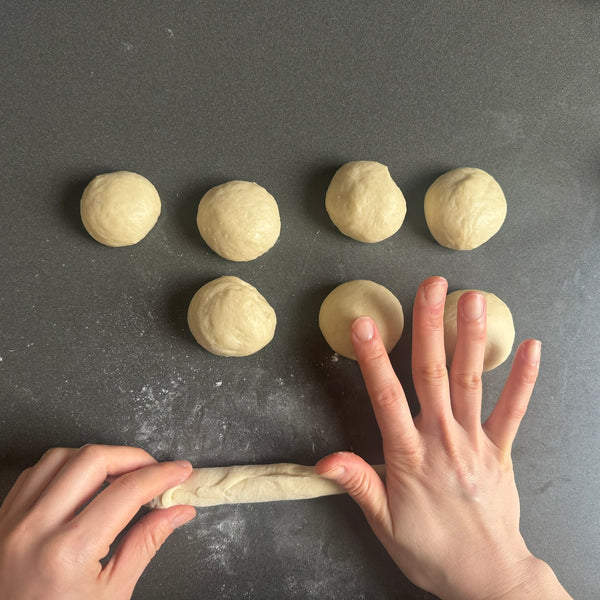
4) Shape the Dough and Bake

Use your hand to roll out the dough into a thin rod shape.

Wrap the dough around the cornet mold, starting from the thicker end and moving toward the thinner end.

Place them evenly on a baking tray and let them undergo a second proofing in a warm place (around 30°C/86°F), ensuring they do not dry out. After 30 minutes, once the dough has risen properly, the proofing is complete.

Gently brush a thin layer of egg wash over the dough and bake in a preheated oven at 190°C/374°F for 13 minutes.

Carefully remove the cornet molds and transfer the bread to a wire rack to cool. (Be cautious, as they will be very hot.)

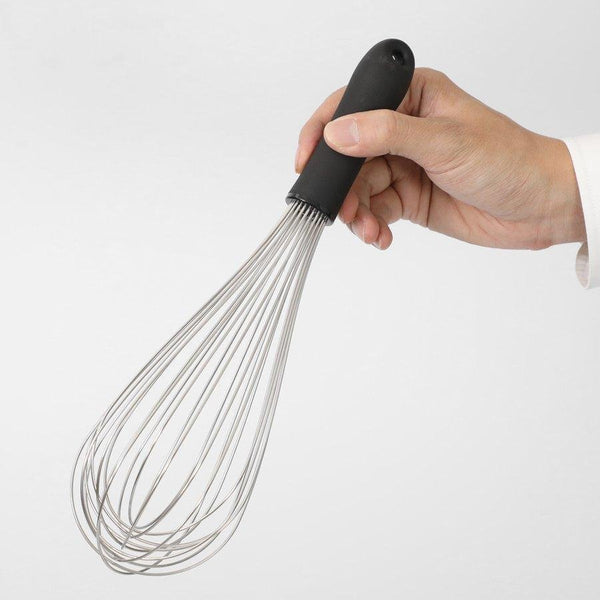
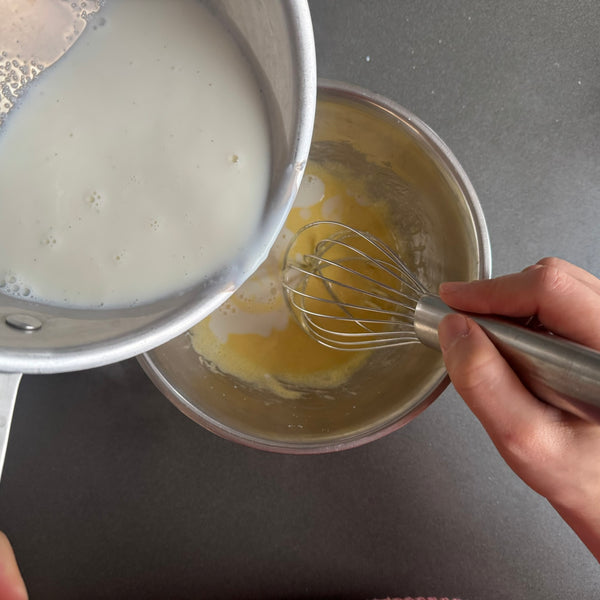
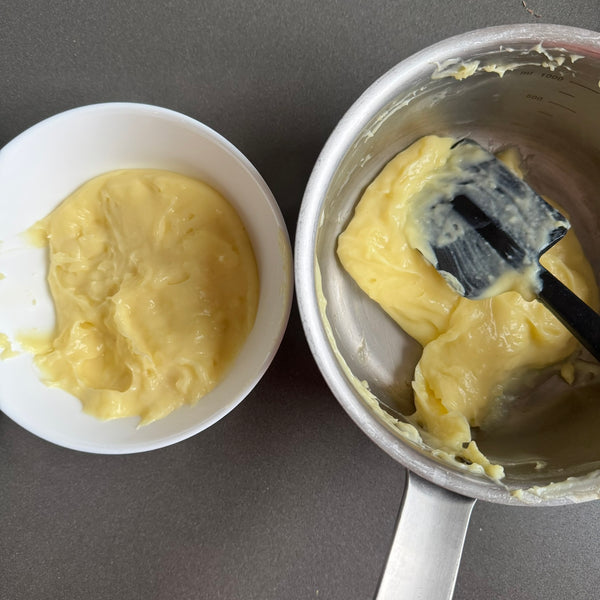
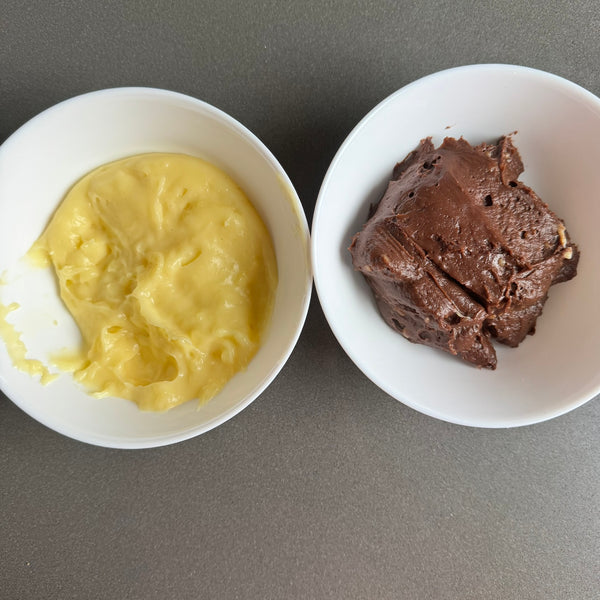
5) Make the Custard Cream

Collect all the necessary ingredients for custard and chocolate cream: egg yolks, sugar, cornstarch, milk, vanilla extract, and chocolate.

Warm the milk in a pot to about 70°C/158°F, being careful not to let it boil. In a separate bowl, whisk two egg yolks with granulated sugar until the mixture lightens in color. Add cornstarch and whisk again. Gradually add the warm milk in two portions, mixing thoroughly each time.

Strain the mixture back into the pot and cook over medium heat, stirring continuously with a rubber spatula. Once it thickens and drips slowly from the spatula, add vanilla extract and mix well. Take the half portion (about 160-180g) out, place it in a bowl, and chill thoroughly.

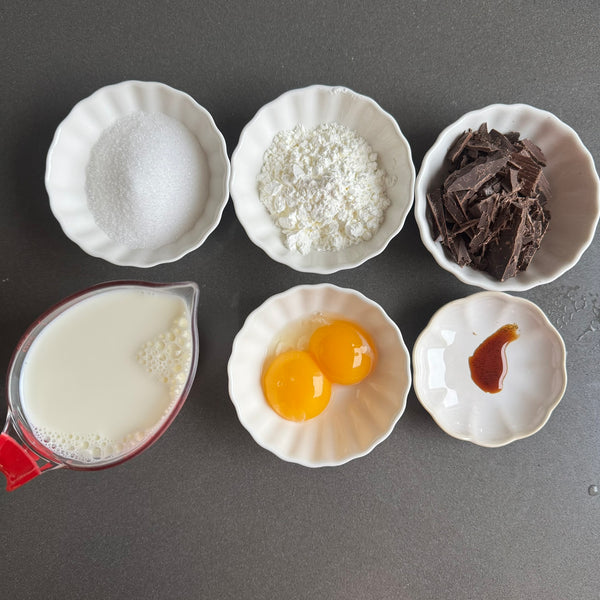
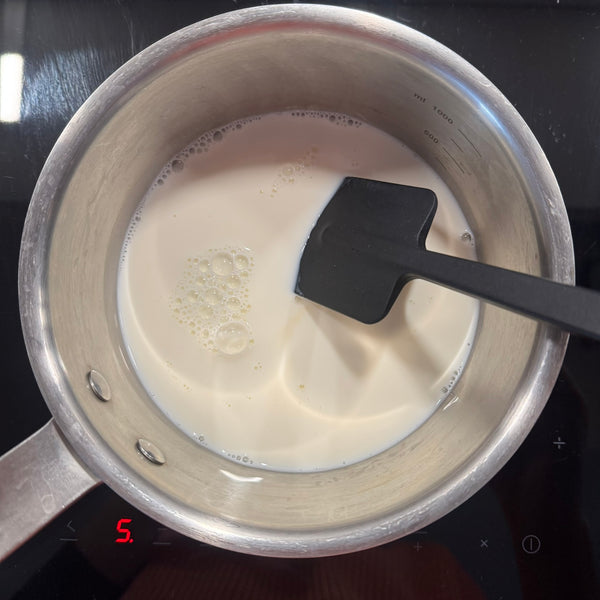
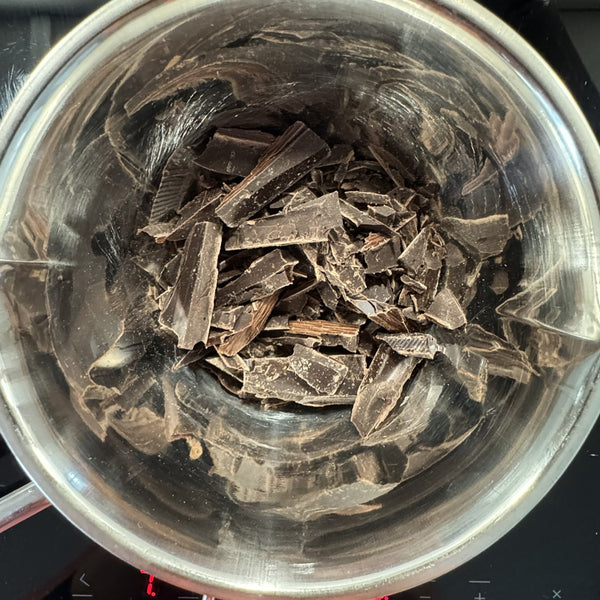
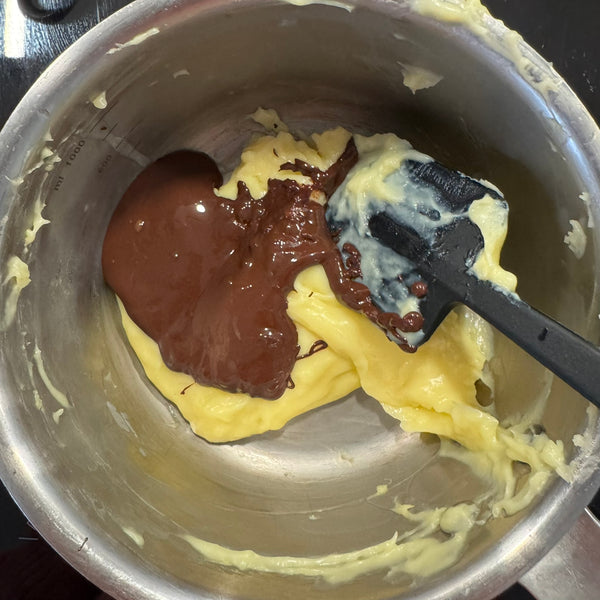
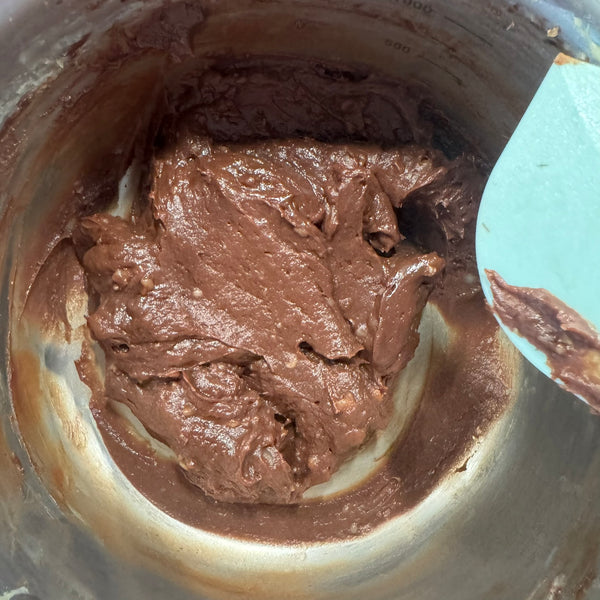
6) Make the Chocolate Cream

Melt the chopped chocolate using a double boiler. Then, add the melted chocolate to the remaining custard cream in a small saucepan and mix well.

7) Filling the Cream

Once the pastries are cooled, pipe the cream into the hollow center.

8) Serve and Enjoy!

Store the filled cornet pastries in the refrigerator and consume on the same day.

Recommended products for this recipe

0 comments


Leave a comment

Please note, comments must be approved before they are published