DessertMatchaRed BeansDangoSummerShaved IceVegetarianKid-friendlyUnder 30 Minutes
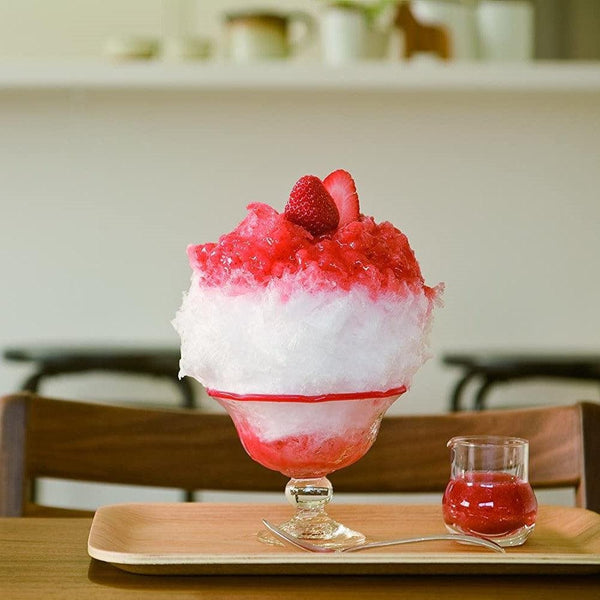
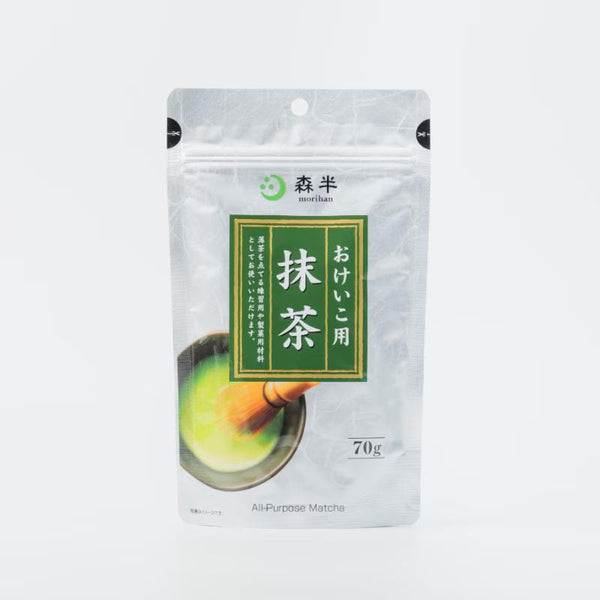
Japanese shaved ice, or kakigori, is one of the most popular summer desserts. It is the perfect way to cool down on a hot and humid day. While it comes in many flavors, Uji Kintoki is a traditional flavor of kakigori that uses Matcha green tea.
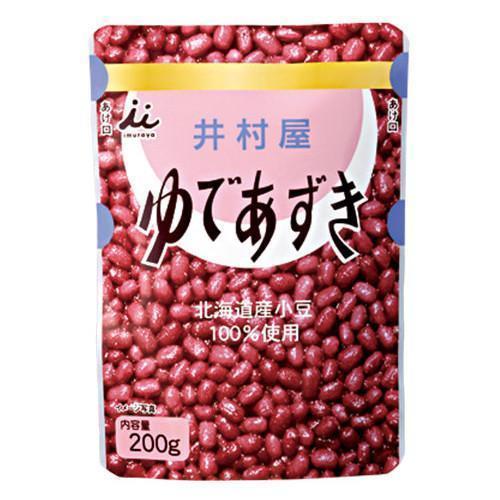
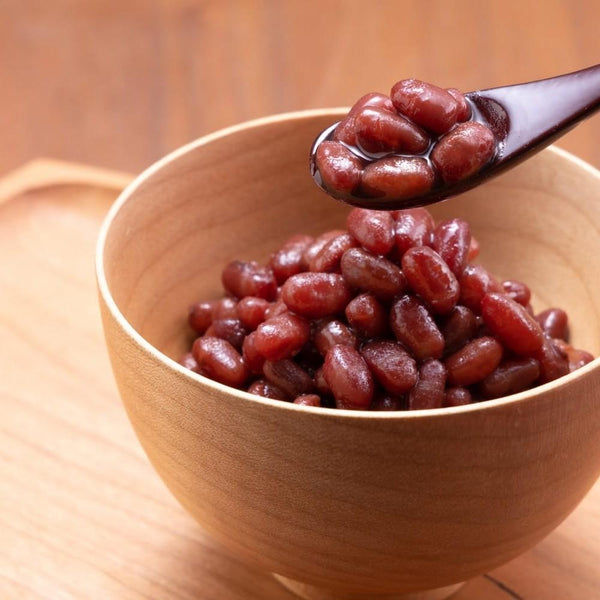
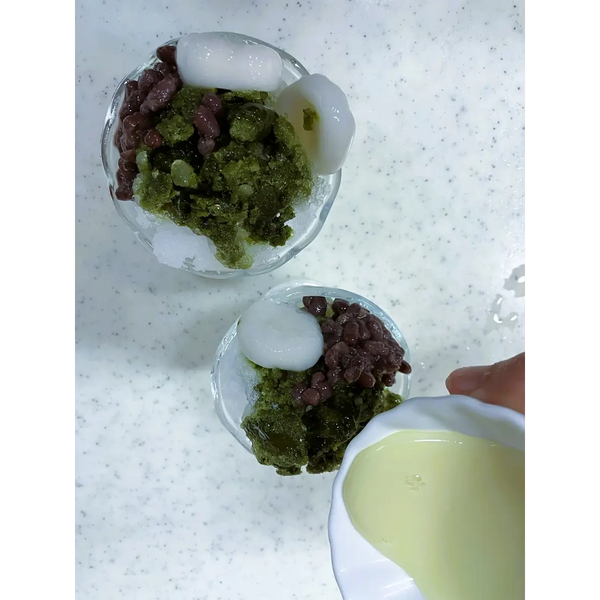
Uji Kintoki is usually topped with toppings such as Shiratama Dango (Mochi balls), sweetened red beans, and condensed milk.
When you first take a bite, you instantly feel the unique bitterness of matcha, followed by the sweetness of the red beans and condensed milk which mellows out the flavor of the entire kakigori. The shiratama dango also adds a nice chewy texture to the refreshing dessert.
If you’re wondering about the origin of the name Uji Kintoki, “Uji” means “Matcha” in this case, because Uji city in Kyoto is the most famous city in Japan for producing green tea, and “Kintoki” means “Anko” (sweetened red bean paste).
The history of Kakigori is quite long. It is said that people started enjoying it during Heian Era (somewhere around the 8-12th centuries). This Uji Kintoki is believed to have been enjoyed since the Edo Period (17-19th centuries).
Uji Kintoki is the typical dessert enjoyed in summer in Japan. In fact, many restaurants and cafes include it on their menus but only serve it during the summer months. However, this dessert may be virtually impossible for many people to find outside of Japan.
If you’re a lover of matcha and are looking for a new and refreshing way to enjoy it, we’re going to show you how you can easily make this Uji Kintoki Matcha Shaved Ice at home.
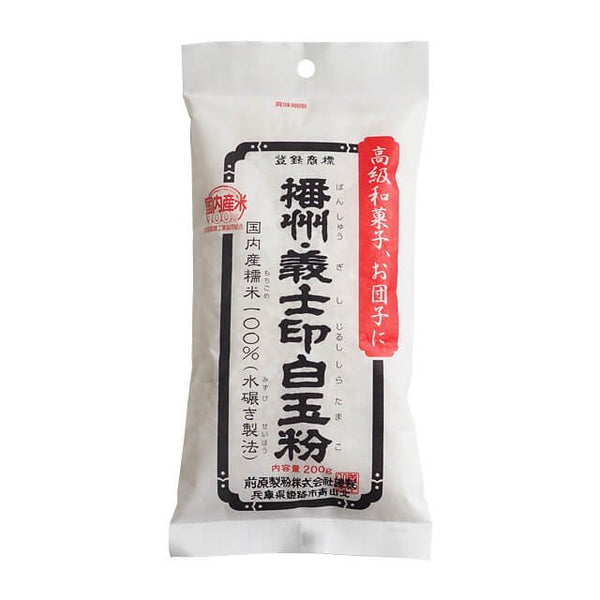
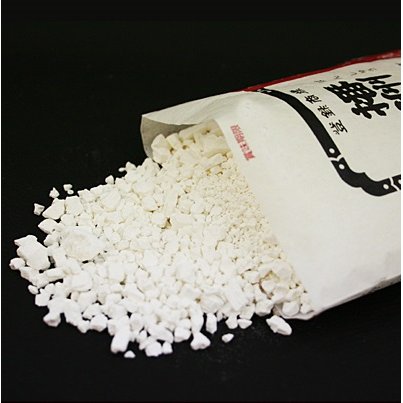
In our recipe, we’ll be making homemade matcha syrup and Shiratama Dango, as these ingredients may be hard to find in the supermarket. You can make both of them in advance and keep them for 1-2 days before making the Uji Kintoki.
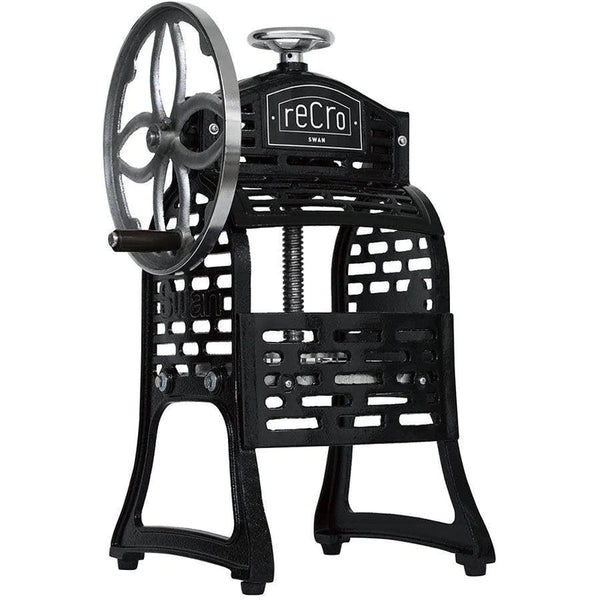
We will also be using a Nutribullet Blender to make our Uji Kintoki. We are doing it this way because we believe that many people may not have a kakigori or shaved ice maker at home. Another reason we are using a blender is that we can make the kakigori from ice cubes rather than using an ice block. However, if you want to make kakigori that will have the best texture and will resemble kakigori sold in Japan more closely, then we recommend using a Kakigori Machine.
We hope you’ll enjoy our recipe and make Uji Kinkoki for yourself at home. Let us know if you make it using a blender or a machine and how the texture turns out in the comments below.
Instructions
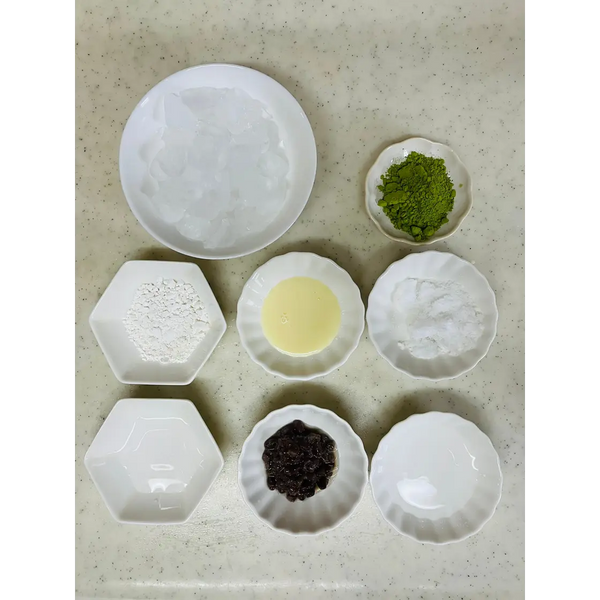
1) Gathering the Ingredients
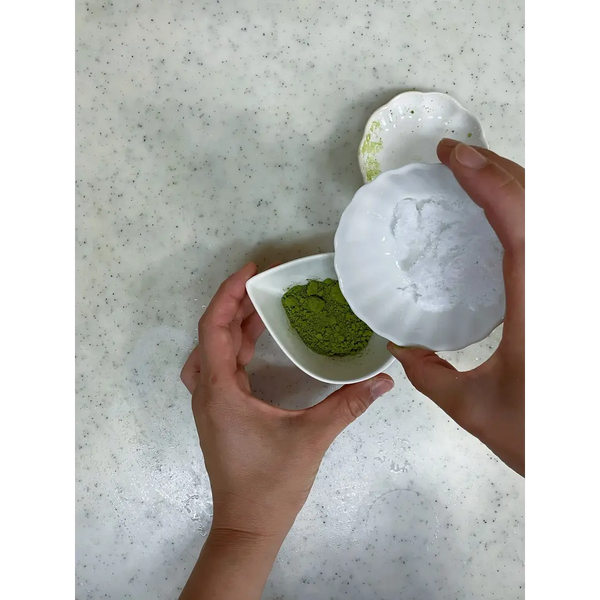
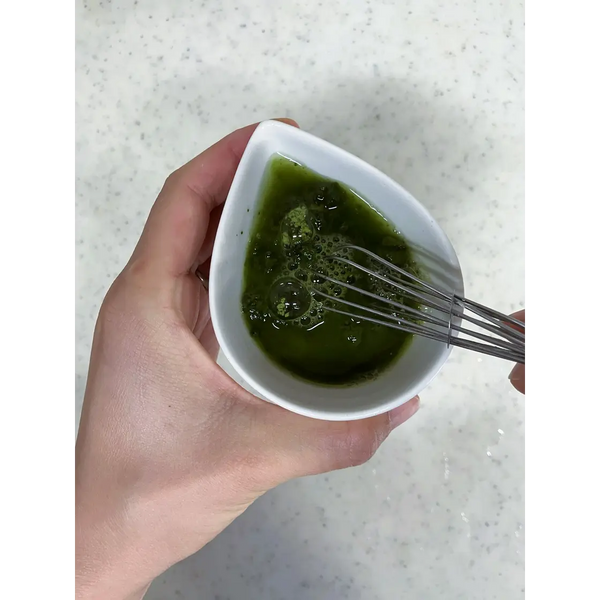
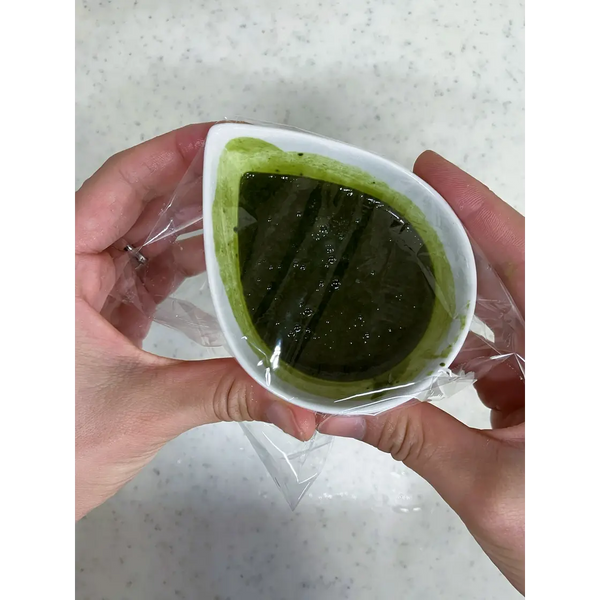
2) Making Matcha Syrup
1 / 3
Expert's Tip
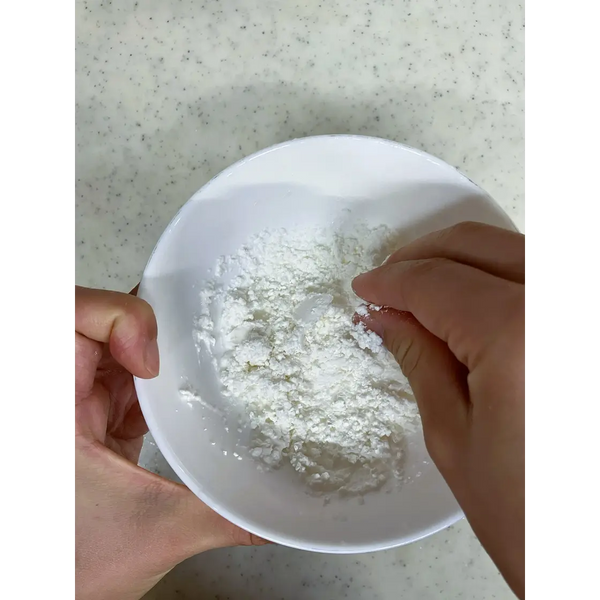
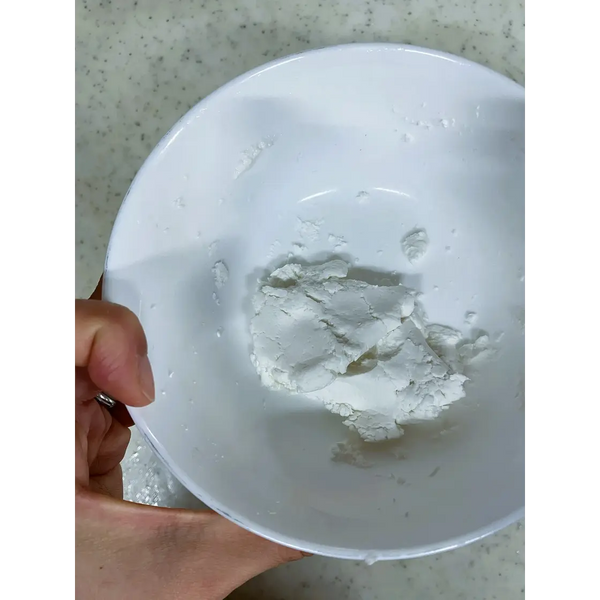
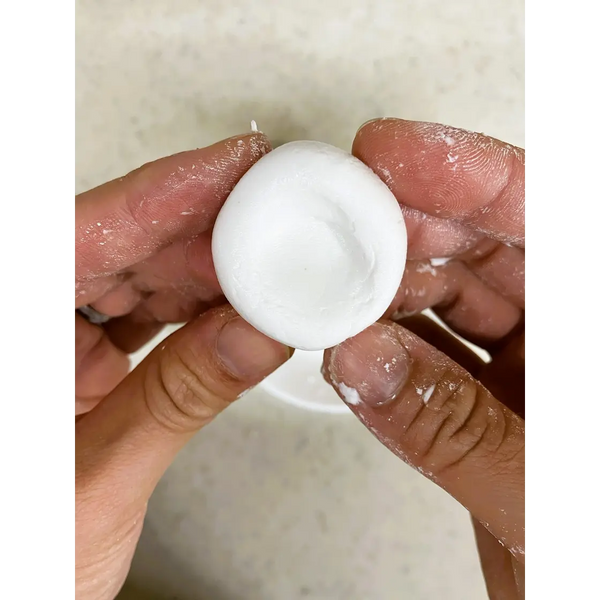
3) Making Shiratama Dango


1 / 5
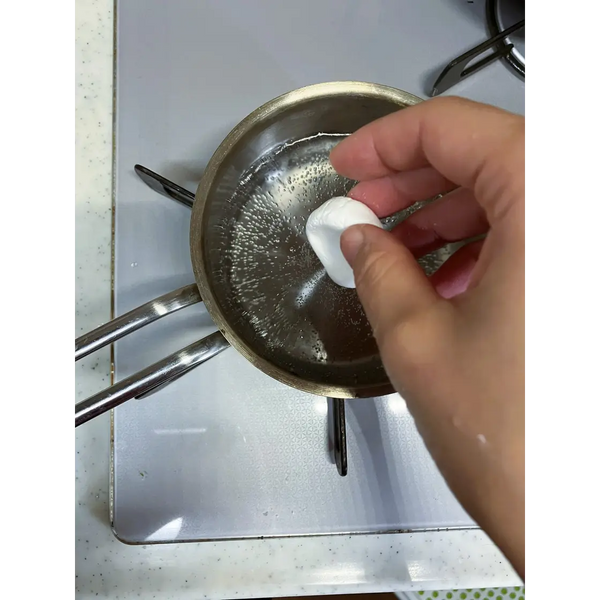
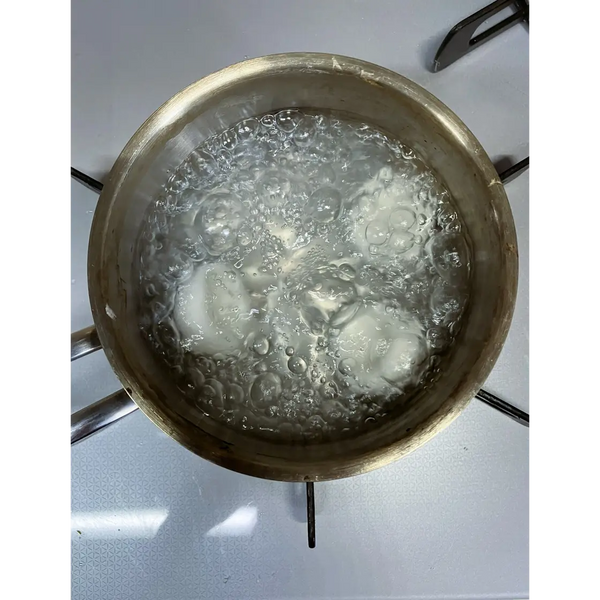
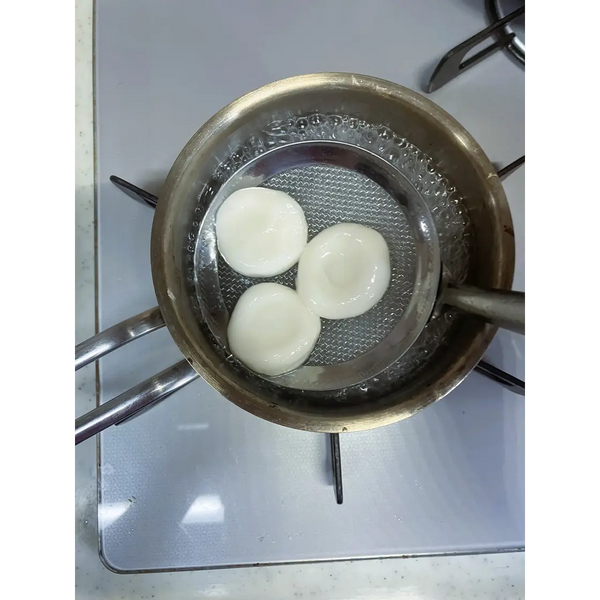
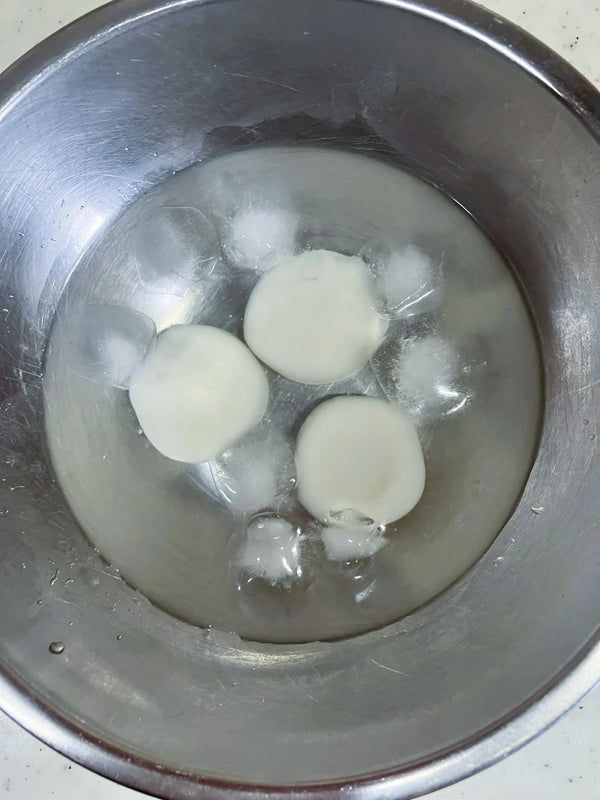
4) Cooking Shiratama Dango
1 / 4
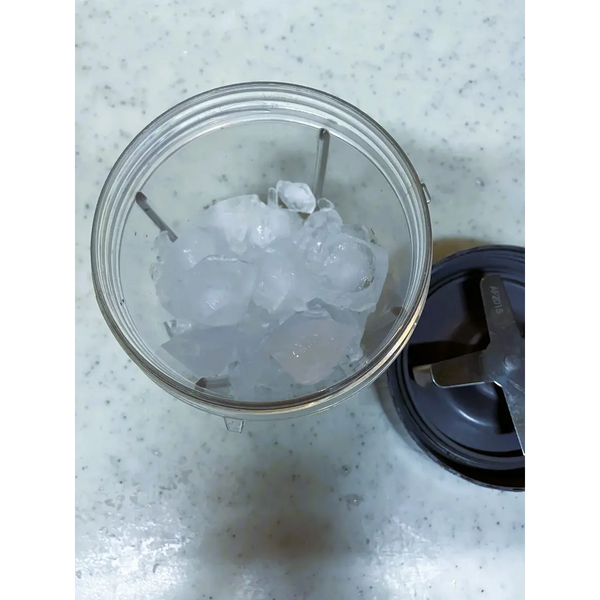
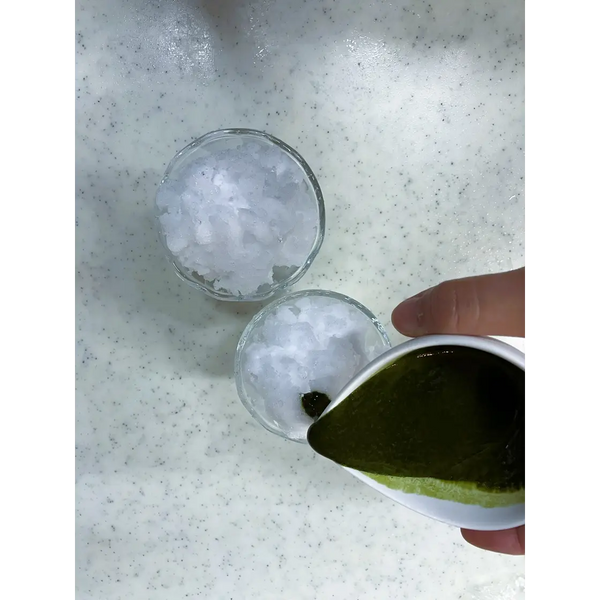
5) Shaving the Ice

1 / 2
6) Decorating the Uji Kintoki

1 / 3
7) Enjoying Your Uji Kintoki Matcha Shaved Ice