Large selection of high-quality products

🚚 Free US shipping on orders $150+

Save more by signing in to your account

You're now shopping in
United States
United States
USD $
    How To Make Hiroshima-Style Okonomiyaki At Home

    How To Make Hiroshima-Style Okonomiyaki At Home

    by Megumi Moriya

    Main Easy Freezer-friendly Kid-friendly Pork Egg Street Food Party Food Popular Regional Cuisine

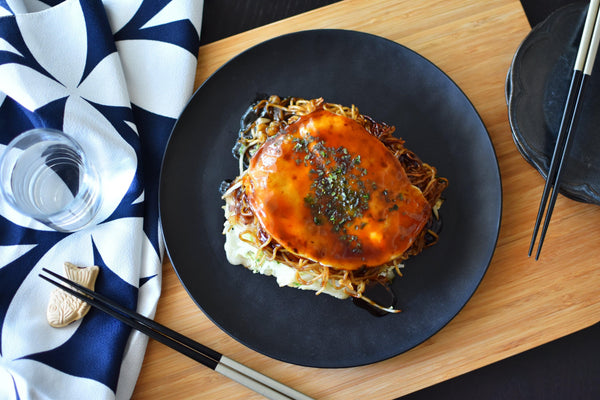
    Okonomiyaki is a beloved Japanese dish often prepared on an iron plate. While it's a common homemade meal, Japan boasts numerous Okonomiyaki specialty diners and restaurants. We previously showed you how to make Osaka (Kansai)-style Okonomiyaki, so this time we'll be sharing the Hiroshima-style Okonomiyaki.

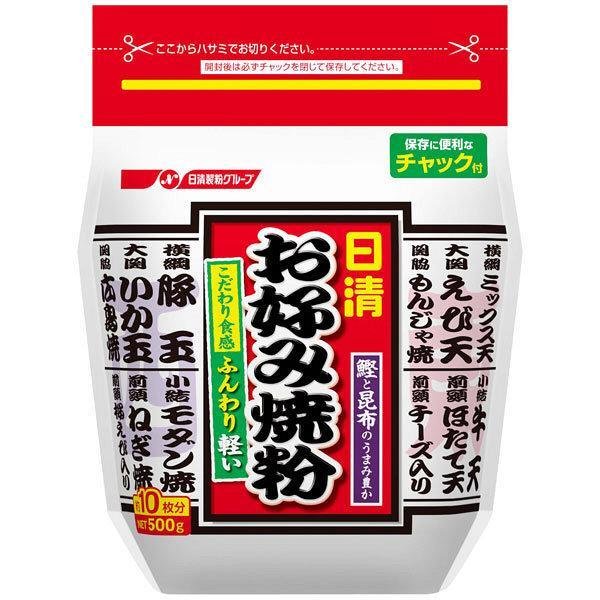
    Both Osaka and Hiroshima-style Okonomiyaki, despite their regional names, are enjoyed throughout Japan. The key ingredients for both include all-purpose flour, cabbage, pork, and egg. Now, let's explore the differences between these two variants.

    The primary distinction lies in how the ingredients are incorporated into the dish. Osaka-style Okonomiyaki involves mixing the ingredients into the batter before cooking, resulting in a texture similar to a pancake. In contrast, Hiroshima-style Okonomiyaki keeps the ingredients separate. The batter is transformed into a thin, crepe-like round shape, and each component is cooked individually. Afterward, the ingredients are layered, akin to a mille-feuille pastry. This layering method steams the cabbage and bean sprouts to perfection, delivering a delightful, crisp texture.

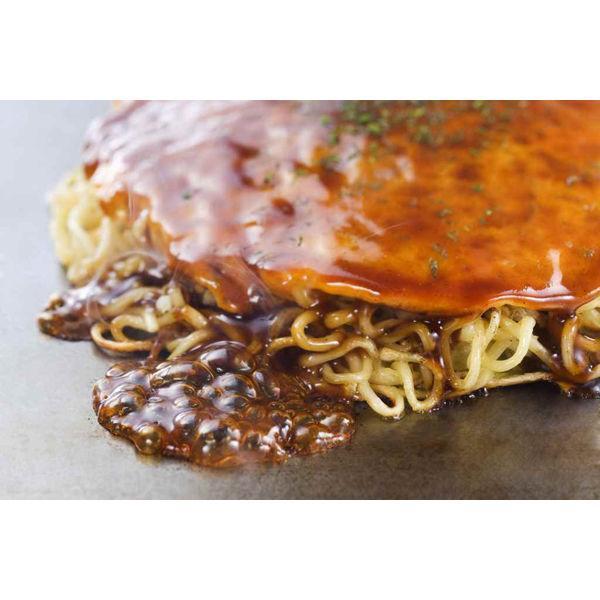
    An iconic addition to Hiroshima-style Okonomiyaki is stir-fried noodles or yakisoba. This ingredient contributes to its substantial and satisfying appeal.

    In this recipe, we'll guide you through creating Hiroshima-style Okonomiyaki at home, complete with useful tools and products. Why not try making both Hiroshima-style and Kansai-style Okonomiyaki at home to explore the differences? It's sure to be a fun culinary adventure.

    Share your homemade Okonomiyaki experiences in the comments below, and let us know which type you prefer!

    Overview

    Prep time: 20 mins

    Cook time: 20 mins

    Total time: 40 mins

    Total servings: 1

    Difficulty: Easy

    Ingredients
    • 30g All Purpose Flour
    • 500ml Water
    • 20g Dried Bonito Flakes
    • 100g Cabbage
    • 20g Bean Sprouts
    • 10g Chopped Green Onion
    • 5g Tempura Bits (Tenkasu)
    • 60g Sliced Pork Belly
    • 1 Package (150g) Yakisoba Noodles & the included Seasoning
    • 1 Egg
    • Okonomiyaki Sauce, as needed
    • Dried Aonori Seaweed, as needed

    Expert's Tip

    Yamagi Stainless Steel All Purpose Turner & Teppanyaki Spatula 105mm

    This culinary tool is a must-have for crafting Okonomiyaki. Having two of these comes in handy when you're flipping a substantial Okonomiyaki. It's also a crucial implement at Okonomiyaki specialty eateries, so using it to prepare Okonomiyaki at home can recreate that restaurant-like ambiance. Furthermore, it serves well for slicing Okonomiyaki too.

    Instructions

    bonito soup stock ingredients making the soup stock straining the soup stock finished soup stock
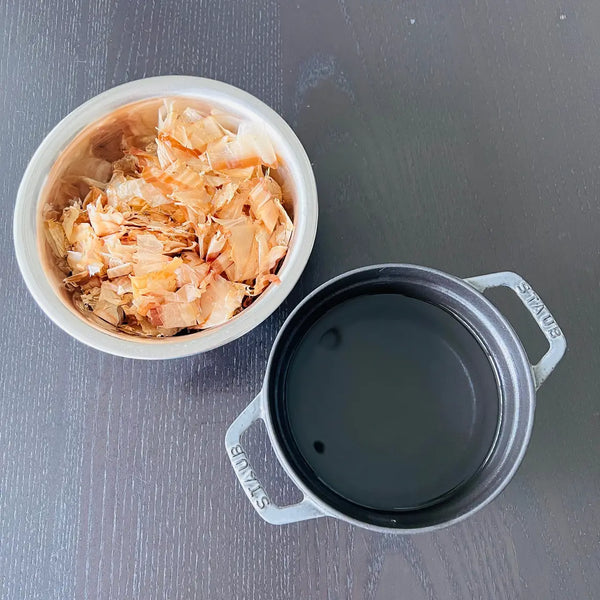
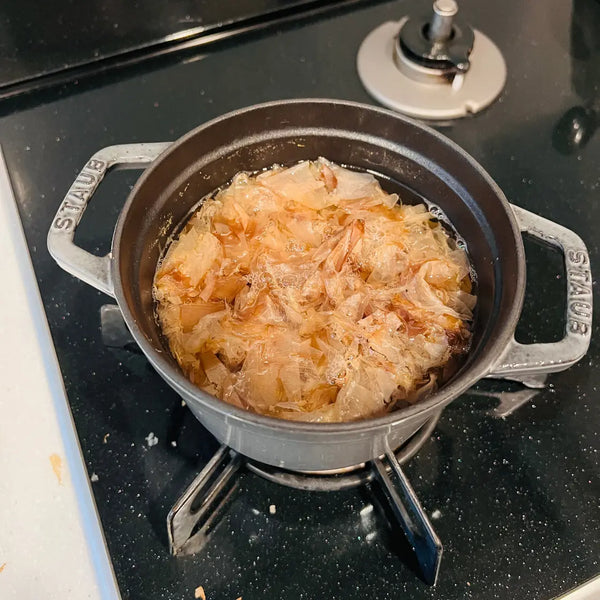
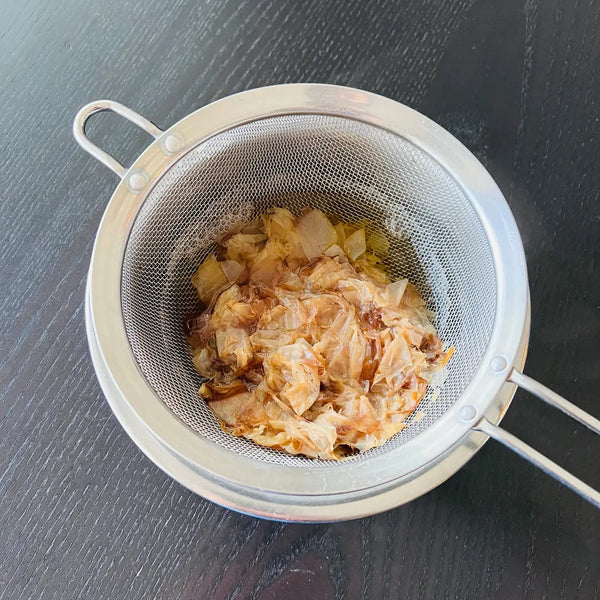
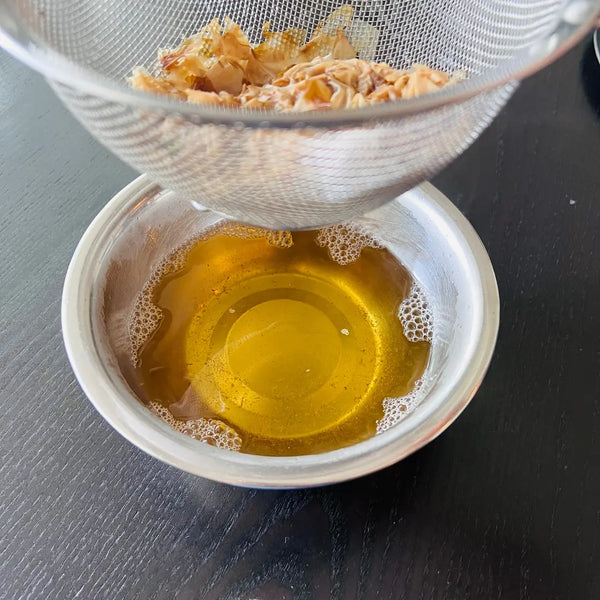
    1) Advanced Preparation

    Similar to our Osaka Okonomiyaki recipe, we will make dashi stock in advance. 

    As for bonito soup sock, you need 500ml of water and 20g of bonito flakes. This amount of bonito flakes is actually more than usual, so you'll achieve a thicker and richer bonito soup stock with this amount. 

    Pour the water into a pot and heat until boiling. Then add the bonito flakes and turn the heat off. Set aside for 2-3 minutes and drain like in the picture to get the bonito soup stock. Prepare 100ml bonito soup stock from here for making Okonomiyaki

    hiroshima okonomiyaki ingredients
    2) Gathering the Ingredients
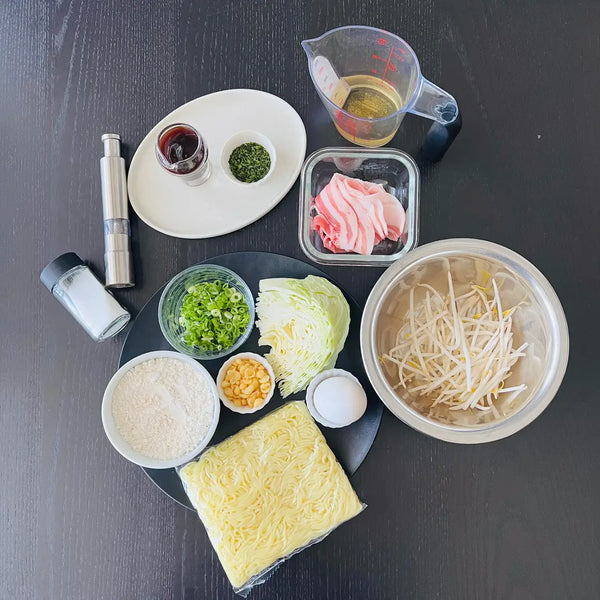
    Gather the ingredients together.

    sliced cabbage
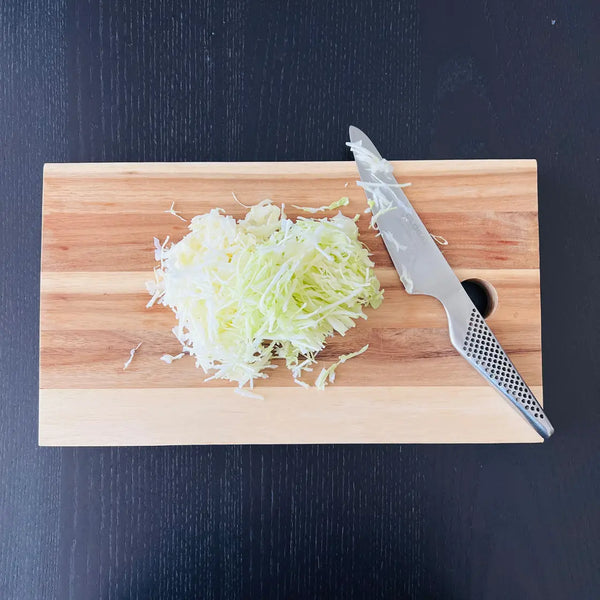
    3) Slicing the Cabbage & Pork Belly

    Slice the cabbage into thin strips to achieve a fluffy texture. Cut the sliced pork belly into approximately 5cm-sized pieces.

    hiroshima okonomiyaki batter
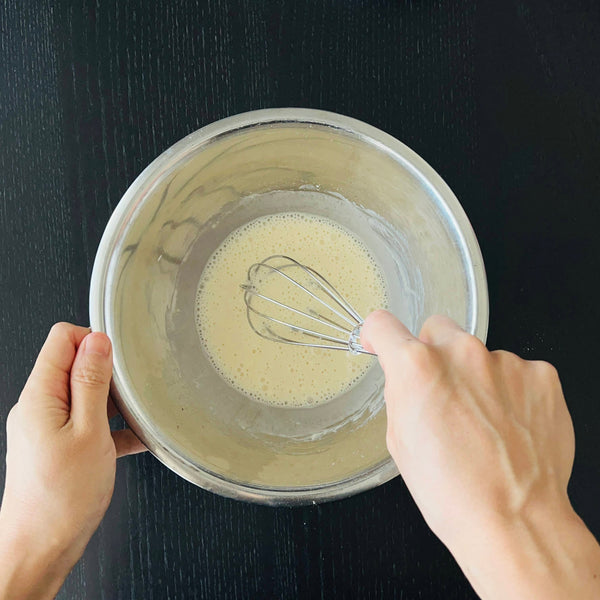
    4) Preparing the Okonomiyaki Batter

    To prepare the Okonomiyaki batter, combine the bonito soup stock and all-purpose flour in a bowl, and thoroughly mix them together.

    adding the batter, cabbage, and green onions onto a hotplate topping with tenkasu and green onions topping with pork belly and more batter
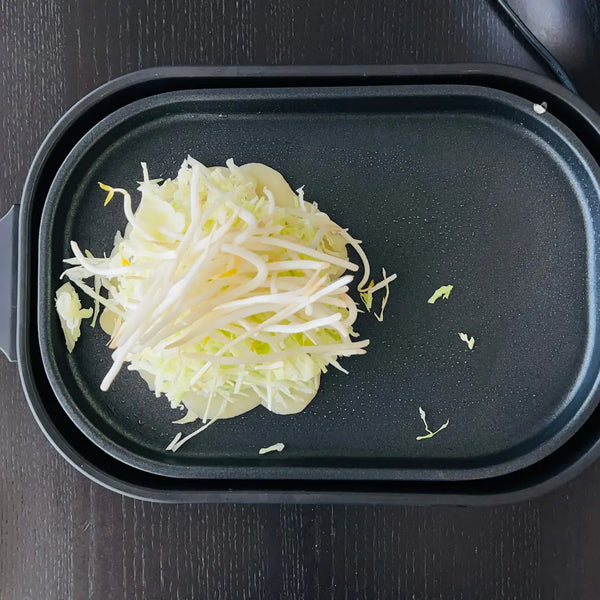
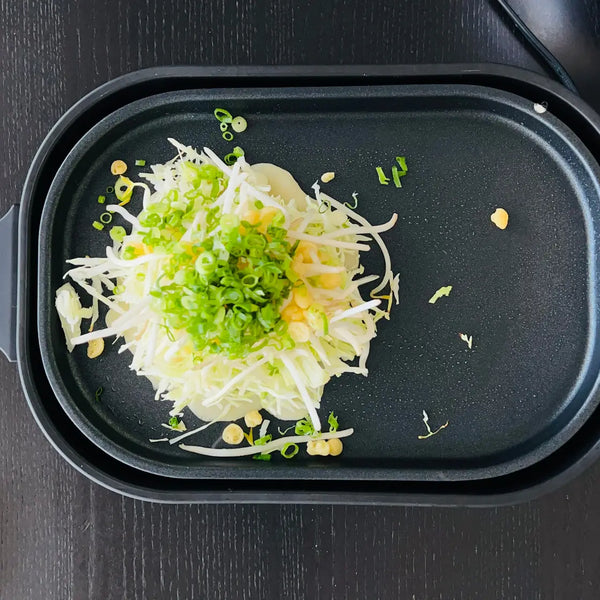
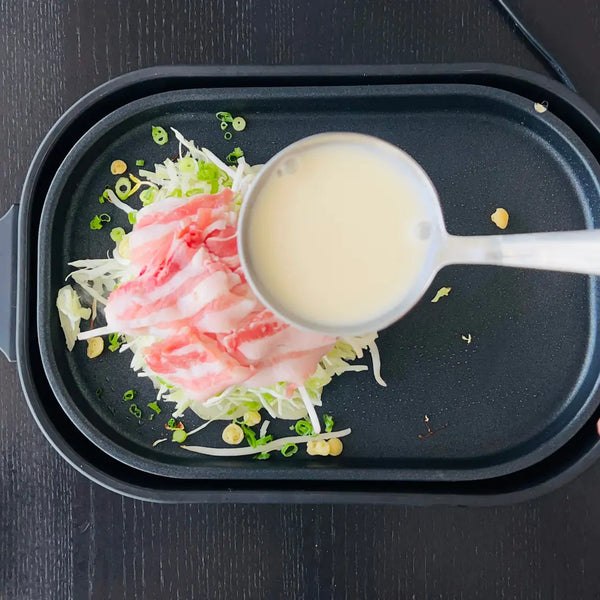
    5) Cooking Each Ingredient on an Iron Plate

    For this cooking method, we'll be using a hot plate. However, if you don't have one, you can still prepare the dish using two frying pans.

    Add some oil to the hotplate and heat it to approximately 200-250℃.

    Pour two-thirds of the prepared batter onto the hotplate and shape it into a round form.

    Arrange the cabbage, bean sprouts, green onions, tempura bits, and sliced pork belly in the order shown in the pictures.

    Pour the remaining one-third of the dough (the rest of the batter) from the top. This step helps bind the ingredients together.

    Cook for approximately 5 minutes, or until the surface of the dough becomes crispy.

    using two turners to flip the okonomiyaki flipping the okonomiyaki pressing on the okonomiyaki
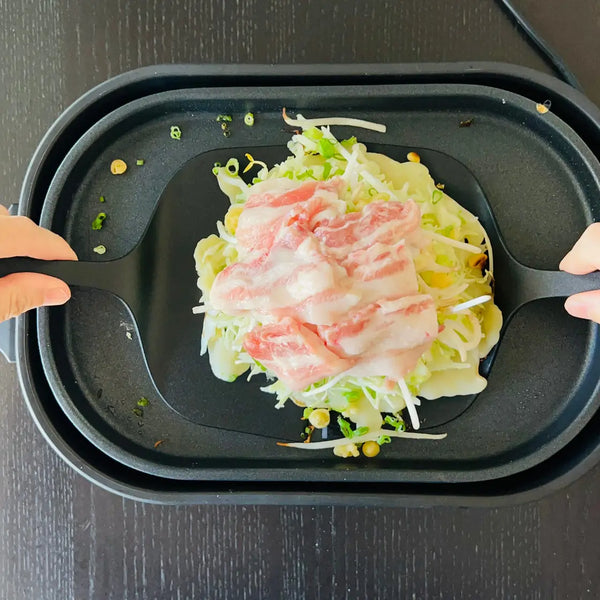
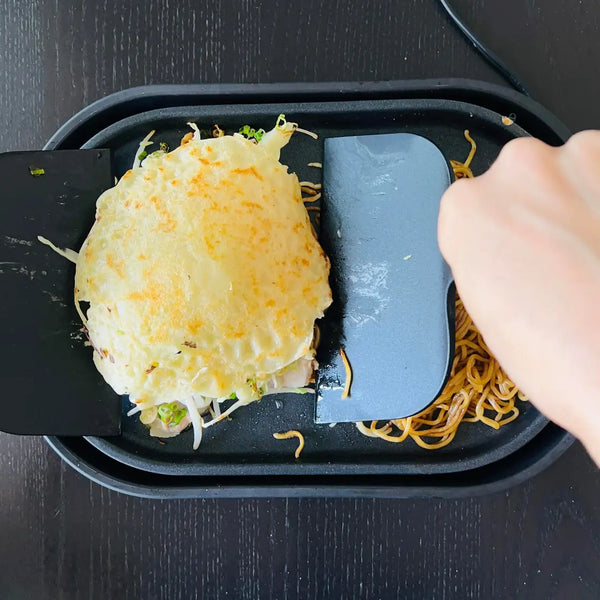
    6) Flipping the Okonomiyaki

    After 5 minutes, it's time to flip the Okonomiyaki. This is the first challenging step in the recipe! If you have two turners or spatulas, use them to carefully turn it upside-down.

    Once you've successfully flipped it, use one of the turners or spatulas to gently press it down, helping to meld the dough with the vegetables and pork.

    Cooking the yakisoba noodles Putting the okonomiyaki on top of the noodles Cracking an egg onto the hotplate cooking the egg next to the okonomiyaki Breaking the center of the egg yolk Piling the okonomiyaki on top of the egg flipping over the okonomiyaki
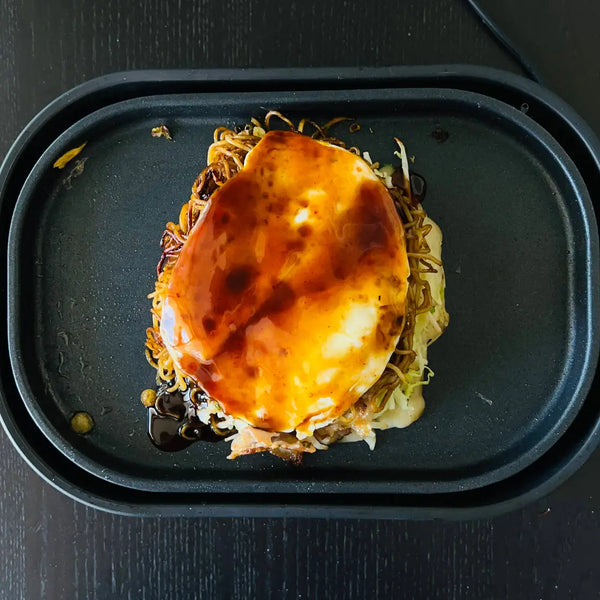
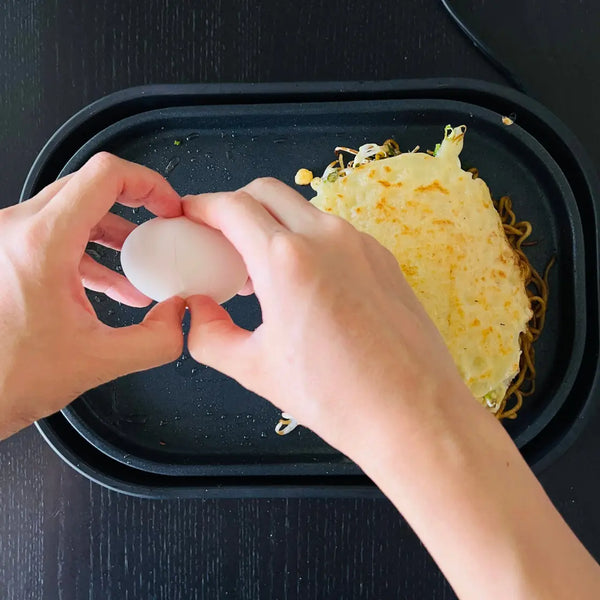
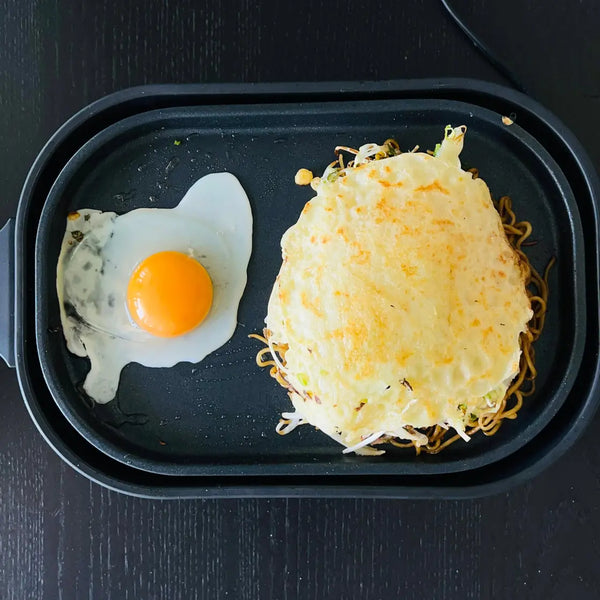
    7) Cooking the Stir-Fried Noodles and Egg

    Now, create some space on the hotplate by sliding the Okonomiyaki to the side. Place the yakisoba noodles on the cleared space and add a bit of extra water to loosen them. Stir-fry the noodles until they are well cooked. Season them with yakisoba seasoning. If you don't have yakisoba seasoning, you can use Okonomiyaki sauce or a bit of salt and pepper as an alternative.

    Once the yakisoba is ready, carefully position the partially cooked Okonomiyaki on top of the yakisoba. Then, make space on the hotplate again.

    Crack an egg and place it in the vacant area. Lightly break the egg with a turner to make it easier to stack. Sprinkle a pinch of salt and pepper on the egg. Pile the Okonomiyaki on top of the egg before it hardens, and then flip it over. This is the most challenging step in this recipe, so please take your time and don't rush it.

    Topping the okonomiyaki with sauce sprinkling aonori over the okonomiyaki finished okonomiyaki
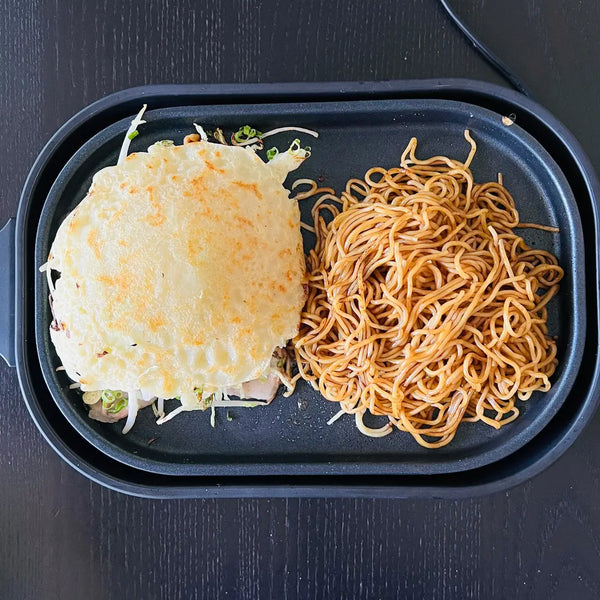
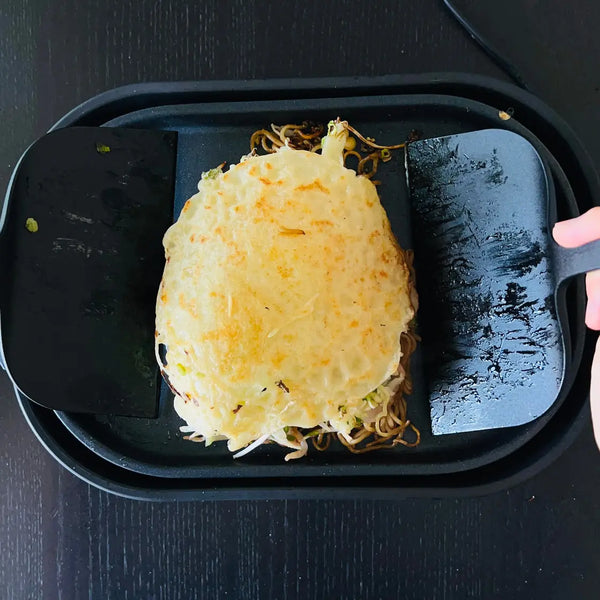
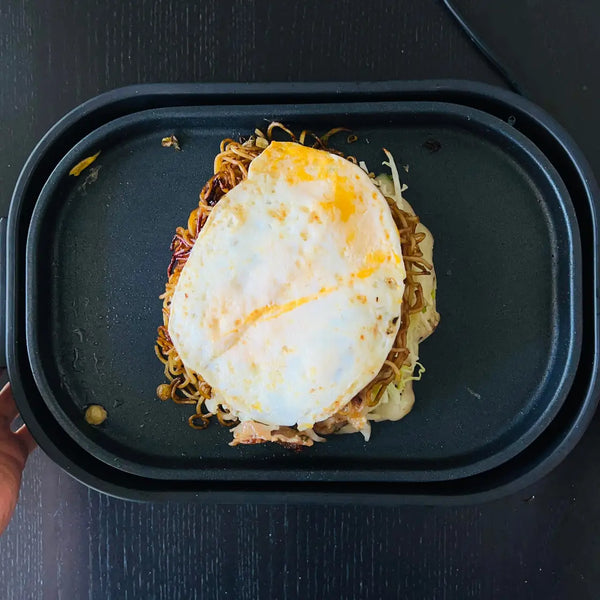
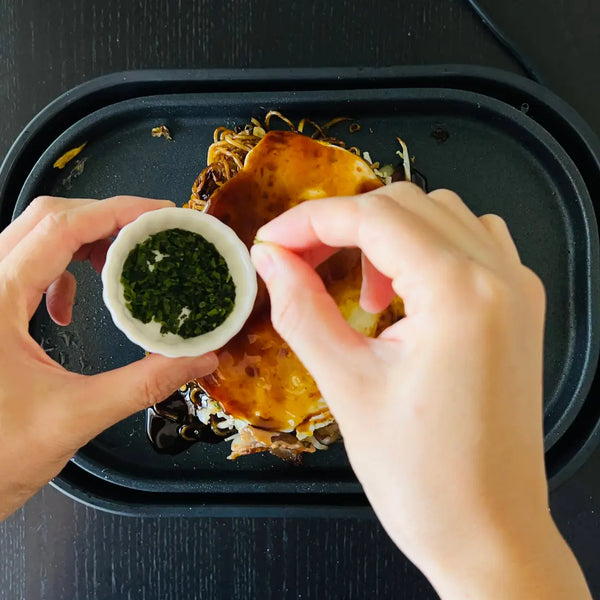
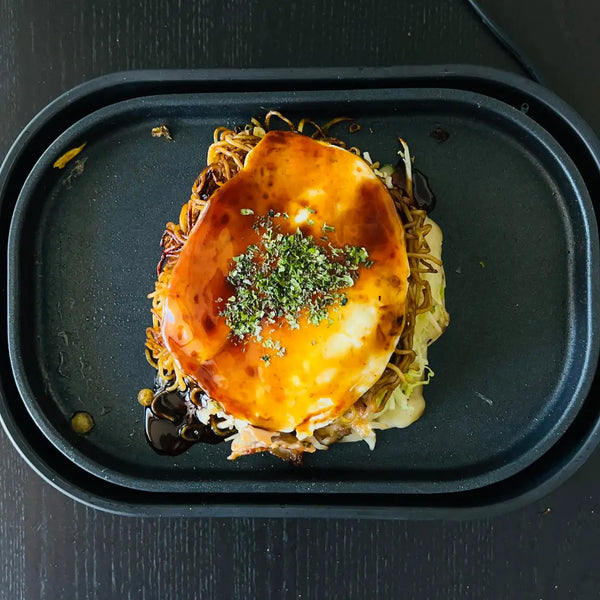
    8) Topping the Okonomiyaki

    With the egg as the top layer and the crepe-like dough at the very bottom, pour the Okonomiyaki sauce generously over the egg, ensuring it covers the entire surface. Then, sprinkle dried aonori seaweed evenly to finish the dish.

    Recommended products for this recipe

    0 comments


    Leave a comment

    Please note, comments must be approved before they are published